Advertisement
Quick Links
Please give us a chance to make it right and do better !
Contact our friendly customer service department for help first.
Replacements for missing or damaged parts will be shipped ASAP !
US office: Fontana
UK office: Ipswich
Contact Us !
Do NOT return this item.
AU office: Truganina
US:cs.us@costway.com
UK:cs.uk@costway.com
AU:cs.au@costway.com
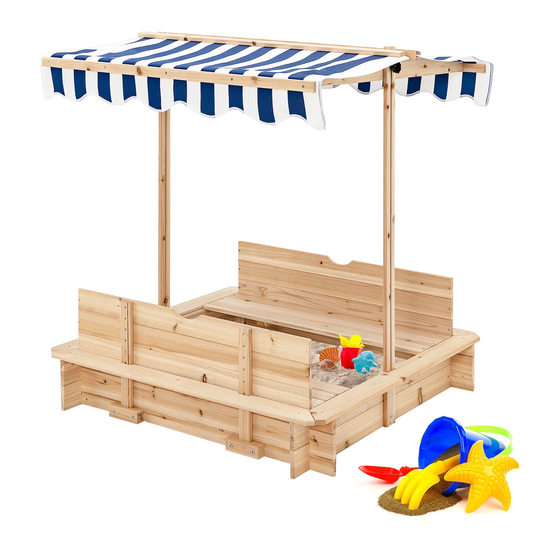
Kids Wooden Boat Sandbox
THIS INSTRUCTION BOOKLET CONTAINS IMPORTANT SAFETY INFORMATION. PLEASE READ AND KEEP FOR FUTURE REFERENCE.
USER'S MANUAL
TS10037
Advertisement

Summary of Contents for Costway TS10037
- Page 1 US office: Fontana UK office: Ipswich AU office: Truganina USER’S MANUAL Contact Us ! Kids Wooden Boat Sandbox TS10037 Do NOT return this item. US:cs.us@costway.com UK:cs.uk@costway.com AU:cs.au@costway.com THIS INSTRUCTION BOOKLET CONTAINS IMPORTANT SAFETY INFORMATION. PLEASE READ AND KEEP FOR FUTURE REFERENCE.
- Page 2 Parts and Hardware List Not actual size Before You Start Side Board x2 Side Board x2 Please read all instructions carefully and keep it for future reference. General Security Warning Caution: The Product is not suitable for the children under 3 years Side Board x2 Side Board x2 Side Board x2...
- Page 3 Fasten side board 3 and side board 4 tightly, and pay attention to the Fasten side board 1 and side board 2 tightly, and pay attention to direction of the screw holes as shown in the figure. the direction of the screw hole and the upward screw holes as shown in the figure.
- Page 4 3.5*30 3.5*30 Stack Figure of step 2 on top of Figure of step 1, the upper side board Use 8 PCS D screws to fix the other side rail 5. 2 to the lower side board 4, the upper side board 1 to the lower side board 3.
- Page 5 3.5*35 3*14 E x24 B x24 Stack side board 6 to side board 2, side board 7 to side board 1 with Fix bench 8 on the four corners with 24 PCS B screws. the concave holes facing upwards. Use 24 PCS E screws to fit into the holes and tighten.
- Page 6 3.5*30 ¢6*25 D x4 A x4 Fix flag 11 on the both sides with 4 PCS A screws. Fix disk 9 on the one side with 4 PCS B screws.
- Page 7 3.5*30 D x4 Fix disk 9 on the other side with 4 PCS B screws. Fix side board 10 on the both sides.
- Page 8 3.5*35 ¢6*25 E x6 A x4 Fix backrest 12 to flag 11 tightly with 4 PCS A screws. Use 6 PCS E screws to fix bench 13 and side board 14 as shown.
- Page 9 3.5*25 C x8 Place the assembled components on mat 17 and lay out parts 15 Fix pole 16 on the both sides with 8 PCS C screws. evenly as shown.


Need help?
Do you have a question about the TS10037 and is the answer not in the manual?
Questions and answers