Advertisement
Manufactured for Rooms To Go
***CAUTION: The item is heavy, assembly should be performed by two people in soft surface.
Parts#
A
Bolt (M8*3.14",18 threads
C
1) The bolts package with a sticker "hardware" is attached to the bottom of base rail.(See Figure 1)
2) Attached each bolt to corresponding pre-drilled holes by hand turning on clockwise direction as figure underneath.
(See Figure 2) Please attached to Screw the shorter threaded end of the bolt into the armrest and follow the arrow
direction to Insert the longer threaded end of the bolt into the hole in the base (Figure 3).
3) Please place the washers and Butterfly nut into the bolt as show by hand and then turning in clochwise direction until
it is tight.(See Figure 3)
Figure 1
C
C
A
D
Assembly Instructions
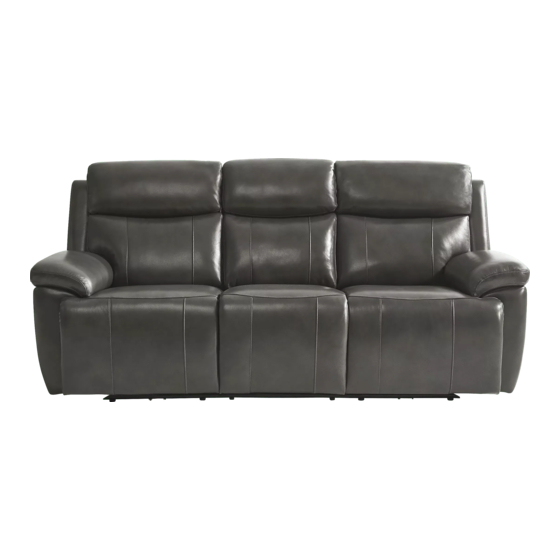
SYNE K2111-52PHR-Air Reclining Sofa w/power
Headrest, Air Massage
SKU# 15121154 / 15121178
Desc.
Pattern
Wash
per inch)
Front
Figure 2
C
C
C
C
C
A
A
A
C
A
P
P
D
D
Q'ty
Parts#
Desc.
Pattern
Butterfly
4 pieces
B
nut
Transfor
4 pieces
D
mer
Figure 3
C
C
C
C
C
C
A
A
C
A
P
D
P
D
D
Q'ty
4 pieces
2 pieces
Figure 4
C
A
C
C
C
A
A
C
A
Advertisement
Table of Contents

Related Manuals for ROOMS TO GO SYNE K2111-52PHR-Air


Summary of Contents for ROOMS TO GO SYNE K2111-52PHR-Air
- Page 1 Assembly Instructions SYNE K2111-52PHR-Air Reclining Sofa w/power Headrest, Air Massage SKU# 15121154 / 15121178 Manufactured for Rooms To Go ***CAUTION: The item is heavy, assembly should be performed by two people in soft surface. Parts# Desc. Pattern Q'ty Parts# Desc.
- Page 2 Step 1 Please located the hand controller at the beside of metal bracket. Step 2 Slide the metal receiver over the metal post.Press both sides of back firmly downward until locked in place. Step3 Locate the power cord C attached to the bottom back and connect to Step 6 The Transformer is...
Need help?
Do you have a question about the SYNE K2111-52PHR-Air and is the answer not in the manual?
Questions and answers