Advertisement
Quick Links
Advertisement

Related Manuals for Nibe Contura 51


Summary of Contents for Nibe Contura 51
- Page 1 Installation instruction contura.eu...
- Page 3 CONTENTS A warm welcome to Contura A warm welcome to the Contura family. We hope you will get a great deal of pleasure from your new stove. As a new owner of a Contura stove, you have secured a product with timeless design and long service life.
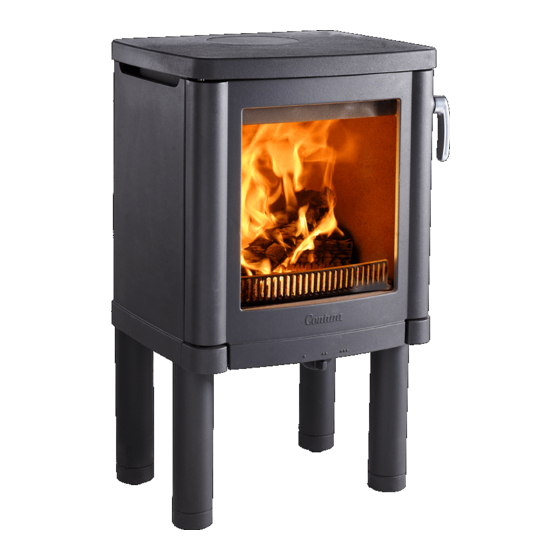
- Page 4 Declaration of performance according to Regulation (EU) 305/2011 No. C51-CPR-220901 PRODUCT Type Wood burning stove Trade name Contura 51 / 52 / 52T Intended area of use Heating of rooms in residential buildings Fuel Wood MANUFACTURER Name NIBE AB / Contura Address Box 134, Skulptörvägen 10...
- Page 5 A sufficient supply of combustion air must always be guaranteed. Air suction systems can interfere with the combustion installation, or maintenance. air supply. The undersigned is responsible for the manufacture and conformity with the declared performance. Niklas Gunnarsson, Business area manager NIBE STOVES Markaryd, January 1, 2022...
- Page 6 Distance to cumbustible wall (mm): Behind 150 Beside 500 Corner 150 Production number: Follow the installation instructions. Use only recomended fuels NIBE AB Box 134 SE-285 23 MARKARYD SWEDEN HANDÖL Type: 50-series Production no. 7090300236 NIBE AB SE-85 21 Markaryd Sweden...
- Page 7 INSTALLATION DISTANCE Installation distance to walls and ceiling C51, C52 and C52T Combustible roof Position the stove on a hearth plate and check that the installation distances given in the diagrams are met. The minimum distance bet- ween the stove opening and combustible parts of the building or décor must be at least 1 m.
- Page 8 REMOVING Removing the loose components Fire bars Lift the fire bars straight up, clean the ash from the guide groove in the stove base plate before reposi- tioning it in position. Fire box surround When sweeping, the smoke baffle must be lifted out, this can be done when one side has been dismantled. Smoke baffle...
- Page 9 REMOVING Stove base plate The stove base plate is lifted out when all the cladding has been removed. Fixed or removable handle The stove handle is fitted on delivery. To make the handle removable, replace the screw for the lock hook with the shorter screw supplied.
- Page 10 COMBUSTION AIR Supply of combustion air Combustion air can be provided directly via a duct from outside, or indirectly via a vent in the outer wall of the room where the stove is to be placed. The amount of combustion air used for combustion is approximately 25 m Some installation alternatives are shown to the right.
- Page 11 • Dismantle the cladding as instructed previously, see page 56. • Tap out the knock out in the stove’ s back panel, remember to Contura 51 protect the floor. • Then unscrew both the connector and the cover. • Switch places and reinstall the screws.
- Page 12 ADJUSTING AND CONNECTING Adjusting and connecting Preparations before rear connection The stove is prepared for top connection on delivery. When con- necting from the rear, the cover and connection must be swapped around. • Dismantle the cladding as instructed previously, see page 56. •...
- Page 13 ADJUSTING AND CONNECTING Soapstone installation Contura 52T Handle soapstone with care, the edges are susceptible to damage. Soapstone is most easily cleaned using a cloth dampened with acetone. • Remove the upper securing plate. • Position with the decorative groove downward so that the turned up edge holds the soapstone in place.
- Page 14 CONNECTION THE CHIMNEY Connection to the chimney Important! After the stove has been adjusted and positioned according to Maximum chimney weight loading the installation distances, connection to the chimney is carried on the stove 120 kg. out. Select one of the following alternatives. Top connection to the steel fl...
- Page 16 NIBE AB · Box 134 · SE-285 23 Markaryd · Sweden contura.eu Contura reserves the right to change colours, materials, dimensions and models at any time without special notice. 811100 IAV SE-EX C50-4 Your dealer can give you the most up to date information.
Need help?
Do you have a question about the Contura 51 and is the answer not in the manual?
Questions and answers