Table of Contents
Advertisement
Quick Links
Please give us a chance to make it right and do better !
Contact our friendly customer service department for help first.
Replacements for missing or damaged parts will be shipped ASAP !
US office: Fontana
UK office: Ipswich
DE office: Hamburg
FR office: Saint Vigor d'Ymonville
Contact Us!
Do NOT return this item.
AU office: Truganina
PL office: Gdańsk
US:cs.us@costway.com
UK:cs.uk@costway.com
AU:cs.au@costway.com
THIS INSTRUCTION BOOKLET CONTAINS IMPORTANT SAFETY INFORMATION. PLEASE READ AND KEEP FOR FUTURE REFERENCE.
USER'S MANUAL
CEILING FAN
ES10132US
Advertisement
Table of Contents

Related Manuals for Costway ES10132US


Summary of Contents for Costway ES10132US
- Page 1 DE office: Hamburg FR office: Saint Vigor d'Ymonville PL office: Gdańsk USER’S MANUAL Contact Us! CEILING FAN ES10132US US:cs.us@costway.com Do NOT return this item. UK:cs.uk@costway.com AU:cs.au@costway.com THIS INSTRUCTION BOOKLET CONTAINS IMPORTANT SAFETY INFORMATION. PLEASE READ AND KEEP FOR FUTURE REFERENCE.
- Page 2 1) Tools Ready • Philips screwdriver • Blade screwdiver • Adjustable pliers or wrench • Step ladder • Wire cutter • Electrical tap • Impact drill 2) Parts Inspection Before You Start Hanger bracket 5-inch downrod 10-inch downrod 1 x1 2 x1 3 x1 Please read all instructions carefully.
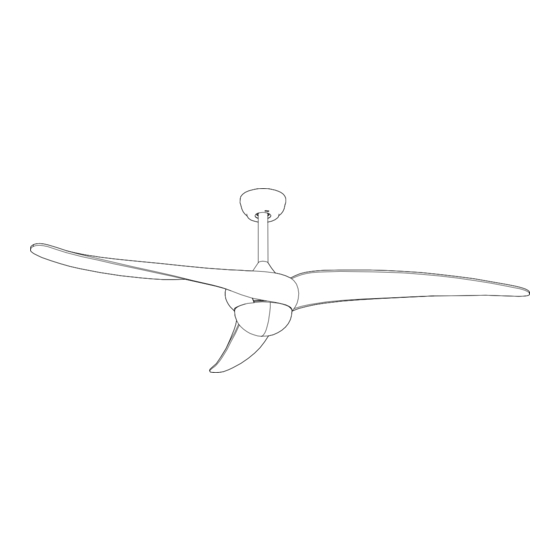
- Page 3 4) Install the Blades Install the boom safety pin boom and the hanger.(Figure 1) Blade screw Shim 14 x12 15 x12 3) Installation of Bracket Use wood screws to fix bracket for wooden or false ceiling. Wood screws Figure 1 Beam Install the fan blades to the motor in order and screw on the fan blade screws in turn.(Figure 2)
- Page 4 5) Lamp Installation 4. Mount the bracket onto outlet box Locking by the screws, spring washers and flat 1. Connect the corresponding wires washers. at the bottom of the lamp and the 5. Hang the ball joint and the fan onto motor.
- Page 5 8) Hanging Ceiling Fan Schematic diagram of controller installation The controller Place the lobes in the hanger and turn the pipe so the groove on the lobes engages the lugs on the dome (inside the hanger). The lug groove must engage the hanger lug. RF wireless digital transmission technology, one—to—one control, the weight rate is less than one part of a million (if there is any damage, please ask qualified technician for help.)
- Page 6 2. Keep ceiling fans clean regularly. Only use a soft brush or a lint—free 2. When the remote control cannot control the controller, please check cloth to clean it gently. Do not use a damp cloth or other destructive whether the battery is loaded correctly; cleaner.
Need help?
Do you have a question about the ES10132US and is the answer not in the manual?
Questions and answers