
Related Manuals for Insignia NS-RGRCESS4


Summary of Contents for Insignia NS-RGRCESS4
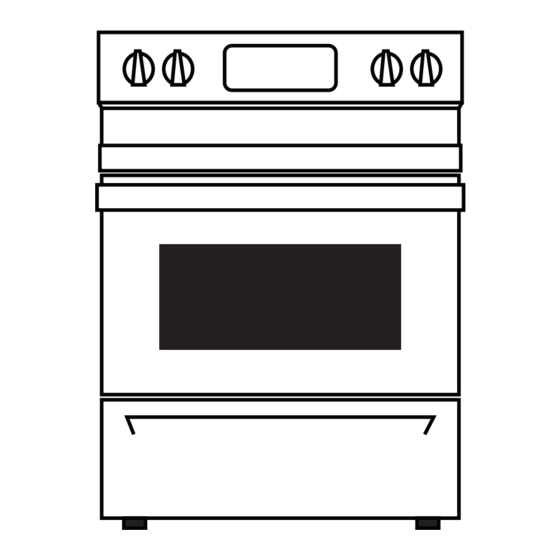
- Page 1 INSTALLATION GUIDE 4-Burner Electric Range NS-RGRCESS4 205C1713P022 Before using your new product, please read these instructions to prevent any damage.
-
Page 2: Table Of Contents
Contents IMPORTANT SAFETY INFORMATION................2 FOR YOUR SAFETY: . -
Page 3: Materials You May Need
4-Burner Electric Range Materials you may need Tools you will need: • Drill with 1/8 in. Bit • Tin Snips • Tape Measure • Safety Glasses • Pliers • Adjustable Wrench (UL Listed 40 AMP) 4-Wire Cord 4 Squeeze Connector (For •... -
Page 4: Minimum Dimensions Between Cooktop, Walls, And Above The Cooktop
Minimum dimensions between cooktop, walls, and above the cooktop: Both sides Note C A. Make sure that the wall covering, countertop, flooring, and cabinets around the range can withstand the heat (up to 200° F) generated by the range. There should be 0 in. clearance to the cabinets below the cooktop and at the back of the range. -
Page 5: Step 4: Power Cord And Conduit Installations
4-Burner Electric Range This appliance must be supplied with the proper electrical voltage and frequency, and connected to an individual, properly grounded, 40 amp (minimum) branch circuit protected by a circuit breaker or time-delay fuse. Use only a 3-conductor or a 4-conductor UL-listed range cord. These cords may be provided with ring terminals on wire and a strain relief device. - Page 6 B. For power cord and 1 in. (2.5 cm) conduit installations only, remove the knockout ring located on the bracket directly below the terminal block. To remove the knockout, use a pair of pliers to bend the knockout ring away from the bracket and twist until the ring is removed.
-
Page 7: Step 5: 3-Wire Installation (Ground Is Through The Neutral Wire)
4-Burner Electric Range Step 5: 3-Wire Installation (Ground is through the neutral wire) WARNING Shock Hazard The neutral wire and ground strap must be connected as shown below for the range to be properly grounded. Do not remove the ground strap. Failure to follow this instruction may result in potential shock hazard. WARNING Fire Hazard Terminal block screws must be securely tightened. -
Page 8: Step 6: 4-Wire Installations (Separate Ground Wire)
Step 6: 4-Wire Installations (Separate Ground Wire) WARNING The neutral wire of the supply circuit must be connected to the neutral terminal located in the lower center of the terminal block. The power leads must be connected to the lower left and the lower right terminals of the terminal block. -
Page 9: Step 7: Installing The Anti-Tip Device
4-Burner Electric Range For Conduit Installations 1 Remove the three lower screws from the terminal block. Do not loosen the upper screws. 2 Remove and retain the ground screw and ground plate. 3 Cut the ground strap below the terminal block and discard the lower section. 4 Insert the bare ground bare wire tip (insulation stripped 5/8 in.) between the range frame and the ground plate (previously removed) and secure it in place with the ground screw. -
Page 10: Step 8: Leveling The Range
Step 8: Leveling the Range WARNING Never completely remove the leveling leg as the range will not be secured to the anti-tip device properly. 1 Plug in the unit. 2 Measure the height of your countertop at the rear of the opening (X). -
Page 11: Locating The Model And Serial Number
4-Burner Electric Range Operation Checklist • Make sure that the oven controls operate properly. If the oven controls do not operate properly, recheck the wiring connections. • Make sure that all range controls are in the OFF position before leaving the range. Locating the Model and Serial Number The rating plate is located above the drawer on the oven frame or on the side of the drawer frame. - Page 12 1-877-467-4289 (U.S. and Canada) INSIGNIA is a trademark of Best Buy and its affiliated companies. Distributed by Best Buy Purchasing, LLC 7601 Penn Ave South, Richfield, MN 55423 U.S.A. ©2023 Best Buy. All rights reserved. V1 ENGLISH 23-0197...
Need help?
Do you have a question about the NS-RGRCESS4 and is the answer not in the manual?
Questions and answers