
Subscribe to Our Youtube Channel
Related Manuals for Hunter Brushed Nickel 52295


Summary of Contents for Hunter Brushed Nickel 52295
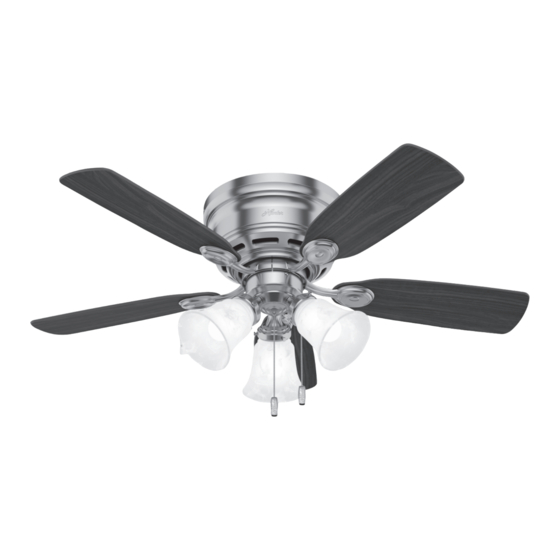
- Page 1 Low Profile LED Installation Manual Model: 52295 Brushed Nickel Fan weight ±2 lbs: 17.0 lbs (7.7 kg) ©2018 Hunter Fan Co. PG3706 r100118...
- Page 2 - All wiring must be in accordance with national and local electrical codes ANSI/NFPA 70. If you are unfamiliar with wiring, use a qualified electrician. c.2 - Use only Hunter replacement parts. This device contains licence-exempt transmitter(s)/receiver(s) that comply with Innovation, Science and Economic Development Canada’s licence-exempt RSS(s). Operation is subject to the following two conditions: (1) This device may not cause interference.
- Page 3 We recommend that you pull everything out of the box and lay it out. We have grouped the drawn components below with the hardware you’ll need for those Hunter Pro Tip: parts. The screws below are drawn to scale to make it easier to identify what piece of hardware is needed to install each component.
-
Page 4: Choosing The Right Installation Location
Hunter Pro Tip: Drill 9/64” pilot holes in support let box. Make sure it is securely structure to aid in securing ceiling... -
Page 5: Hanging The Fan
Wire Nut Hunter Pro Tip: Hunter Pro Tip: Have extra wiring? Here is how to connect the wires: Turn the wires upward and push them carefully back through Push the bare metal ends of the wires together and slide a wire nut over them. -
Page 6: Installing The Motor Housing
1886 Wiring the Fan Connect the blue wire from the receiver to the blue wire (or possibly black with white stripe wire) from the fan. Wire Nut Connect the yellow wire from the receiver to the black wire from the fan. Installing the Motor Housing Notch Screw Holes... - Page 7 1886 Lightly attach the blade arms to the motor with the blade arm screws, then securely tighten after both screws are attached. Blade Arm Screw Repeat x5 Note: Fan style may vary. Assembling the Light 2 of 6 1 of 6 Assembly Screw Assembly Screw Insert a third screw, found in the...
- Page 8 Raise the shade to the light fixture. Tighten all thumbscrews securely. Repeat x3 WARNING Hunter Pro Tip: Want to install your fan without a light kit? GLASS FALL HAZARD To prevent SERIOUS INJURY or DEATH, make Go to www.HunterFan.com/FAQs...
- Page 9 1886 Remote Fan Control Light Control To access the battery compartment, remove the The remote transmitter should already be paired Fan Operation: small Phillips head screw that secures the battery to the receiver and ready to use. Press and quickly release the ON or door to the transmitter assembly.
-
Page 10: Troubleshooting
Hunter instructions, accidental damage caused by the fan owner or related parties, Please do not ship your fan or any fan parts to Hunter. Delivery will be refused. modifications to the fan, improper or incorrectly performed maintenance or repair,...
Need help?
Do you have a question about the Brushed Nickel 52295 and is the answer not in the manual?
Questions and answers