
Related Manuals for Hunter Antero 52128


Summary of Contents for Hunter Antero 52128
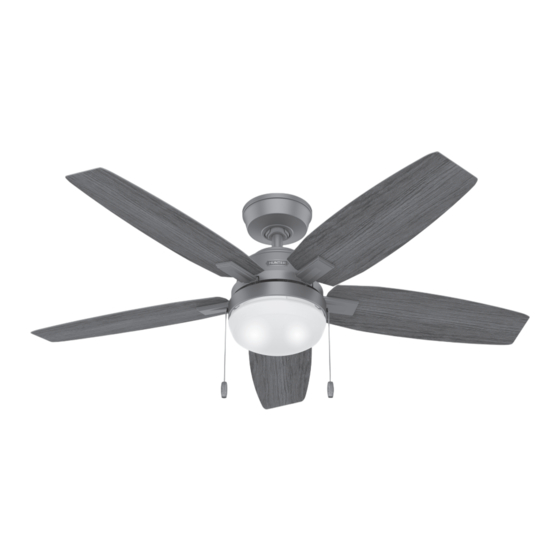
- Page 1 Prep Connect Complete Antero Installation Manual Model: 52128 Matte Silver 52129 Fresh White Fan weight ±2 lbs: 19.2 lbs (8.7 kg) ©2022 Hunter Fan Co. M3953-01 r090122...
- Page 2 Congratulations on purchasing your new Hunter ceiling fan! ® The ceiling fan you purchased will provide comfort and performance in your home or office for many years. This instruction manual contains complete instructions for installing and operating your fan. We are proud of our work and appreciate the opportunity to supply you with the best ceiling fan available anywhere in the world.
-
Page 3: Tools Needed For Installation
Tools Needed for Installation Box Outlet Mount Building Structure Mount 9/64" Box Contents Hardware Included Parts Included Canopy Mount Canopy Fan Body Wood Screw x2 Small Flat Head Screwdriver Washer x2 Light Bulb x2 Snap-on Blades Jumper Harness Pull Chains Glass Cover threadlocker... -
Page 4: Before Beginning Installation
Before Beginning Installation Standard Mount This installation is for flat ceilings using the short pre-installed Turn Power OFF, breaker and light switch. downrod ceiling fans. WARNING IMPORTANT The longest accessory downrod that can be used with To avoid possible electrical shock, before installing your fan, fans is 12-inches. -
Page 5: Installation
Installation – Canopy Mount and Terminal Wiring 1a 1a Building Structure Mount Building Structure Mount • You must be able to secure the fan to building structure or fan-rated outlet box. • You have two options for installation. Pick which one works best for your location. - Page 6 Installation – Canopy Mount and Terminal Wiring (continued) Single Switch Wiring Single Switch Wiring Connect wiring from ceiling to terminal block (on side of canopy mount) and tighten using flathead screwdriver (included). For single switch wiring an additional jumper harness component will be Green, Green Yellow Stripe, or Bare (grounding) Green, Green Yellow Stripe, or Bare (grounding) needed in step 2b.
- Page 7 Installation – Fan Body, Wiring Harness, Canopy Cover, and Blades IMPORTANT Note: For single switch wiring an additional jumper harness component will be needed. Take the jumper harness (H) from the NOTICE accessories bag. Connect the female end to the hanging bracket connector. Connect To prevent damage to fan, ALWAYS lift holding either the the male end of the jumper harness to the fan housing or the downrod.
- Page 8 Installation – Glass Cover Align, lift and twist to lock glass cover (F) to bottom of fan assembly (C). WARNING GLASS FALL HAZARD To prevent SERIOUS INJURY or DEATH, make sure that glass is properly secured. Turn Power ON, breaker and main switch. Install a bulb (D) into each of the sockets.
- Page 9 Installation – Pull Chains Feed the pull chains from the fan switch and the light switch down through the holes in the upper switch housing as shown. Attach the pull chain pendants to the light and fan pull chains. Repeat x2 The fan pull chain controls the speed: from high to off.
- Page 10 Reversing the Fan Reverse Switch Updraft (clockwise rotation) creates a more indirect airflow. Updraft airflow is great for moving warm air downward. Downdraft (counterclockwise rotation) creates a direct breeze and maximum cooling effect. Ceiling fans work in two directions: downdraft (counterclockwise rotation) and updraft (clockwise rotation).
-
Page 11: Troubleshooting
Hunter instructions, accidental damage caused by the fan owner or related parties, Please do not ship your fan or any fan parts to Hunter. Delivery will be refused. modifications to the fan, improper or incorrectly performed maintenance or repair,... - Page 12 This product can expose you to chemicals including Cumene, which is known to the State of California to cause cancer. © 2022 Hunter Fan Company (For more information, go to www.P65Warnings.ca.gov.) 7130 Goodlett Farms Pkwy, Suite 400 | Memphis TN 38016...
Need help?
Do you have a question about the Antero 52128 and is the answer not in the manual?
Questions and answers