Advertisement
INSTRUMENT OPERATION
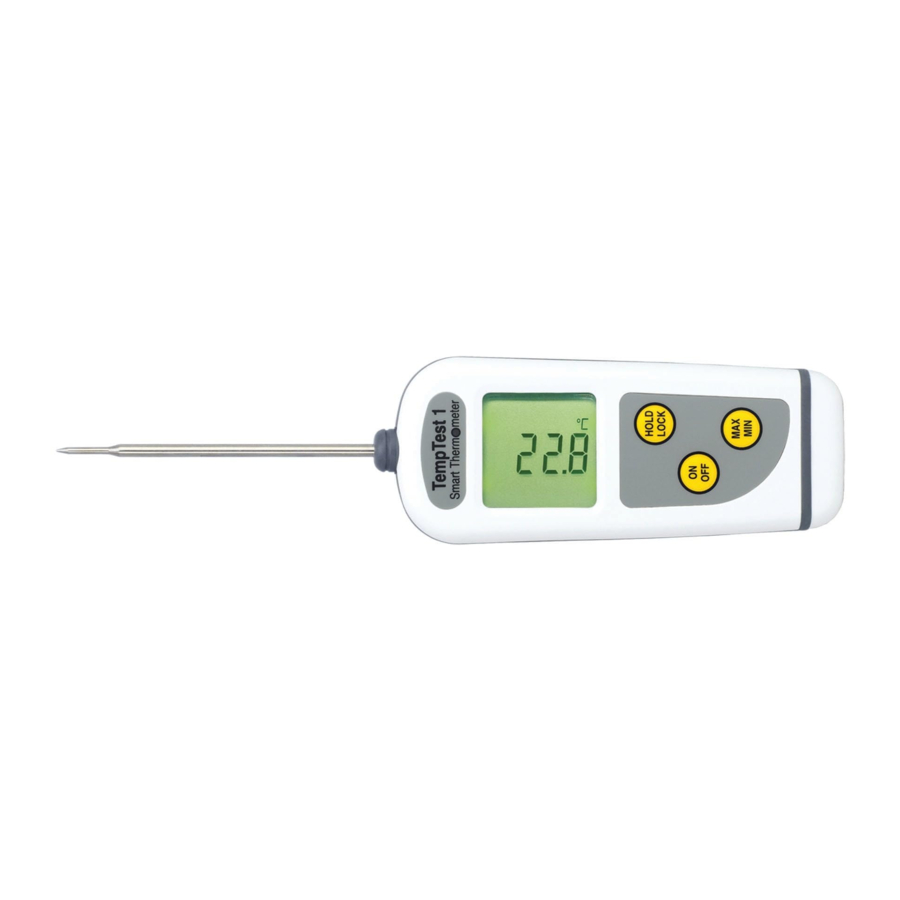
Switch the instrument on and apply the tip of the probe to the substance or medium being measured. The instrument reading may take a few seconds to stabilise, depending on the nature of the measurement and sensitivity of the probe.
AUTO-OFF
The unit will automatically turn off after 10 minutes to maximise the battery life. This function can be disabled. To disable the auto off function, switch the unit off, then press and hold the HOLD/LOCK and ON/OFF buttons at the same time - 'auto off disabled' will scroll across the screen. Once the unit is switched off it will revert to the auto off function being enabled.
ROTATIONAL DISPLAY
The unit's display will rotate through 90° with each turn so that it can be used at any angle or either hand. This function can be disabled. Press and hold the LOCK button for 3 seconds to lock the orientation of the display, 'Loc on' will be displayed. To enable this function, repeat as before and 'Loc oFF' will be displayed.
SMART BACKLIGHT
The unit incorporates a smart backlight which automatically switches on when the unit is being used in low light conditions. The backlight will activate for 10 seconds. Please note the light sensor is incorporated in the 'o' in the smart thermometer label.
MAX/MIN
Press the MAX/MIN button to display the values. The instrument retains the max/min values when switched off. To reset, press the MAX/MIN button for three seconds, 'rst' will be displayed. Please note whilst in the MAX/MIN mode, the instrument will continue to measure.
HOLD
Press the HOLD button to retain the last temperature measured, HOLD will be displayed. To continue to measure, press the HOLD button again.
°C/°F
With the unit switched off, press and hold the ON/OFF button for 5 seconds to change between °C and °F. Once changed, the unit will remain in the selected value.
BATTERY REPLACEMENT
The low battery symbol will indicate when the batteries need replacing. The instrument continues to measure accurately but we recommend that the batteries are changed as soon as possible. To replace the batteries, remove the battery cover on the bottom using a pozi screwdriver. Replace the AAA batteries ensuring that polarity is correct. Replace the cover and tighten to ensure the unit remains waterproof. The cover can only be fitted one way. Please note: If the batteries are removed, modes set such as Lock and Max/Min will be reset to the default setting.
INSTRUMENT CLEANING
Clean the instrument regularly with an anti-bacterial probe wipe to avoid potential food-borne bacteria growth.

IPA and other solvents may cause damage to the case and screen of this instrument.
ERROR MESSAGES
'Lo' will be displayed if you are measuring below the instrument's range. 'Hi' will be displayed if you are measuring above the instrument's range. 'Err' will be displayed if the probe develops a fault. If the error message remains, contact our service department for further assistance.

Documents / ResourcesDownload manual
Here you can download full pdf version of manual, it may contain additional safety instructions, warranty information, FCC rules, etc.
Advertisement


Need help?
Do you have a question about the TempTest 1 and is the answer not in the manual?
Questions and answers