Table of Contents
Advertisement
Quick Links
PLR
Pupillometer
Quick Start Guide
Power Up
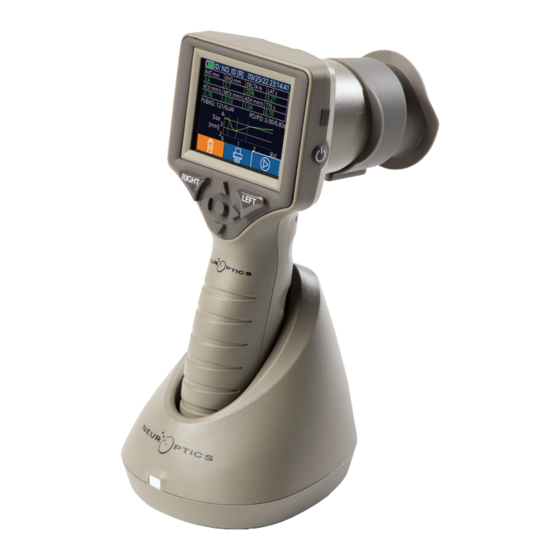
Charging the PLR-4000 Pupillometer
1.
Connect the PLR-4000 Power Adapter to the PLR-4000 Charging Station
and plug into a power outlet. The indicator light at the base of the Charging
Station will display a white color to indicate power has been established to
the Charging Station.
2.
Place the PLR-4000 into the Charging Station. The Charging Station
indicator light will turn blue, and the LCD screen will display
battery icon, indicating the PLR-4000 is charging. The indicator light will turn
green
when fully charged.
NOTE: Prior to first-time use, ensure the PLR-4000 is fully charged and
Date/Time are set accurately (refer to Setting Date and Time section).
3.
The PLR-4000 Pupillometer goes to sleep in the Charging Station to
efficiently charge:
•
The PLR-4000 will initially turn ON (or remain on) upon being placed in the
Charging Station.
•
After 2 minutes in the Charging Station, the PLR-4000 will go to sleep to
efficiently charge. The screen will go dark. If any button is pressed or the
screen is touched within this 2-minute window, the time period before the
PLR-4000 goes to sleep is extended by an additional 2 minutes.
•
To use the PLR-4000 after it has gone to sleep in the Charging Station,
simply remove from the Charging Station, and it will wake up automatically.
4.
If the PLR-4000 Pupillometer is not in the Charging Station, to
conserve battery life it will:
•
Go into sleep mode after 4 minutes. To turn ON, touch the screen or push
any button.
•
Power down after an additional 6 minutes.
Turning On the PLR-4000 Pupillometer
5.
If the PLR-4000 is out of the Charging Station and has powered down, press
(do not hold) the On/Off button
- 4000
®
on the side of the device.
1
within the
2
3
5
Advertisement
Table of Contents

Summary of Contents for NeurOptics PLR-4000
- Page 1 The PLR-4000 Pupillometer goes to sleep in the Charging Station to efficiently charge: • The PLR-4000 will initially turn ON (or remain on) upon being placed in the Charging Station. • After 2 minutes in the Charging Station, the PLR-4000 will go to sleep to efficiently charge.
- Page 2 • Eye Cup (Ex. 10) The PLR-4000 should not be used without the eye cup positioned correctly (Ex. 10) It is very important that the eye cup be correctly fitted. A snug fit helps reduce the possibility of stray light entering the eye while the scan is taking place.
- Page 3 (Ex. 22), then type in the Patient ID and select • To browse all pupil measurements stored on the PLR-4000 in chronological order (including all Patient IDs), select the All Records icon (Ex. 22) and press the DOWN Arrow button on the keypad to scroll through all previous measurements stored on the PLR-4000.
- Page 4 “connect USB cable & copy V_#####_######.avi.” Connect the USB cable from the pupillometer to the computer (Ex 23). The computer will show as “Neuroptics” drive on the computer. Click on the drive, copy the XLS file or the AVI file and paste it on your computer. Press “DONE”...


Need help?
Do you have a question about the PLR-4000 and is the answer not in the manual?
Questions and answers