Table of Contents
Advertisement
Quick Links
Advertisement
Table of Contents

Related Manuals for Ronix 8640


Summary of Contents for Ronix 8640
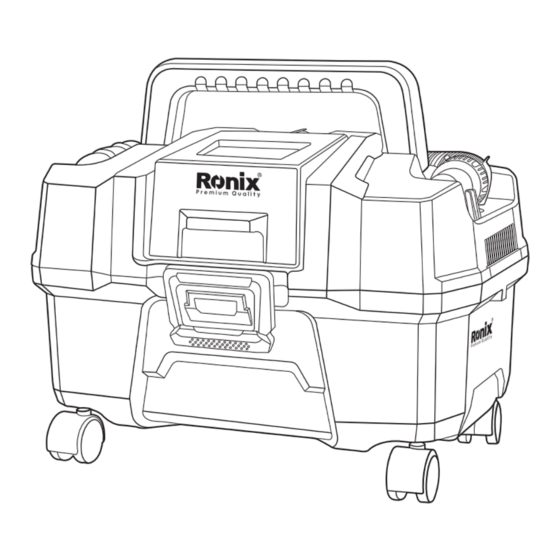
- Page 1 VACUUM CLEANER 8640...
-
Page 2: Technical Specifications
Motor Power 150W Vacuum Pressure >10KPA Airflow rate 20L/S Weight 4.27Kg Supplied in Ronix color box Includes plastic hose, Washable HEPA Filter, Sponge filter, T riangle brush, crevice nozzle,1 pc Battery 2Ah,1 pc Charger 2A PART LIST Waterproof cover for battery... -
Page 3: Safety Instructions
Failure to follow all instructions listed below, may result in electric shock, fire and/or serious personal injury. ATTENTION! Only the Ronix batteries catridges and chargers are recommended for this item. Usage of any other batteries catridges and chargers may cause break- down and injury. -
Page 4: Operation
- Remember to clean the tank, the filter, the flexible hose and accessories after usage. - If the appliance doesn’t work, or if you are facing any technical problems, please contact Ronix service center. OPERATION CONNECTION OF FLEXIBLE HOSE AND ACCESSORIES BEFORE OPERATION, THS APPLIANCE, THE FLEXIBLE HOSE AND ACCESSORIES SHOULD ALWAYS BE WELL CONNECTED. - Page 5 FOR SUCTION - Pull the hose holder to the right direction. - Plug the connector of the hose into the holder. - Turn the connector clockwise for locking. - Connect the triangular brush / crevice nozzle with the flexible hose for usage in different cases.
- Page 6 - Plug the connector of the hose into the blower. - Turn the connector clockwise for locking. - Connect the crevice nozzle with the flexible hose for stronger airflow. POWER ON - Press the button on the battery catridge, and plug it into the battery slot. - Keep the battery cover closed.
-
Page 7: Dry Vacuuming
- Turn the switch to ‘ I ‘ to start the appliance. - Turn the switch to ‘ 0 ‘ to stop the appliance. - The light of the switch is on with normal power supply. DRY VACUUMING Please only vacuum debris in proper size to fit through the flexible hose and accessories. -
Page 8: Wet Vacuuming
- Wear insulating gloves, or spray water mist around to increase the humidity. - Push the HEPA filter onto the filter seat. - Make sure the joints on the filter are directed to the slots on the filter seat. - Turn the HEPA filter clockwise for locking. - Fit the head of the appliance on the tank properly. - Page 9 Cover the sponge filter around the volve. - Fit the head of the appliance on the tank properly. - Lock 2 clips. MAINTANENCE - Make sure the appliance is switched off and the battery catridge is removed when the appliance is not under operation. - Keep the appliance and accessories dry when they are not under operation.
-
Page 10: Cleaning Of Filters
CLEANING OF TANK - Empty the tank by turn it over, and shake it. - Wipe the tank inside with a duster cloth / paper. CLEANING OF FILTERS SPONGE FILTER - Pull the sponge filter off from the water volve... -
Page 11: Hepa Filter
- Wash the sponge filter with water under 40℃ gently. - Dry it for 24 hours. HEPA FILTER - Turn the HEPA filter anticlockwise for unlocking it from the filter seat. - Pull it off from the water volve. - Clean the surface of the HEPA filter with a brush. - Wash it with water under 40 ℃...
Need help?
Do you have a question about the 8640 and is the answer not in the manual?
Questions and answers