Table of Contents
Advertisement
Quick Links
MICROWAVE OVEN
RMW1603
Microwave Oven
Please read these instructions carefully before installing and operating the oven.
Record in the space below the SERIAL NO. found on the nameplate on your oven and
retain this information for future reference.
SERIAL NO.
Please save sales receipt for warranty.
User's manual
Advertisement
Table of Contents

Related Manuals for RCA RMW1603


Summary of Contents for RCA RMW1603
- Page 1 MICROWAVE OVEN RMW1603 Microwave Oven User's manual Please read these instructions carefully before installing and operating the oven. Record in the space below the SERIAL NO. found on the nameplate on your oven and retain this information for future reference.
-
Page 2: Table Of Contents
Do not attempt to operate this oven with the door-open since open-door operation can result in harmful exposure to microwave energy. It is important not to defeat or tamper with the safety interlocks. Do not place any object between the oven front face and the door or allow soil or cleaner residue to accumulate on sealing surfaces. -
Page 3: Important Safety Instructions
When using electrical appliance basic safety precautions should be followed, including the following: WARNING!--To reduce the risk of burns, electric shock, fire, injury to persons or exposure to excessive microwave energy: 1. Read all instructions before using the appliance. 2. Read and follow the specific "PRECAUTIONS TO AVOID POSSIBLE EXPOSURE TO EXCESSIVE MICROWAVE ENERGY"... - Page 4 Use extreme care when inserting a spoon or other utensil into the container. 10. Do not heat oil or fat for deep-frying. It is difficult to control the temperature of oil in microwave oven. 11. Pierce foods with heavy skins such as potatoes, whole squash, apples and chestnuts before cooking.
-
Page 5: Installation Guide
Make sure that all the packing For correct operation, the oven must materials are removed from the have sufficient airflow. Allow 20cm inside of the door. of space above the oven, 10cm at back and 5cm at both sides. Do not Check the oven for any damage, cover or block any openings on the such as misaligned or bent door,... -
Page 6: Utensils Guide
Power Supply Cord A short power supply cord is provided to reduce the risks resulting from becoming entangled in or tripping over a longer cord. Longer cord sets or extension cords are available and may be used if care is exercised in their use. -
Page 7: Cooking Techniques
the food in several places. Conventional thermometers may be used on microwave food once the food has been removed from the oven. LIMITED USE Aluminum foil — Use narrow strips of foil to prevent overcooking of exposed areas. Using too much foil can damage your oven, so be careful. -
Page 8: Specifications
Shield food with narrow strips of aluminum foil to prevent overcooking. Areas that need shielding include poultry wing tips, the ends of poultry legs, and corners of square baking dishes. Use only small amounts of aluminum foil. Larger amounts can damage your oven. URNING Turn foods over midway through cooking to expose all parts to microwave energy. -
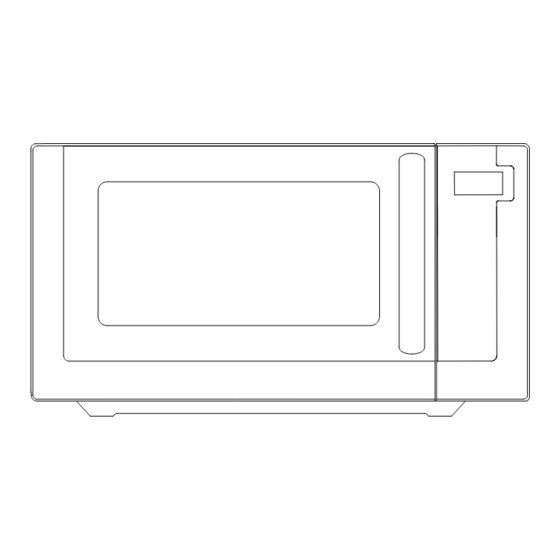
Page 9: Part Names
1. Door Safety Lock System 2. Oven Window 3. Roller Ring 4. Shaft 5. Control Panel 6. Wave Guide(Please do not remove the mica plate covering the wave guide) 7. Glass Tray DO NOT REMOVE THE CARDBOARD OVEN AIR VENT COVER THAT IS INSIDE THE MICROWAVE! -
Page 10: Control Panel
MENU ACTION SCREEN Cooking time, power, indicators and present time are displayed. QUICK COOK BUTTONS Instant settings to cook popular foods POWER LEVEL Use to set power levels other than high. TIMER Timer functions independently, even while a cooking program is in process. -
Page 11: Operation Instructions
SIGNALS DURING OVEN SETTINGS ONE SIGNAL: Oven accepts the entry. TWO SIGNALS: Oven does not accept the entry, check and try again. ETTING THE CLOCK Touch CLOCK pad. Use the number pads to enter the correct time. Touch CLOCK pad again. NOTE: ·This is a 12 hour clock. -
Page 12: Speed Defrost
B. Two-stage Cooking Some recipes require different stages of cooking at different temperatures. SET STAGE 1: Follow steps 1 and 2 in “One-stage Cooking”. DO NOT TOUCH START/STOP. SET STAGE 2: Touch COOK then enter proper cooking time and (lower) power level. (Most 2-stage recipes use lower power for second stage.) Touch START/STOP. -
Page 13: Cook By Weight
label gives weight in pounds only, change the fraction of a pound to ounces using the chart given above. During cooking, the system will pause automatically and then you may turn food over. Touch START/STOP pad to resume defrosting. OOK BY WEIGHT Touch COOK BY WEIGHT. -
Page 14: Setting Child Lock
go to next above .97 even ·During cooking, the system will pause automatically and sound to remind users to turn meat over, after that touch START/STOP to resume cooking. ·Let meat stand few minutes before carving. ETTING CHILD LOCK The safety lock prevents unsupervised operation by children. To set, press and hold RESET for 3 seconds. -
Page 15: Pizza
·To change the preset POPCORN time: Touch POPCORN twice. ENTER TIME appears in display. Touch number pads to enter minutes and seconds. ( The longest time is 99 min. 99 sec.) Touch START/STOP. This new cooking time will remain whenever you use the POPCORN setting until next power on or you reset it. -
Page 16: Cleaning And Care
Touch START/STOP. Turn off the oven and remove the power plug from the wall socket before cleaning. Keep the inside of the oven clean. When food splatters or spilled liquids adhere to oven walls, wipe with a damp cloth. Mild detergent may be used if the oven gets very dirty. Avoid the use of spray and other harsh cleaners as they may stain, streak or dull the door surface.
Need help?
Do you have a question about the RMW1603 and is the answer not in the manual?
Questions and answers