Table of Contents
Advertisement
Advertisement
Table of Contents

Related Manuals for Sherwood RX-4105


Summary of Contents for Sherwood RX-4105
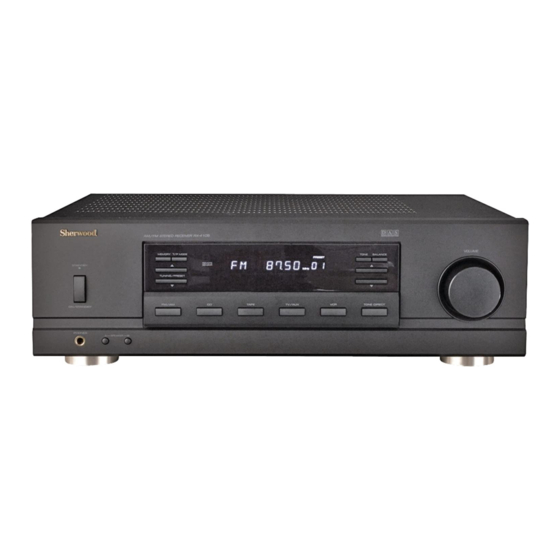
- Page 1 O P E R A T I N G I N S T R U C T I O N S RX-4105 AM/FM STEREO RECEIVER...
-
Page 2: Safety Instructions
SAFETY INSTRUCTIONS 1. Read Instructions - All the safety and operating instructions should be read before the product is operated. 2. Retain instructions - The safety and operating instructions should be retained for future reference. 3. Heed Warnings - All warnings on the product and in the operating instructions should be adhered to. -
Page 3: Introduction
Introduction UNPACKING AND INSTALLATION Congratulations on Your Purchase! Your new high fidelity receiver is designed to deliver maximum enjoyment and years of trouble free service. Please take a few moments to read this manual thoroughly. It will explain the features and operation of your unit and help ensure a trouble free installation. -
Page 4: Read This Before Operating Your Unit
READ THIS BEFORE OPERATING YOUR UNIT FOR U.S.A AND CANADA ... 120 V FOR YOUR SAFETY Units shipped to the U.S.A and Canada are designed for operation on 120 V AC only. Safety precaution with use of a polarized AC plug. However, some products may be supplied with a nonpolarized plug. -
Page 5: Table Of Contents
CONTENTS SAFETY INSTRUCTIONS Introduction UNPACKING AND INSTALLATION... 2 READ THIS BEFORE OPERATING YOUR UNIT ... 3 System Connections ... 5 Front Panel & Remote Controls REMOTE CONTROL OPERATION RANGE ... 9 LOADING BATTERIES ... 9 Operations LISTENING TO A PROGRAM SOURCE ... 10 LISTENING TO RADIO BROADCASTS ... -
Page 6: System Connections
Disconnect the indoor antenna before replacing it with the outdoor one. • Place the AM loop antenna as far as possible from the receiver, TV set, speaker cords and the AC input cord and set it to a direction for the best reception. -
Page 8: Front Panel & Remote Controls
Front Panel & Remote Controls... - Page 9 POWER BUTTON Each time the POWER button is pressed, this unit is turned on to enter the operating mode or off to enter the standby mode. STANDBY INDICATOR HEADPHONE JACK Stereo headphones with a standard 1/4 inch plug can be plugged into this jack for private listening. SPEAKER A, B SELECTOR BUTTONS These buttons allow you to select various combinations of speakers as follows:...
-
Page 10: Fluorescent Display
FLUORESCENT DISPLAY REMOTE CONTROL OPERATION RANGE Use the remote control unit within a range of about 7 meters (23 feet) and angles of up to 30 degrees aiming at the remote sensor. LOADING BATTERIES Remove the cover. Load two batteries matching the polarity. -
Page 11: Operations
In the standby mode, the STANDBY indicator lights up. This means that the receiver is not disconnected from the AC mains and a small amount of current is retained to support the memorized contents and operation readiness. - Page 12 Adjusting the tone(bass and treble) Enter the tone mode. Each time this button is pressed, the corresponding tone mode is selected and shown for 3 seconds as follows: Note: When the tone direct function is activated, the tone mode cannot be entered and “TON DIR” flickers for 3 seconds.
-
Page 13: Presetting Radio Stations
LISTENING TO RADIO BROADCASTS Auto tuning Select the tuner and then the desired band. Select the tuning mode. • Each time this button is pressed, the mode changes as follows: Manual tuning • Manual tuning is useful when you already know the frequency of the desired station. -
Page 14: Memory Backup Function
NUMERIC buttons, the desired preset station will be tuned to automatically without selecting the preset mode. Scanning preset stations in sequence • The receiver will start scanning the stations in the preset sequence. • At the desired station, press this button again to stop scanning. -
Page 15: Recording
To set the receiver to automatically turn off after the specified period of time. Each time this button is pressed, the sleep time changes as follows: While operating the sleep timer, “SLEEP”... -
Page 16: Troubleshooting Guide
If a fault occurs, run through the table below before taking your receiver for repair. If the fault persists, attempt to solve it by switching the receiver off and on again. If this fails to resolve the situation, consult with your dealer. Under no circumstances should you repair the receiver yourself as this could invalidate the warranty. -
Page 17: Specifications
Specifications AMPLIFIER SECTION Power output, stereo mode, 8 Ω, THD 0.08 %, 40 Hz~20 kHz ... 2X10⁵ W Total harmonic distortion, 8 Ω, 100 W, 20 Hz~20 kHz ... 0.04 % Intermodulation distortion 60 Hz : 7 kHz= 4 : 1 SMPTE, 8 Ω, 100 W ... 0.1 % Input sensitivity, 47 kΩ... - Page 18 O P E R A T I N G I N S T R U C T I O N S RX-4105 AM/FM STEREO RECEIVER 5707-04740-004-1...
Need help?
Do you have a question about the RX-4105 and is the answer not in the manual?
Questions and answers