
Related Manuals for J.Burrows PRESCOTT JBPRESCTOA


Summary of Contents for J.Burrows PRESCOTT JBPRESCTOA
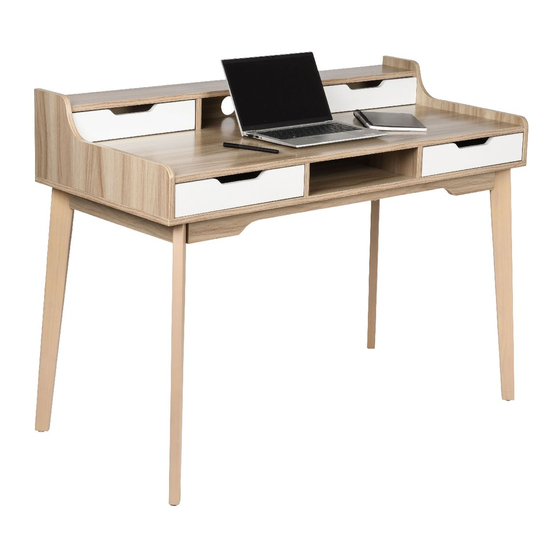
- Page 1 PRESCOTT 2 TIER DESK ITEM CODE: JBPRESCTOA 1 Carton This design and instruction booklet is subject to copyright www.officeworks.com.au For missing hardware call (03) 9310 3011 or email hardware@kyvas.com.au 1/26...
- Page 2 Important Estimated Assemble Time: 70min To view an assembly video, go to https://www.officeworks.com.au/ Search the product by item code or name: Click on the icon to watch the video. CAUTION Do not use tools other than those required, as this can damage your new item.
- Page 3 Part Overview 3/26...
- Page 4 Part List Parts located in Carton - JBPRESCTOA 4/26...
- Page 5 Part List Parts located in Carton - JBPRESCTOA 5/26...
- Page 6 Hardware List Hardware Pack located in Carton - JBPRESCTOA ( ( ( ø ø ø 6 x 35mm) 15 x 12mm) 6 x 30mm) X 33pcs X 33pcs X 35pcs (extra 1pc) (extra 1pc) (extra 1pc) ( ø 4 x 35mm) (...
- Page 7 Hardware List Other Hardware located in Carton - JBPRESCTOA Metal Connector 2 Section Runner X 4pcs X 4sets For missing hardware, please contact Kyvas on (03) 9310 3011 or email hardware@kyvas.com.au 7/26...
- Page 8 Assembly Step 1 (L) x sets 8/26...
- Page 9 Step 2 X 6pcs X 2pcs Step 3 X 6pcs X 2pcs 9/26...
- Page 10 Step 4 X 8pcs Step 5 X 8pcs Step 6 X 2pcs X 4pcs X 2pcs 10/26...
- Page 11 Step 7 Tighten cam locks once panel and 22 are in place. X 2pcs Step 8 X 4pcs X 2pcs 11/26...
- Page 12 Step 9 Tighten cam locks once panel 1 is in place. X pcs X 1pc Step 10 Tighten cam locks once panel 4 is in place. X pcs X 1pc 12/26...
- Page 13 Step 11 X 6pcs X 4pcs Step 12 Tighten cam locks once panel 2 and 3 are in place. X 6pcs 13/26...
- Page 14 Step 13 Step 14 X 8pcs 14/26...
- Page 15 Step 15 X 5pcs Step 16 X 4pcs 15/26...
- Page 16 Step 17 X 24pcs X 4pcs Step 18 X 8pcs X 1pc X 8pcs X 8pcs 16/26...
- Page 17 Step 19 X 4pcs Step 20 X 4pcs X 1pc 17/26...
- Page 18 Step 21 X 8pcs Step 22 X 12pcs 18/26...
- Page 19 Step 23 X 6pcs Step 24 X 8pcs 19/26...
- Page 20 Step 25 Step 26 X 8pcs 20/26...
- Page 21 Step 27 Tighten cam locks once panel 15 is in place. X 8pcs Step 28 21/26...
- Page 22 Step 29 X 8pcs Step 30 Step 31 X 8pcs 22/26...
- Page 23 Step 32 Tighten cam locks once panel 15 is in place. X 8pcs Step 33 X 8pcs X 4pcs 23/26...
- Page 24 Step 34 Note: Move the inner ball bearing part as shown below to the front end on both sides before inserting the drawer. Note: Insert the sliding part (at drawer section) into ball bearing part gently as shown below. Maximum Load Capacity: Desk Top - 40 kg Stationery Drawer - 5kg Storage Box - 3kg...
-
Page 25: Safety Warning
NC Painting/Melamine Finish Desk Keep away and protect from direct sunlight and heat. Do not place sharp materials (knife, fork, etc) directly onto your furniture as sharp material may scrape and damage the finish. Clean up spills quickly. Water left over a prolonged period of time may cause damage. - Page 26 26/26...
Need help?
Do you have a question about the PRESCOTT JBPRESCTOA and is the answer not in the manual?
Questions and answers