
Related Manuals for Clarke MD1500


Summary of Contents for Clarke MD1500
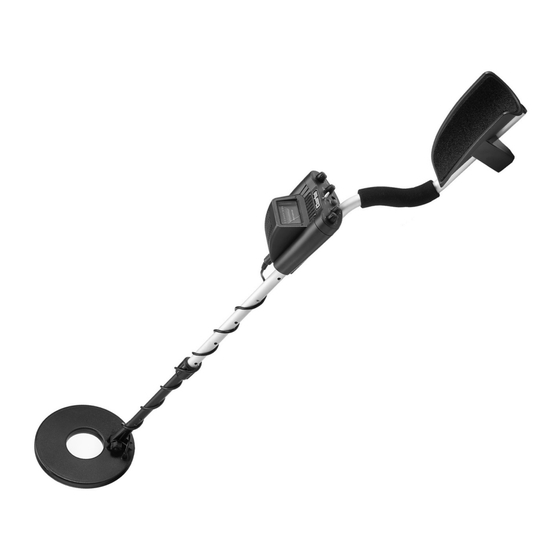
- Page 1 PROFESSIONAL METAL DETECTOR MODEL NO: MD1500 PART NO: 4501220 USER INSTRUCTIONS ORIGINAL INSTRUCTIONS DL0923 - REV 1...
-
Page 2: Specifications
INTRODUCTION Thank you for purchasing this CLARKE metal detector. Before attempting to use this product, please read this manual thoroughly and follow the instructions carefully. In doing so you will ensure the safety of yourself and that of others around you, and you can look forward to your purchase giving you long and satisfactory service. -
Page 3: Assembling The Metal Detector
PREPARATION ASSEMBLING THE METAL DETECTOR 1. Remove the nut and bolt from the search coil. 2. Position the lower stem between the posts on the search coil and replace the nut and bolt as shown in Fig 1. 3. Adjust the search coil so that it is parallel to the ground and tighten the nut &... -
Page 4: The Control Panel
THE CONTROL PANEL No NAME DESCRIPTION NAME DESCRIPTION DISC/ This setting is used to SENS Used to adjust the TONE make the metal sensitivity detector reject lower quality targets. Corrects for the THRESHOLD Also used as a power metallic minerals that switch. -
Page 5: Operation
OPERATION HOW TO TURN THE DETECTOR ON OR OFF • Rotate the THRESHOLD control clockwise to turn the Metal Detector ON. • Rotate the THRESHOLD control fully to the left to turn the Metal Detector OFF. DETECTION MODES There are 3 ways to detect metal using this metal detector. ALL METAL This MODE detects every type of metal and must be used when the material of the required object is not known. -
Page 6: Using The Metal Detector
USING THE METAL DETECTOR ALL-METAL MODE 1. Set the DISC/TONE dial (1) to the ALL METAL position. 2. Set the SENS dial to the middle position. 3. Hold the search coil 1 metre above the ground. 4. Hold down the TRACE button and rotate the GND BAL to the area marked 'P'. -
Page 7: Using Headphones
USING HEADPHONES 1. Insert your headphones into the headphone socket on the control housing. Connecting stereo headphones automatically disconnects the loudspeaker. Headphones give slightly more sensitivity as they reduce external noises which can interfere with your ability to detect objects. CAUTION: SET THE VOLUME TO THE LOWEST LEVEL BEFORE PUTTING ON THE HEADPHONES. -
Page 8: Exploded Parts Diagram
EXPLODED PARTS DIAGRAM Parts & Service: 020 8988 7400 / E-mail: Parts@clarkeinternational.com or Service@clarkeinternational.com... -
Page 9: Parts List
PARTS LIST DESCRIPTION DESCRIPTION Search Coil Washer Screw ST2.6x6-F End Shaft Meter Cover Assembly Knob Meter Lock Nut Screw ST2.6x6-F Slide Board Meter Panel Assembly Shaft Cover Printed Circuit Board Spring Housing Spring Printed Circuit Board Spring Printed Circuit Board Battery Cover Printed Circuit Board Battery Cover... -
Page 10: Declaration Of Conformity
DECLARATION OF CONFORMITY Parts & Service: 020 8988 7400 / E-mail: Parts@clarkeinternational.com or Service@clarkeinternational.com... - Page 11 REPORTING OF TREASURE & HISTORICAL ITEMS You must report treasure to the local coroner within either: • 14 days of first finding it. • 14 days of realising an item might be treasure, even if you’ve had it for longer. You only need to report items officially defined as treasure.
Need help?
Do you have a question about the MD1500 and is the answer not in the manual?
Questions and answers