Advertisement
Introduction
When you have finished setting up the loudspeakers as described on the following pages, connect the entire system to the mains.
Cleaning the loudspeaker
You can clean the speaker panels with a vacuum cleaner set to the lowest suction level. Clean the other surfaces using a soft, lint free cloth which you have dipped in luke warm water and wrung firmly.
Never use alcohol or other solvents to clean any parts of the loud speaker!
Switching on and off
If you have set the LINE IN MODE switch to AUTO, the loudspeakers automatically switch on when they receive an input signal – indicated by green indicator lights. When you switch off your system, the loudspeakers will, after a few minutes, automatically switch to standby – indicated by red indicator lights.
However, if you have set the LINE IN MODE switch to ON, the loudspeakers are always switched on, even when you switch off your system.
In either setting of the LINE IN MODE switch, the loudspeakers can only be switched off completely by disconnecting them from the mains supply.
Cautions
- Make sure that the loud speakers are placed and connected in accordance with the instructions in this Guide. To prevent injury, use Bang & Olufsen approved stands and wall brackets only!
- Do not attempt to open the loud speakers. Leave such operations to qualified service personnel! The speaker panels, how ever, may be removed for cleaning.
![]()
- The loud speaker is designed for indoor use in dry, domestic environments only, and for use within a temperature range of 10–40º C (50–105º F).
- For optimum sound quality, do not place the loud speaker enclosed in, for example, a small book case. Leave a minimum of 20 cm (8") free space at the sides, and never place anything directly in front of the loud speaker.
- Do not block the sound emitting from the bass reflex port at the bottom of the loud speaker.
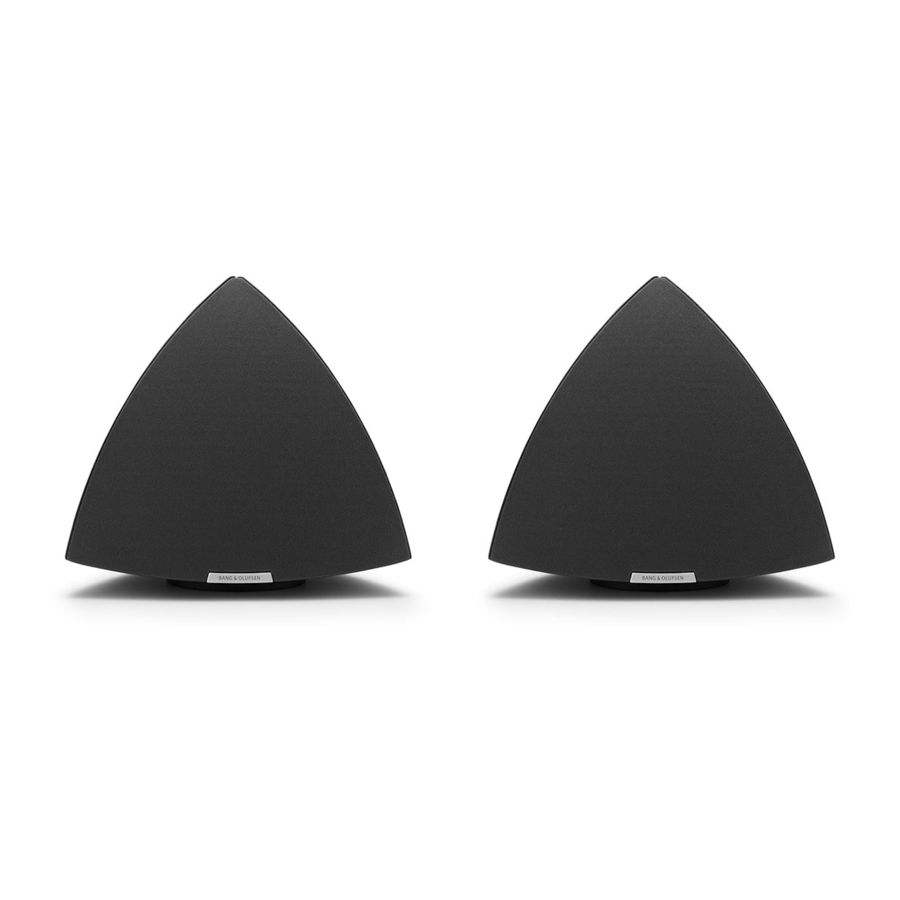
- Place the loudspeaker with its front (the Bang & Olufsen name plate) facing your favourite listening position.

 NOTE! Prolonged listening at high volume levels may cause hearing damage.
Set up the loudspeakers

We recommend that you follow this procedure:
- Disconnect your system from the mains.
- Connect the loud speakers and set the LINE IN MODE switch on each loud speaker as explained in 'Cable connections.
- Connect the entire system to the mains again.
The loud speaker must be placed standing upright on its base, or fastened to one of the optional accessories. Make the connections, and set the switch before you fasten the loud speaker to one of the accessories.
Loudspeaker front and side panels
Each loudspeaker is equipped with one front panel and two side panels. These panels are fastened to the loudspeaker with three small pegs on the rear. The front panel is marked with a Bang & Olufsen name plate.
To remove the panels, for example for cleaning, just pry the three pegs in each panel free of the corresponding holes (A–B) in the loud speaker. Fasten the panels again by inserting the three pegs into the corresponding holes in the front and the sides of the loud speaker.
Note: The product identification and CE labels are placed on the loud speaker body behind the side panels.
Cable connections
The loudspeakers are intended for use with a personal computer. They may also be used with non-Bang & Olufsen audio or video systems.
About the LINE IN MODE switch...
The switch has two settings: ON and AUTO. We recommend that you set the switch to the same position on each loudspeaker.
When set to ON, the loud speakers will not auto matically switch to standby when the sound signal disappears. In this case, we recommend that you switch off at the mains supply, when not using the system. When set to AUTO, the loudspeakers automatically switch on when you switch on the system. When you switch off the system, the loudspeakers will, after a few minutes, switch to standby.

The sockets and the switch are located in the base of each loud speaker.
Connection to personal computers
Use the enclosed connector to connect the computer sound card out put to each of the loud speakers.
As the sound signal from a computer may vary (not constantly on), we recommend that you set the LINE IN MODE switch to ON. This will prevent the loudspeakers from switching off and on every few minutes.
Connection to audio or video systems
Connect the system to the LINE IN socket on each loudspeaker (minijack – mono).
Set the LINE IN MODE switch to AUTO.
The supplied plug and mains cord are specially designed for the product. Do not change the plug and if the mains cord is damaged, you must buy a new one from your Bang & Olufsen retailer.
LINE IN connections: Output from computer sound cards often carry both the left and right sound channels in one socket. Therefore, use the enclosed connector when connecting the loudspeakers to a personal computer (fig 1). Connect the plug marked L to the left loudspeaker, and the plug marked R to the right loudspeaker.

If you connect the loudspeakers to, for example, a non Bang & Olusen audio or video system with separate connections for the left and right sound channels, make the connections as shown in fig. 2.

Mains connections: Depending on the type of mains supply connector enclosed with your loud speakers, connect each loudspeaker to the mains as shown in either fig. 3 or fig. 4.

Cable Clamp: For safety reasons, the mains lead to each loud speaker must be secured with the cable clamp provided.


Documents / ResourcesDownload manual
Here you can download full pdf version of manual, it may contain additional safety instructions, warranty information, FCC rules, etc.
Advertisement


Need help?
Do you have a question about the BeoLab 4 PC and is the answer not in the manual?
Questions and answers