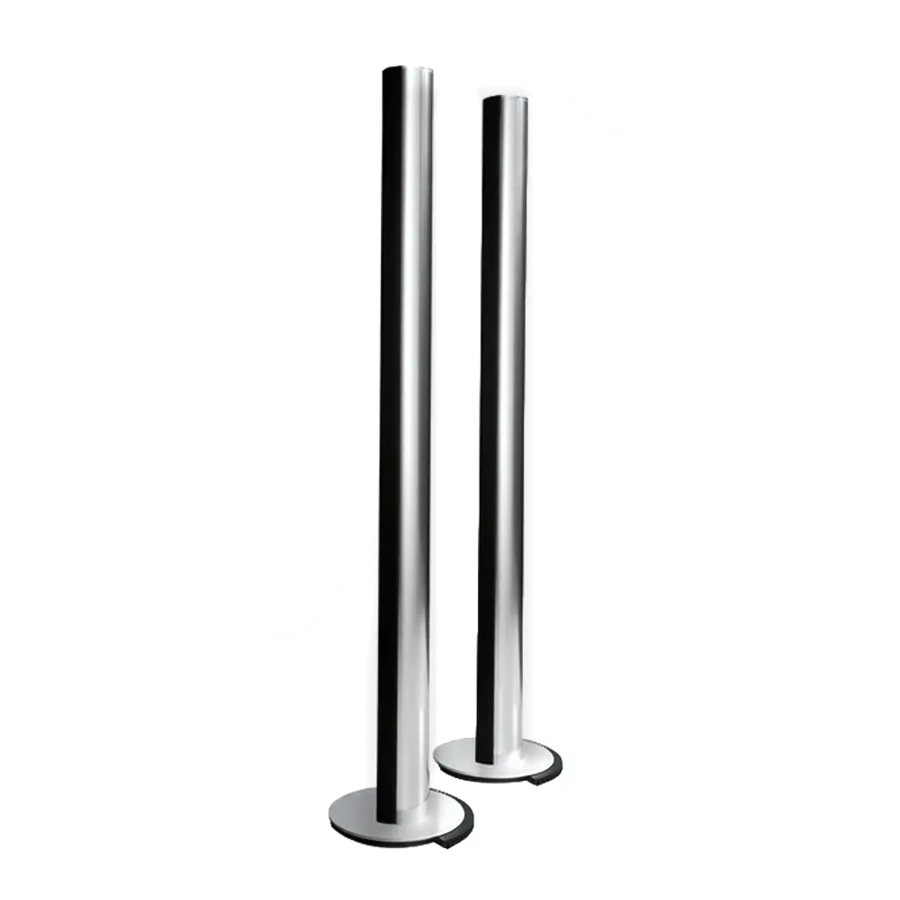
Bang & Olufsen BeoLab 6000 - Speakers Manual
- User manual (11 pages) ,
- Manual (8 pages) ,
- User manual (10 pages)
Advertisement
Introduction

RISK OF ELECTRIC SHOCK DO NOT OPEN
To reduce the risk of electric shock, do not remove cover (or back).
No User-serviceable parts inside.
Refer servicing to qualified service personnel

To prevent fire or electric shock, do not expose this appliance to rain or moisture. Do not expose this equipment to dripping or splashing and ensure that no objects filled with liquids, such as vases, are placed on the equipment
To completely disconnect this equipment from the AC Mains, disconnect the power supply cord plug from the AC receptacle
 This symbol indicates that a dangerous voltage constituting a risk of electric shock is present within this unit.
 This symbol indicates that there are important operating and maintenance instructions in the literature accompanying this unit
For the US-market only!
 NOTE: This equipment has been tested and found to comply with the limits for a class B digital device, pursuant to part 15 of the FCC Rules. These limits are designed to provide reasonable protection against harmful interference in a residential
installation.
This equipment generates, uses and can radiate radio frequency energy and, if not installed and used in accordance with the instructions, may cause harmful interference to radio communications. However, there is no guarantee that interference will not occur in a particular installation. If this equipment does cause harmful interference to radio or television reception, which can be determined by turning the equipment off and on, the user is encouraged to try to correct the interference by one or more of the following measures:
- Reorient or relocate the receiving antenna.
- Increase the separation between the equipment and receiver.
- Connect the equipment into an outlet on a circuit different from that to which the receiver is connected.
- Consult the dealer or an experienced radio/TV technician for help.
For the Canadian market only!
This class B digital apparatus meets all requirements of the Canadian Interference-Causing Equipment Regulations.
ASSEMBLING
Column and base

It is easiest to assemble the base and the speaker column if the loudspeaker is lying on a table.
In order to protect the table and the column from being scratched, we recommend that you place the wrapping foam on the table first.
The parts required for assembling the BeoLab 6000 are supplied with the loudspeakers:
1 Allen wrench
3 Screws (per speaker)
Hook the base plate onto the two guiding pins at the bottom of the speaker column (be care - ful not to drop the base plate!).
Insert the three screws and tighten them securely using the Allen wrench.
Placement
The BeoLab 6000 occupies very little space on the fl oor. In fact, it can be placed wherever it is most convenient for your room layout and for your preferred listening position.
Remember though, when planning where to place them, that all speakers in a setup need connection to a mains outlet and that they are designed to be left on at all times!
The BeoLab 6000 is designed for use in dry environments only!
CONNECTIONS

Once you, or your Bang & Olufsen dealer, have assembled the loudspeakers, they are ready for connection to your Audio or Video system and to the mains.
The socket panel is located at the bottom of the BeoLab 6000. Use the illustrations on these pages and the graphics printed on the bottom plate for reference.
Connection to Bang & Olufsen products
Connect the BeoLab 6000 to the Beomaster/Beovision using the enclosed 8-pin Power Link cable. Plug one end into one of the Power Link sockets on the socket panel of the BeoLab 6000 and the other end into either of the two Power Link sockets on the Beomaster/Beovision (please refer to your setting-up guide for the Beomaster/Beovision).
Once you have connected the loudspeakers to the Beomaster/Beovision, the switch marked L R LINE must be set to either L or R:
L for the left-hand speaker
R for the right-hand speaker

In order to avoid cables running from both loudspeakers to your Beomaster/Beovision, you may loop the signals through, using the second Power Link socket, as illustrated. If you wish, you can, of course, also connect one loudspeaker to each of the Power Link sockets on the Beomaster/Beovision.
You can connect more than one pair (as many as ten pairs, in fact) of BeoLab 6000 loudspeakers to your system. You just have to run a Power Link cable from speaker to speaker. Remember though, to set the L R LINE switch to the proper position for the left- and right-hand speakers, respectively

Connection to non-Bang & Olufsen products
The phono socket marked LINE must be used instead of the Power Link sockets if the BeoLab 6000 is to be connected to a non-Bang & Olufsen product (using e.g. a cable, part no. 6270595).
Once you have connected the BeoLab 6000 to a non-Bang & Olufsen product, the switch marked L R LINE must be set to LINE, as indicated.

Connection to the mains
Connect the BeoLab 6000 to the mains using the enclosed mains lead.


SWITCHING ON AND OFF
The moment you connect the BeoLab 6000 to the mains, a tiny red light appears on the front, behind the cloth, indicating that the loudspeaker is on stand-by.
When you switch on your Bang & Olufsen audio system (or video system), the BeoLab 6000 speakers switch on simultaneously.
The red stand-by light turns green, indicating that the loudspeaker is switched on.
When you switch off your system, or when you mute the sound, the red light appears immediately, indicating that the loudspeakers are switched off.
If the BeoLab 6000 speakers are connected to a non-Bang & Olufsen system, via the phono sockets (LINE), they switch on when they receive a signal from the system.
They switch off a few minutes after the signal has disappeared.

- The red stand-by light turns green when the loudspeakers are switched on
MAINTENANCE
Clean the BeoLab 6000 loudspeakers using a soft, firmly wrung lint-free cloth which you have dipped in a solution of lukewarm water containing a few drops of mild detergent, for example a dish washing detergent.
NOTE! Never use alcohol or other solvents to clean the BeoLab 6000 loudspeakers

This product fulfils the conditions stated in the EEU directives 89/336 and 73/23

Documents / ResourcesDownload manual
Here you can download full pdf version of manual, it may contain additional safety instructions, warranty information, FCC rules, etc.
Advertisement


Need help?
Do you have a question about the BeoLab 6000 and is the answer not in the manual?
Questions and answers