Table of Contents
Advertisement
Quick Links
Advertisement
Table of Contents

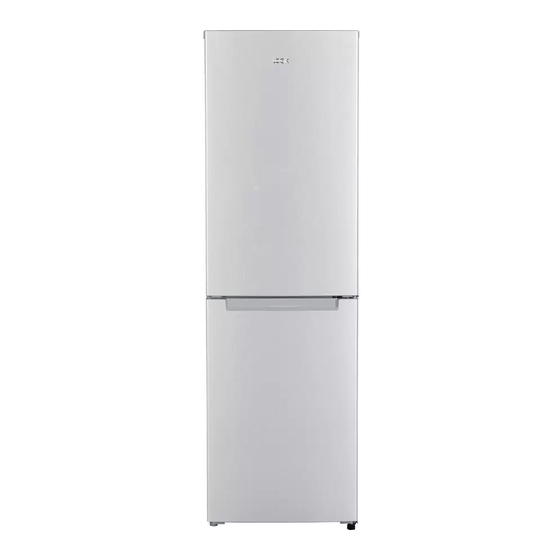
Summary of Contents for Logik LFF55S17
- Page 1 Instruction / Installation Manual Fridge Freezer LFF55S17 LFF55W17...
-
Page 3: Table Of Contents
Contents Safety Warnings ..........................4 Unpacking ............................. 6 Installation ............................ 7 Location ..................................7 Levelling the Unit ..............................7 Installing the Spacers ............................. 7 Free Space Requirements ............................. 7 Reversing the Door Swing ............................ 8 Cleaning Before Use .............................11 Before Using Your Unit ............................11 Product Overview ........................12 Operation ............................13 Switching On Your Unit ............................13... -
Page 4: Safety Warnings
Safety Warnings For your continued safety and to reduce the risk of injury or electric shock, please follow all the safety precautions listed below. • Read all instructions carefully before using the unit and keep them for future reference. • Retain the manual. If you pass the unit onto a third party, make sure to include this manual. - Page 5 • Do not store bottles or glass containers in the freezer compartment. Contents can expand when frozen (fizzy drinks) which may break the bottle and damage your freezer compartment. (If applicable) WARNING • Keep ventilation openings in the unit enclosure or in the built-in structure clear of obstructions.
-
Page 6: Unpacking
Thank you for purchasing your new Logik Fridge Freezer. We recommend that you spend some time reading this instruction manual in order to fully understand all the operational features it offers. Read all the safety instructions carefully before use and keep this instruction manual for future reference. -
Page 7: Installation
Installation INSTALLATION Location When selecting a position for your unit you should make sure the floor is flat and firm, and the room is well ventilated with an average room temperature of between 16°C and 38°C. Avoid locating your unit near a heat source, e.g. cooker, boiler or radiator. Also avoid direct sunlight as it may increase the electrical consumption. -
Page 8: Reversing The Door Swing
INSTALLATION Reversing the Door Swing Tools required: Philips style screwdriver / Flat bladed screwdriver / Hexagonal spanner • Ensure the unit is unplugged and empty. • To take the door off it is necessary to tilt the unit backwards. You should rest the unit on something solid, e.g. - Page 9 INSTALLATION 4. Take off the middle hinge by removing the screws. Lift the lower door and place it on a padded surface to prevent it from scratching. unscrew 5. Remove the lower screws, hinge bracket and adjustable feet from the unit bottom. Keep the matching bracket and foot together.
- Page 10 INSTALLATION 8. After replacing the freezer door, screw the middle hinge back onto the opposite Middle hinge side of the unit. Ensure the freezer door is aligned horizontally and vertically, so that the seals are closed on all sides before finally tightening the hinge. 180˚...
-
Page 11: Cleaning Before Use
INSTALLATION 12. Put the top cover back on and fix it in place with the screws. 13. With the door closed, check that the door is aligned horizontally and vertically and that the seals are closed on all sides before finally tightening the bottom hinge. -
Page 12: Product Overview
Product Overview Internal Light and Thermostat Control Upper Glass Shelf Balcony Salad Bin Cover Bottom Balcony Salad Bin Upper Drawer Bottom Drawer Levelling Feet Egg Tray Ice Tray... -
Page 13: Operation
Operation Switching On Your Unit 1. Before connecting the unit to the mains supply, adjust the thermostat control to the desired position. Bear in mind that the higher the number, the lower the temperature. Position 3 is the recommended setting when operating at normal room temperature (between 16°C and 38°C). -
Page 14: Shopping For Chilled Foods
Shopping for Chilled Foods • Take a quick look at the chilled food package and make sure it is in perfect condition. • Try to keep chilled food together whilst shopping and on the journey home as this will help to keep the food cold. -
Page 15: Cleaning
Cleaning Defrosting Frost may accumulate on the inner rear surface of the appliance which will automatically defrost during the off cycle of the compressor. Water is channelled via the drain hole to the collection tray above the compressor where it will evaporate. Please ensure the drain hole is checked and cleaned on a regular basis so water can exit the storage compartment. -
Page 16: Maintenance
Maintenance Care When Handling / Moving Your Unit Hold the unit around its sides or base when moving it. Under no circumstances should it be lifted by holding the edges of the top surface. Servicing The unit should be serviced by an authorised engineer and only genuine spare parts should be used. -
Page 17: Specifications
Specifications Model LFF55S17 / LFF55W17 Appliance Category Category 7 (Refrigerator – Freezer) Overall Dimension (H x W x D) H176 x W55 x D60cm Fresh Food Storage Compartment 160L Volume Frozen Food Storage Volume Defrosting Type Fridge = Auto Defrost, Freezer = Frost-free Climate Class This appliance is intended to be used at an ambient temperature between 16°C and 38°C. - Page 20 For general information about this appliance and handy hints and tips, please visit www.knowhow.com/knowledgebank or call 0344 5611234. Visit Partmaster.co.uk today for the easiest way to buy electrical spares and accessories. With over 1 million spares and accessories available we can deliver direct to your door the very next day.


Need help?
Do you have a question about the LFF55S17 and is the answer not in the manual?
Questions and answers