Table of Contents
Advertisement
Quick Links
S ING LE S PLI T A IR CO N DIT IO N ER S - R 3 2
U SER MANU AL an d INS TA L L ATIO N GU IDE
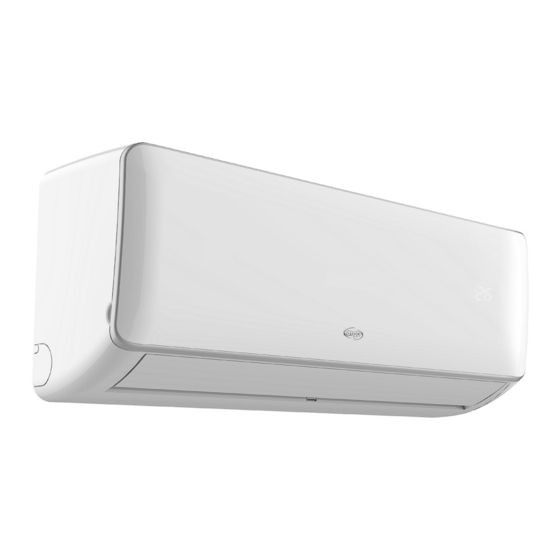
INDOOR UNIT
CHARM DUBBEL 9000 UI
CHARM DUBBEL 12000 UI
Please read this manual carefully before installing and using the air conditioner, and retain for future
reference.
C H A R M D U B B E L
V 11/22
OUTDOOR UNIT
CHARM DUBBEL 14000 UE
E N
Advertisement
Table of Contents


Need help?
Do you have a question about the CHARM DUBBEL 9000 UI and is the answer not in the manual?
Questions and answers