Advertisement
Advertisement
Table of Contents

Subscribe to Our Youtube Channel
Summary of Contents for Pacific Casual 5HGZ1989-WBS
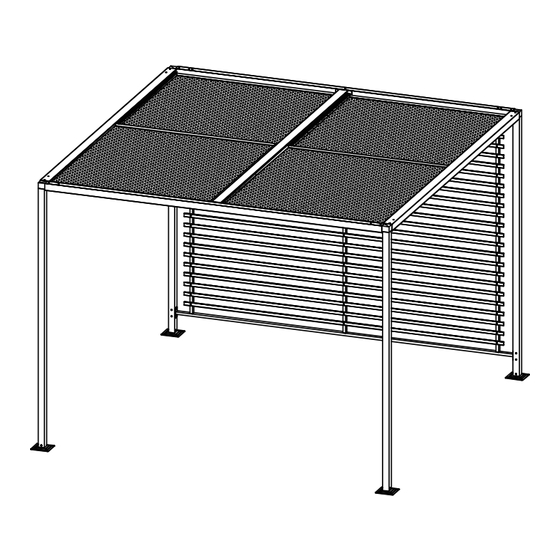
- Page 1 USE AND CARE GUIDE 9 FT X 9 FT PERGOLA Questions, problems, missing parts? Before returning to the store, call Pacific Casual Customer Service 8.00 a.m. - 7.00 p.m. EST, Monday - Friday, 9.00 a.m. - 6.00 p.m. EST, Saturday (888) 445 6690...
- Page 2 Table of Contents Table of Contents ............2 Pre-Assembly ............3 Planning Assembly..............3 Safety Information ............2 Part List..................3 Care Instructions ..............2 Assembly ...............4 Safety Information WARNING : Do not climb slats! Climbing slats will possibly result in pergola damage or personnel injury. Total weight capacity of slats is 25 kgs only! WARNING : Keep all flames and heat sources away from the sling roof panels.
- Page 4 Pre-Assembly NOTE: Hardware not shown to actual size. Part Description Quantity Ground stake Self tapping screw (ST5*20) Bolt (M6x15) Bolt (M6x25) Bolt (M6x28) Bolt (M6x58) Washer Bolt cap Hex wrench Wrench Puller Philips screwdriver Assembly Attaching post bases A 、B、C A 、B、C Attach one post base (M) to the bottom of each corner post (A)/(B)/(C) with washer (U), nut (V) and bolt (T) using hex wrench (X) and wrench (Y).
- Page 5 Assembly Assembling the back panel Attach corner posts (A) and (B) to the cross beam (D) with washers (U) and bolts (Q) using hex wrench (X). Please check the direction of all relevant holes before you fully tighten bolts. Attach the cross bar (H) to corner posts (A) and (B) ) with washers (U) and bolts (Q) using hex wrench (X).
- Page 6 Assembly Attaching the cross beam (E) Attach cross beam (E) to corner posts (C) with washers (U) and bolts (Q) using hex wrench (X). Erecting the main frame Attach roof rails (F) to corner posts (A)/(B) with washers (U) and bolts (Q) using hex wrench (X). Attach the roof rail (G) to the cross beam (D) with washers (U) and bolts (Q) using hex wrench (X).
- Page 7 Assembly Installing roof panels Along the short side of the sling (N) slide roof tubes (K) into the sling (N). Repeat this for the other three pieces of sling. Put sling panels onto the top of the frame. Make sure hook and loop straps will be be parallel to roof rails (F) and (G).
- Page 8 Assembly Installing roof panels Detach hooks from loops on each sling. Attach roof tubes (L) to one roof tube (K) with washers (U) and bolts (R) with hex wrench (X). Cover both roof tubes (L) with hook and loop straps and set roof tubes (K) in rails (F) and rail (G).


Need help?
Do you have a question about the 5HGZ1989-WBS and is the answer not in the manual?
Questions and answers