Advertisement
Quick Links
5LGZ0702V2NN
Model #
ASSEMBLY INSTRUCTIONS
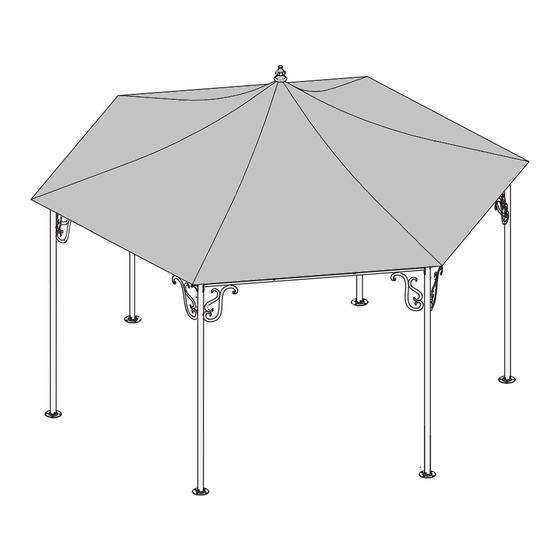
Pavilion Hexagon Roof Style Gazebo with Top Finial, 13' Diagonal
(Netting sold Seperately)
Questions, problems, missing parts? Before returning to the store,
rvice
7.30 a.m. - 4.30 p.m., PST, Monday - Friday
888-445-7757
CustomerService@PacificCasual.com
Advertisement

Related Manuals for Pacific Casual 5LGZ0702V2NN


Summary of Contents for Pacific Casual 5LGZ0702V2NN
- Page 1 5LGZ0702V2NN Model # ASSEMBLY INSTRUCTIONS Pavilion Hexagon Roof Style Gazebo with Top Finial, 13' Diagonal (Netting sold Seperately) Questions, problems, missing parts? Before returning to the store, rvice 7.30 a.m. - 4.30 p.m., PST, Monday - Friday 888-445-7757 CustomerService@PacificCasual.com...
- Page 2 Page 2...
- Page 3 PART LIST Illustration / Description Ref # Corner Post Post Base Cross Beam Long Corner Rib Short Corner Rib Bracket Cast Accent Vent Hub Finial M6×35 Bolt,Nut and Bolt Cap Bolt and Bolt Cap M6×16 Screw M5×10 Wrench Ground Stake Plastic clip Plug Anchor...
- Page 4 Step 1: Attaching Post Bases and Brackets to Corner Posts M5×10 M6×16 1. Attach one Post Base (B) to the bottom of Corner Post (A) with three screws (L) using a Philips screwdriver. 2.Attach one Bracket (F) to the top of Corner Post (A) with one Bolt and Cap (K) using hex wrench (M).
- Page 5 Step 2: Setting up the Main Frame M6×16 1. Feed eight plastic clips (O) into each netting rail on the cr oss beam (C) . Hammer one plug (P) into each end of each nettting rail. 2. Attach two Corner Posts (A) to both ends of Cross Beam (C) with four Bolts and Bolt Caps (K) using Hex Wrench (M).
- Page 6 Step 3: Attaching the Cast Accents M6×16 At each Corner Post (A) attach two Cast Accents (G) to each adj acent Cross Beams (C) with two Bolts and Bolt Caps (K) using Hex Wrench (M). 2. Repeat this until all Cast Accents (G) are attached to Cross Beams (C) and Corner Posts (A).
- Page 7 Step 4: Assembling the Roof Frame 1. Snap one Short Corner Rib (E) into each Long Corner Rib (D). 2. Snap the assembled corner rib into one recevier of Vent Hub (H). 3. Repeat this for the remaining assembled corner ribs. Page 7...
- Page 8 Step 5: Attaching the Roof Frame onto the Main Frame M6×30 1. With a ladder at the center of the main frame, place the roof frame over the main frame. 2. Align assembled corner ribs to Brackets (F). Attach each corner rib to each bracket with one Bolt, Nut and Bolt Cap (J) using wrenches (M).
- Page 9 Step 6: Attaching the Canopy and the Finial 1. Place the Canopy (S) over the roof frame. 2. Pull each corner of the Canopy (S) to the Short Corner Rib (E) until the end of each Corner Rib (E) fits well into the pockets at each corner of the Canopy (S) leaving one corner open for the next step.
- Page 10 2. Measure out from the Corner Posts to the longest possible distance (best to use the length of the Guy Rope (R)) and secure Guy Rope (R) to ground at 45 degrees with Plastic Stakes (Q). 7757 5LGZ0702V2NN Page 10...
Need help?
Do you have a question about the 5LGZ0702V2NN and is the answer not in the manual?
Questions and answers