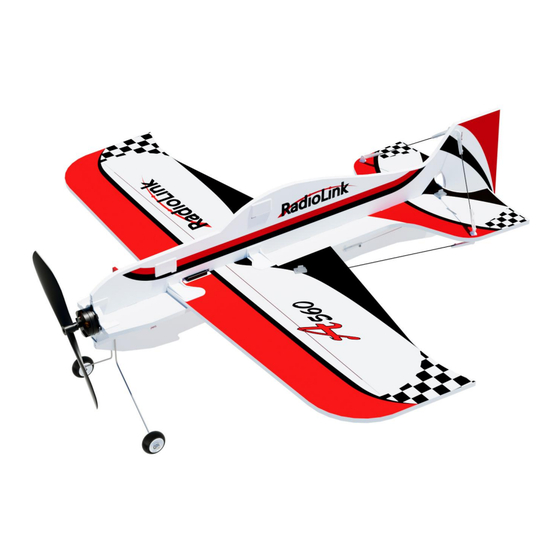
RadioLink A560 Assembly & Disassembly Instructions
3d fixed wing
Hide thumbs
Also See for A560:
- Instruction manual (31 pages) ,
- Assembly & disassembly instructions (6 pages) ,
- Instruction manual (21 pages)
Advertisement
Quick Links
A560 3D Fixed Wing
Vertical Flight with 1 Switch
Assembly & Disassembly Instruction
All electronic components of A560 are already set. If it's the RTF version(with transmitter T8S and receiver packed), all you need to do after unpacking the box is to
assemble the wing, and then fly it.
Note: If it is the PNP version(without transmitter T8S and receiver packed), please follow the instruction manual of A560 to set channel 5 and channel 7 in your
transmitter.
1
Advertisement

Related Manuals for RadioLink A560


Summary of Contents for RadioLink A560
- Page 1 Assembly & Disassembly Instruction All electronic components of A560 are already set. If it’s the RTF version(with transmitter T8S and receiver packed), all you need to do after unpacking the box is to assemble the wing, and then fly it.
- Page 2 A560 Introduction:...
- Page 3 RTF A560 Spare Part List: Note: Please refer to the sales interface for the actual spare part list. A560 Assembly Steps: 1. Install the wing...
- Page 4 5. Install the propeller A560 Disassembly Steps: After the flight, please disconnect the battery first, and then refer to the above assembly steps to disassemble the parts of A560 in turn. The disassembly steps are as follows: 1. Disassemble the propeller and landing gear. Please see Note①...
- Page 5 A560 Packing Steps: After the disassembly, please pack the parts of the A560 in the bag as shown in the picture below.
- Page 6 T8S Transmitter Overview: Six Flight Modes Switch of A560: Scan below codes to view A560 tutorials: A560 Disassembly A560 Flight Tutorial A560 User Manual A560 Assembly...
Need help?
Do you have a question about the A560 and is the answer not in the manual?
Questions and answers