Advertisement
Quick Links
Advertisement

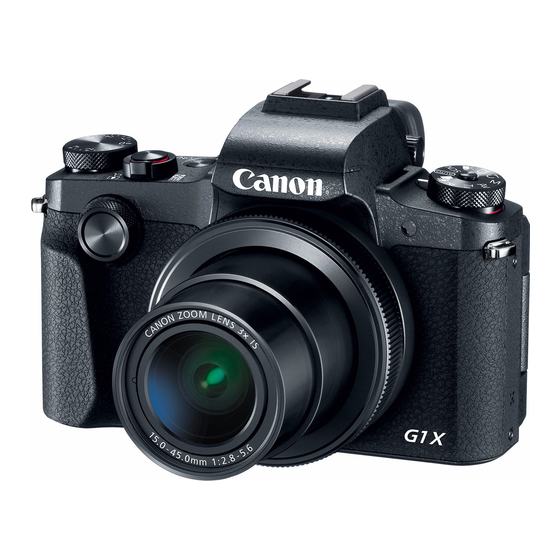
Related Manuals for Canon PowerShot G1 X Mark III


Summary of Contents for Canon PowerShot G1 X Mark III
- Page 1 Getting Started ENGLISH CEL-SX2GA210...
-
Page 2: Package Contents
Package Contents Before use, make sure the following items are included in the package. If anything is missing, contact your camera retailer. Camera Battery Pack Battery Charger NB-13L* CB-2LHE Neck Strap Strap Adapter Lens Cap Lens Cap Cord * Do not peel off the adhesive covering from a battery pack. ●... -
Page 3: Manuals And Software
Take and review some test shots initially to make sure the images were recorded correctly. Please note that Canon Inc., its subsidiaries and affi liates, and its distributors are not liable for any consequential damages arising from any malfunction of a camera or accessory, including memory cards, that result in the failure of an image to be recorded or to be recorded in a way that is machine readable. - Page 4 Safety Precautions Before using the product, ensure that you read the safety precautions described below. Always ensure that the product is used correctly. The safety precautions noted here are intended to prevent you and other persons from being injured or incurring property damage.
- Page 5 Caution Denotes the possibility of injury. When carrying the product by the strap, be careful not to bang it, subject it to strong impacts or shocks, or let it get caught on other objects. Be careful not to bump or push strongly on the lens. This could lead to injury or damage the camera.
-
Page 6: Initial Preparations
Initial Preparations Attach the strap adapter. Attach the included strap adapter to the camera as shown. ( 2 ) On the other side of the camera, attach ( 1 ) the strap adapter the same way. Attach the strap. ( 5 ) ... - Page 7 Initial Preparations Open the cover. Slide the switch (1) and open the cover (2). ( 1 ) ( 2 ) Insert the battery pack. Holding the battery pack with the terminals in the position shown (1), hold the battery lock toward (2) and insert ( 2 ) the battery pack toward (3) until the lock ( 1 )
- Page 8 Initial Preparations Close the cover. Lower the cover (1) and hold it down as ( 2 ) you slide the switch, until it clicks into the closed position (2). If the cover will not close, make sure you ( 1 ) inserted the battery pack facing the right way in step 6.
- Page 9 Initial Preparations Specify your home time zone. Press the [ ][ ] buttons to choose your home time zone. Press the [ ] button when fi nished. After a confi rmation message, the setting screen is no longer displayed. ...
-
Page 10: Trying The Camera Out
Trying the Camera Out Shooting For fully automatic selection of the optimal settings for specifi c scenes, simply let the camera determine the subject and shooting conditions. Turn the camera on and enter ] mode. Press the ON/OFF button. Hold down the mode dial release button ... - Page 11 Trying the Camera Out Playback Enter Playback mode. Press the [ ] button. Choose images. To view the previous or next image, press the [ ][ ] buttons or turn the [ ] dial. Movies are identifi ed by a [ ] icon.
- Page 12 RISK OF EXPLOSION IF BATTERY IS REPLACED BY AN INCORRECT TYPE. DISPOSE OF USED BATTERIES ACCORDING TO LOCAL REGULATION. To ensure proper operation of this product, use of genuine Canon accessories is recommended. - Interface Cable IFC-600PCU HDMI cable (camera end: Type D): Use a commercially available cable no longer than 2.5 m.
- Page 13 To avoid violating wireless regulations, visit the Canon website to check where use is allowed. Note that Canon cannot be held liable for any problems arising from wireless function use in other countries and regions.
Need help?
Do you have a question about the PowerShot G1 X Mark III and is the answer not in the manual?
Questions and answers
How do I change to adobe rgb