Advertisement
Quick Links
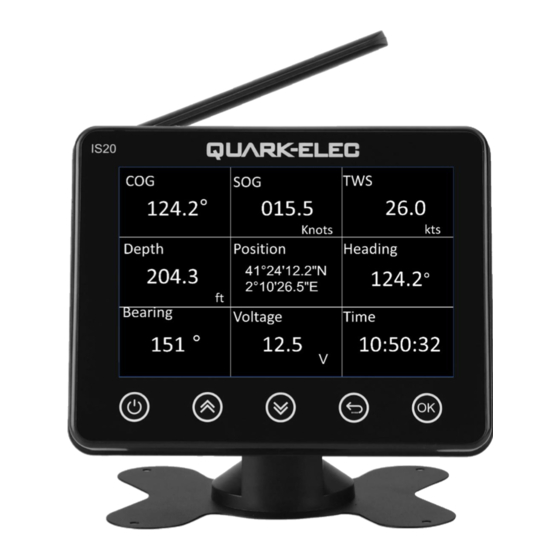
IS20
* NMEA 0183 input/output The NMEA 0183 input supports two different baud rates: 4.8kbps
and 38.4kbps. These baud rates can be selected from the settings page, allowing you to choose
the appropriate data source for the IS20. The selected data source provides real-time data to the
IS20, which is then displayed on the screen for easy monitoring.
Furthermore, the IS20 has the capability to transmit (repeat) data from the NMEA 0183 input
and send it to other devices using NMEA 0183 output wires. If you wish to forward the data to a
computer, you will need a TTL to USB adapter (not included). This enables the input data to be
displayed on software running on your computer, enhancing data visibility and analysis capabili-
ties.
The IS20 input/output interface is based on NMEA 0183-RS422 (differential) protocol.
For RS422 interface devices , connect '+' to '+' wire of IS20, and '-' to '-' wire of IS20. Swap '+' and
'–' wires if the IS20 does not work.
For RS232 interface device( single end), connect TX/RX to NMEA input/output '-' and GND to
input/output '+'. Swap TX/RX and GND wires if the IS20 does not work.
Type-C connector
The IS20 is supplied with a type-C USB connector and USB cable for settings and upgrade its firm-
ware. The USB cable can be linked directly to a USB port on the Windows PC.
NMEA 2000 connector
The IS20 provides a standard male NMEA 2000 connector. It can also be connected to a NMEA
2000 network to receive NMEA 2000 data. The NMEA 2000 connector also provides the power
supply to IS20.
GETTING STARTED
Turning the unit on and off
The IS20 offers two options for powering the device: through the N2K connector or the power
cable connected to the Power and NMEA 0183 input/output connector. Once power is supplied,
press and hold the POWER button for 3 seconds to turn on the screen. The Quark-elec logo will
be displayed, followed by a legal notice page upon completion of the initialization process. To
proceed, simply tap 'Accept', and the default page will be presented.
To power off the IS20, press and hold the POWER button for 5 seconds while the display is active.
Adjust the brightness
When the IS20's screen is active, pressing and holding the central area of the screen will bring up
the brightness setting page. From this page, you can conveniently adjust the screen brightness to
your desired level, ensuring optimal visibility in different lighting conditions.
Setup
For more details on how to setup IS20 and operation, please refer to the manual, which can be
found on the Quark-elec website.
Disclaimer: This product is designed to aid navigation and should be used to augment normal navigational procedures
and practices. It is the user's responsibility to use this product prudently. Neither Quark-elec, nor their distributors or
dealers accept responsibility or liability either to the product user or their estate for any accident, loss, injury or
damage whatsoever arising out of the use or of liability to use this product.
V1.0(05/23)
MULTIFUNCTION INSTRUMENT
Flush mounting
SET-UP GUIDE
IS20 NETWORKED
Dash mounting
All products are CE, RoHS certified
Please recycle your packaging
Advertisement

Subscribe to Our Youtube Channel
Summary of Contents for Quark-Elec IS20
- Page 1 The IS20 input/output interface is based on NMEA 0183-RS422 (differential) protocol. For RS422 interface devices , connect ‘+’ to ‘+’ wire of IS20, and ‘-’ to ‘-’ wire of IS20. Swap ‘+’ and ‘–’ wires if the IS20 does not work.
- Page 2 The IS20 can also be powered through the NMEA 2000 port using an N2K cable. When utilizing an Inspecting all the wiring connections to ensure they are properly and securely NMEA 2000 cable, we advise leaving the red and black wires open (please use tape or a suitable installed before powering up the IS20.


Need help?
Do you have a question about the IS20 and is the answer not in the manual?
Questions and answers