Table of Contents
Advertisement
Quick Links
Advertisement
Table of Contents

Related Manuals for Elsner KNX W


Summary of Contents for Elsner KNX W
- Page 1 KNX W Wind Sensor Item number 70123 Installation and Adjustment...
-
Page 3: Table Of Contents
7.4.3. Linkage inputs of OR Logic ................ 19 Elsner Elektronik GmbH • Sohlengrund 16 • 75395 Ostelsheim • Germany Wind Sensor KNX W • from software version 1.00, ETS programme version 1.1 Status: 18.04.2023 • Errors excepted. Subject to technical changes. - Page 4 The change status (software version and date) can be found in the contents footer. If you have a device with a later software version, please check www.elsner-elektronik.de in the menu area "Service" to find out whether a more up-to- date version of the manual is available.
-
Page 5: Description
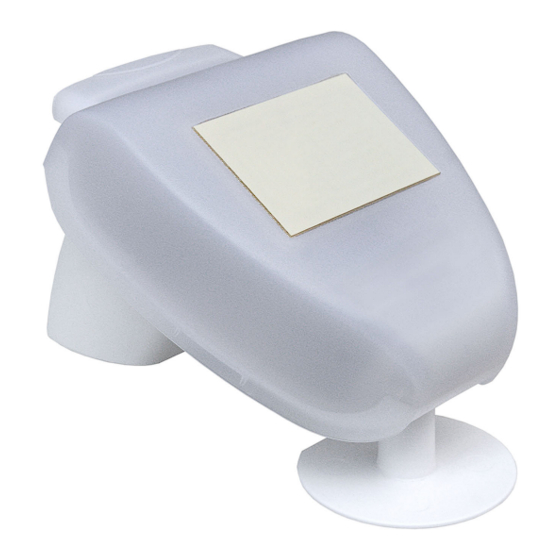
Description Description The Wind Sensor KNX W measures wind speed and transfers the values to the KNX system. Three switching outputs with adjustable threshold values as well as additional AND and OR logic gates are available.The sensor system, the evaluation electronics and the electronics of the bus connection are mounted in a compact housing. -
Page 6: Installation And Commissioning
Elsner Elektronik is not liable for any changes in norms and standards which may occur after publication of these operating instructions. 2.1. Location Select an assembly location at the building where wind speed may be collected by the sensor unobstructedly. -
Page 7: Mounting The Sensor
The sensor comes with a combination wall/pole mount. The mount comes adhered by adhesive strips to the rear side of the housing. Fasten the mount vertically onto the wall or pole. Wind Sensor KNX W • Status: 18.04.2023 • Technical changes reserved. Errors reserved. - Page 8 Due to flexible ball joints, the sensor can be brought into ideal position. Fig. 7 Example use of the hinge arm mounting: Fitting to a pole with worm drive hose clips Wind Sensor KNX W • Status: 18.04.2023 • Technical changes reserved. Errors reserved.
-
Page 9: View Of Rear Side And Drill Hole Plan
Fig. 8 a+b Drill hole plan Dimensions of rear side of housing with bracket. Sub- ject to change for technical enhancement. Slot hole 7,5 x 5 mm Wind Sensor KNX W • Status: 18.04.2023 • Technical changes reserved. Errors reserved. -
Page 10: Preparing The Sensor
The connection cable must be plugged in between the cover and the circuit board. Wind Sensor KNX W • Status: 18.04.2023 • Technical changes reserved. Errors reserved. -
Page 11: Pcb Layout
“click”. Fig. 12 Make sure the cover and bottom part are properly snapped together! This picture is looking at the closed sensor from under- neath. Fastening Wind Sensor KNX W • Status: 18.04.2023 • Technical changes reserved. Errors reserved. -
Page 12: Notes On Mounting And Commissioning
The device is supplied with the bus address 15.15.255. You can program another ad- dress into the ETS by overwriting the 15.15.255 address or by teaching via the pro- gramming key on the circuit board inside the housing. Wind Sensor KNX W • Status: 18.04.2023 • Technical changes reserved. Errors reserved. -
Page 13: Maintenance
Do not clean with high pressure cleaners or steam jets. Disposal After use, the device must be disposed of in accordance with the legal regulations. Do not dispose of it with the household waste! Wind Sensor KNX W • Status: 18.04.2023 • Technical changes reserved. Errors reserved. -
Page 14: Transmission Protocol
C R W block Wind threshold value 3 16 bit value C R W T Wind threshold value 3 1 = Increment | C R W 0 = Decrement Wind Sensor KNX W • Status: 18.04.2023 • Technical changes reserved. Errors reserved. - Page 15 OR Logic 3 8 bit output B C R T OR Logic 4 Switching output C R T OR Logic 4 8 bit output A C R T Wind Sensor KNX W • Status: 18.04.2023 • Technical changes reserved. Errors reserved.
- Page 16 C R W Logic input 6 Input C R W Logic input 7 Input C R W Logic input 8 Input C R W Software Version readable Wind Sensor KNX W • Status: 18.04.2023 • Technical changes reserved. Errors reserved.
-
Page 17: Setting Of Parameters
If the threshold value is set per Parameter: Threshold value in 0.1 m/s 0 … 350; 40 Hysteresis of the threshold value in % 0 … 250; 20 Wind Sensor KNX W • Status: 18.04.2023 • Technical changes reserved. Errors reserved. - Page 18 5 sec … 2 h (only if sending “periodically“) Blocking „Blocking“ only appears if using „Switching output sends on change“ Use block of the switching output Yes • No Wind Sensor KNX W • Status: 18.04.2023 • Technical changes reserved. Errors reserved.
-
Page 19: Logic
Logic output sends “one 1 bit Object“: Logic output sends one 1 bit object if logic = 1 object value 1 • 0 if logic = 0 object value 1 • 0 Wind Sensor KNX W • Status: 18.04.2023 • Technical changes reserved. Errors reserved. -
Page 20: Linkage Inputs Of And Logic
Communication object logic input 5 inverted Communication object logic input 6 Communication object logic input 6 inverted Communication object logic input 7 Communication object logic input 7 inverted Wind Sensor KNX W • Status: 18.04.2023 • Technical changes reserved. Errors reserved. -
Page 21: Or Logic 1 / 2 / 3 / 4 / 5 / 6 / 7 / 8
AND Logic output 6 AND Logic output 6 inverted AND Logic output 7 AND Logic output 7 inverted AND Logic output 8 AND Logic output 8 inverted Wind Sensor KNX W • Status: 18.04.2023 • Technical changes reserved. Errors reserved. - Page 22 Questions about the product? You can reach the technical service of Elsner Elektronik under Tel. +49 (0) 70 33 / 30 945-250 or service@elsner-elektronik.de We need the following information to process your service request: • Type of appliance (model name or item number) •...
Need help?
Do you have a question about the KNX W and is the answer not in the manual?
Questions and answers