
Subscribe to Our Youtube Channel
Related Manuals for Midea NY2513-20M


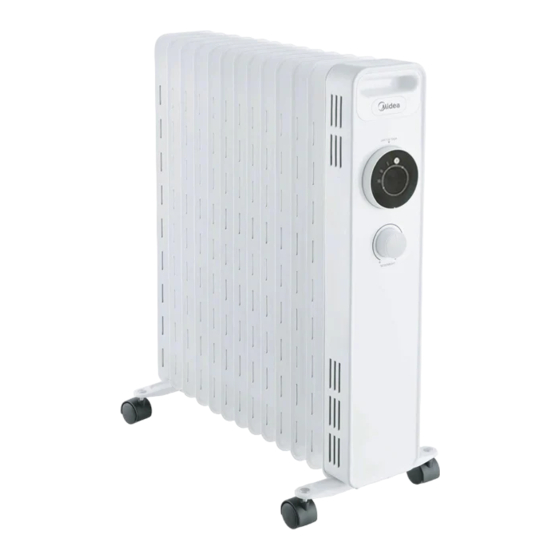
Summary of Contents for Midea NY2513-20M
- Page 1 OIL FILLED HEATER User Manual This product is only suitable for well insulated spaces or occasional use NY2513-20M...
-
Page 2: Table Of Contents
THANK YOU LETTER Thank you for choosing Midea! Before using your new Midea product, please read this manual thoroughly in order to operate your new appliance properly and safely. CONTENTS THANK YOU LETTER SAFETY INSTRUCTIONS SPECIFICATIONS INSTALLATION INSTRUCTIONS Component name... -
Page 3: Safety Instructions
SAFETY INSTRUCTIONS Intended use The following safety guidelines are intended to prevent unforeseen risks or damage from unsafe or incorrect operation of the appliance. Please check the packaging and appliance on arrival to make sure everything is intact to ensure safe operation. If you find any damage, please contact the retailer or dealer. - Page 4 Caution Read Rules for Safe Operation and Instructions Carefully. ● This appliance is not intended for use by persons ● (including children) with reduced physical, sensory or mental capabilities, or lack of experience and knowledge, unless they have been given supervision or instruction concerning use of the appliance by a person responsible for their safety.
- Page 5 Warning Warning : In order to avoid overheating, do not ● cover the heater. If the supply cord is damaged, it must be replaced by ● the manufacturer or its service agent or a similarly qualified person in order to avoid a hazard. The heater must not be located immediately below a ●...
-
Page 6: Specifications
SPECIFICATIONS Product Model NY2513-20M Voltage 220-240V~ Frequency 50Hz Power(W) 2500W... -
Page 7: Installation Instructions
INSTALLATION INSTRUCTIONS Component name Power Swich Knob Thermostat Knob Crod wrap Caster assembly NOTE All the pictures in this manual are for explanation purpose only. Any discrepancy between the real object and the illustration in the drawing shall be subject to the real subject. -
Page 8: Installation Procedures
Installation procedures 1 Turn the heater upside down. 2 As shown in figure 1, align the mounting hole of a set of caster assembly and install it on the screw of the caster pad plate at the end of the radiator fin, and The other caster assembly is aligned to the screws mounted at the bottom of the control box. -
Page 9: Product Operation
PRODUCT OPERATION Inspection before start • The power cord shall not be damaged or fractured. • Please verify the rated current of the power socket is in line with the requirements in the table above and is equipped with a safety grounding device before use; otherwise, replace the socket. -
Page 10: Temperature Adjustment
Temperature adjustment During use, if you feel it is necessary to lower the room temperature since it is too high, you can use the following adjustment modes: 1 Turn the power switch to gear “II” or “I”. 2 Counterclockwise turn the thermostat knob back by a certain angle, for which it indicates that the set temperature is lower when the temperature indication is closer to the “—”... -
Page 11: Cleaning And Maintenance
CLEANING AND MAINTENANCE The fan requires minimal maintenance. Do not try to fix it by yourself. Refer it to qualified service personnel if service is needed. 1. The electric heater should be cleaned regularly to wipe out the dust on the surface of flanges. -
Page 12: Troubleshooting
TROUBLESHOOTING If the product does not operate or does not operate properly, first check according to the following list. If the reason the product does not operate or does not operate properly is not included in the following list, the product mayhave failed. At this time, it is recommended to send the product to the dealer for treatment. -
Page 13: Disposal And Recycling Info
DISPOSAL AND RECYCLING INFO Important instructions for environment Compliance with the WEEE Directive and Disposing of the Waster Product: This product complies with EU WEEE Directive (2012/19/EU). This product bears a classification symbol for waster electrical and electronic equipment (WEEE). This symbol indicates that this product shall not be disposed with other household wastes at the end of its service life. -
Page 14: Trademarks, Copyrights And Legal Statement
Midea may constitute trademark infringement or unfair competition in violation of relevant laws. This manual is created by Midea and Midea reserves all copyrights thereof. No entity or individual may use, duplicate, modify, distribute in whole or in part this manual, or bundle or sell with other products without the prior written consent of Midea. -
Page 15: Data Protection Notice
European Economic Area. Further information are provided on request. You can contact our Data Protection Officer via MideaDPO@midea.com. To exercise your rights such as right to object your personal date being processed for direct marketing purposes, please contact us via MideaDPO@midea.com.
Need help?
Do you have a question about the NY2513-20M and is the answer not in the manual?
Questions and answers