Table of Contents
Advertisement
Quick Links
Advertisement
Table of Contents

Summary of Contents for Cielo Breez Eco
-
Page 2: Getting Started
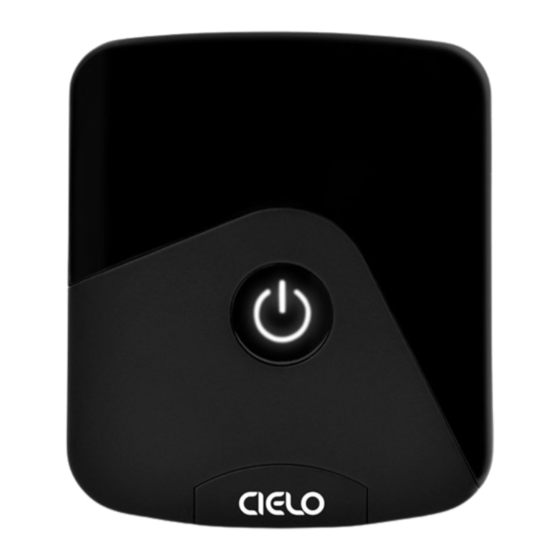
Getting Started For best results, connect Cielo Breez Eco smart controller with the provided USB cable and adapter. Then, mount your Breez Eco on a wall, or place it on a table in your AC's line of sight and plug it into a power source. -
Page 3: Getting Help
Getting Help No long queues, no bots, no delays. We answer 98% calls in less than 2 minutes and guarantee that you will talk to a REAL person. Visit our website: www.cielowigle.com and select support to access user guides. Email us at: support@cielowigle.com Call us at : +1 (425) 529-5775 9:00AM - 9:00PM EST, Mon-Fri... - Page 4 Prior to App Installation Make sure your smartphone’s Bluetooth ○ is turned ON. Make sure your smartphone’s Wi-Fi is turned ON. ○ Make sure your smartphone has internet access. ○ Make sure you have a working internet ○ connection on your Wi-Fi router. Make sure there is no proxy server or ○...
- Page 5 App Installation & Registration iOS / Android Install the ‘Cielo Home’ app from the App Store/Play Store. Search for the Cielo Home app or scan the QR code provided below. Log in to the app if you already have an account; otherwise,...
-
Page 6: Device Registration
Device Registration iOS / Android Device registration process connects Breez Eco to your home Wi-Fi network through the Cielo Home app. Notes for iOS users: For iOS 13.0 & above, location permission is required to ○ process. You may disable it later. - Page 7 Device Registration iOS / Android Open the Cielo Home app, tap ‘Add Device’ on the home screen, and select Breez Eco from the list of devices. If you are already using a Cielo device, tap ‘+’ on the home screen to add this one.
- Page 8 Follow the steps to successfully pair your Breez Eco with your phone. Step 1: Make sure your Breez Eco is powered on. Step 2: Make sure your phone’s Bluetooth is turned on. Tap ‘Next’.
- Page 9 If yes, tap 'Next'. If not, touch and hold the power button for 6 seconds. The status light should start blinking - Tap 'Next'. Wait for Breez Eco to show on the screen. Then, tap 'Connect'.
- Page 10 Step 4: Your device is now successfully paired with Bluetooth. Name your device and connect it to a Wi-Fi network. Step 5: After Wi-Fi configuration, your device will appear on the home screen. Tap the device to start the remote configuration process.
- Page 11 Step 6: Get hold of your AC remote and tap ‘Next’. Step 7: Point your AC remote at Breez Eco and press the remote’s ‘Power button’ once. It will start the configuration process. Quick Tip: LED indicator on Breez Eco should blink once after receiving the remote control’s signal.
- Page 12 Step 8: The configuration screen will display your detected remote control. Tap ‘Send a test On/Off Command’. Your AC will switch on/off. Your remote is now successfully paired with Breez Eco. The registration process is complete. Enjoy your smart air conditioning!
-
Page 13: Your Home Screen
Your Home Screen Your home screen shows the real-time status of all your Cielo devices. A registered Cielo device can show either of the 2 statuses outlined in circles: Green - Device is online. You’re good to go! - Device is offline. -
Page 14: Troubleshooting
Troubleshooting Breez Eco has an LED indicator on its front for status indication. Case 1: If your device is powered up and connected to a working internet connection, the light stays off meaning the device is working perfectly. Case 2: If there is a single blink every 2 seconds, it indicates the device is in broadcast (AP) mode. - Page 15 Configuring the Right Remote Control for Your AC Breez Eco auto-detects the relevant remote control for your AC during the registration process. If it is not working with your AC, please select your remote model manually or contact Cielo Support for help at +1 (425) 529-5775 or visit our website: www.cielowigle.com and select support to access user guides.
- Page 16 Screen A Screen B Screen C Screen D...
- Page 17 Enjoy Unlimited Functionalities Settings Fan Speed Mode Swing Position Temperature Control Set Point Room Room Humidity Temperature Power Navigation Bar Tap the settings icon for more options...
-
Page 18: Warranty Conditions
END USER LICENSE AGREEMENT 1. WHAT IS COVERED? Cielo WiGle, Inc. (“Cielo”), warrants to the owner of the Cielo product contained in this box (the “Product”) that the Product will be free from defects in materials and workmanship for a period of one year from the date of delivery following the original retail purchase (the “Warranty Period”). -
Page 19: Limitation Of Damages
Cielo; (b) handling, storage, installation, testing, or use not in accordance with any User’s Guide, Placement Guidelines, or other instructions provided by Cielo; (c) abuse or misuse of the Product; (d) breakdowns, fluctuations, or interruptions in electric power or the telecommu- nications network;... - Page 20 For any queries, visit: www.cielowigle.com Call: +1 (425) 529-5775 Cielo WiGle, Inc. Redmond, WA, USA. All rights reserved.


Need help?
Do you have a question about the Breez Eco and is the answer not in the manual?
Questions and answers