Advertisement
Technical specifications
- Power supply: 12-24V AC ±10% ~50 Hz / 8-24Vcc
- Power consumption: <1W
- Contact load: 16A cosφ= 1
- Incandescence: 1.500W
- Halogens 230V: 1.500W
- Halogens Electronic transfo.: 1.500W
- Halogens Ferromagnetic transfo.: 1.000W
- Detection angle: Circular 360º
- Range of coverage: Ø7m at 2,5m high and 18ºC
- Settings: Via potentiometer or remote control (EM MAN DM0)
- Lux value: 5 ~ 300Lux
- Time delay: 5 seconds ~ 10 minutes
- Dimensions (mounted):Ø80mm x 18,5mm
- Degree of protection: IP40 / Class II
- Working temperature: –10ºC ~ +45ºC

- Installation and assembly of electrical equipments must be carried out by qualified electricians.
- Disconnect power supply before installing.
- High in-rush current would be caused when bulbs are burned which might damage the detector permanently.
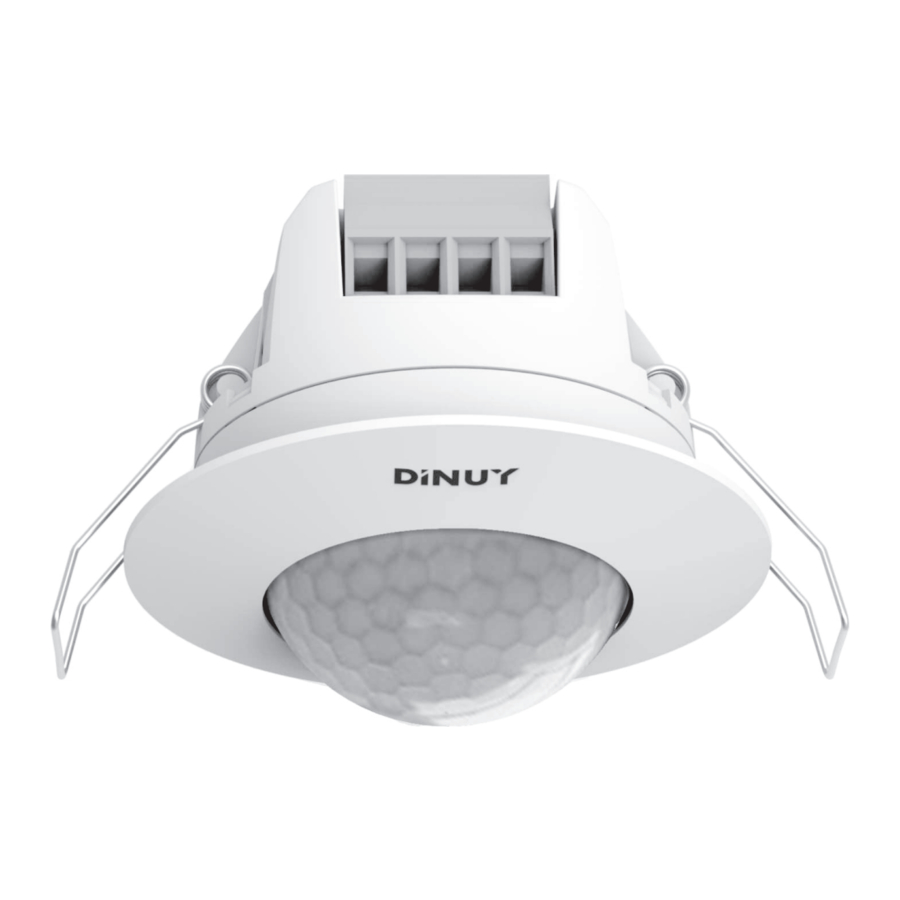
DESCRIPTION
- Indoor movement detector for flush-ceiling mounting.
- Focus type construction, easy installation on ceilings with different thickness.
- Circular detection area, 360º.
- One output channel with zero crossing control.
- High load relay, which allows switching practically any type of load.
- Constant light measurement, allowing to condition its operation to daylight level.
- High sensitivity PIR sensor, which detects small movements.
- Possibility to connect several detectors in parallel to expand the area to be covered in a single line of lighting.
- A red LED is equipped as an indicator for test triggering.
- Optional IR remote control for easy and quick setting (EM MAN DM0).
DIMENSIONS

INSTALLATION
Select a proper location
Since the detector responds to temperature changes, please avoid the following conditions:
- Avoid aiming the detector toward objects whose surfaces are highly reflective or are subject to rapid temperature changes.
- Avoid mounting the detector near heat sources, such as heating vents, air conditioners, dryers, etc.
- Do not aim the sensor towards any kind of light.
- Avoid aiming the detector towards objects which may move by wind, such as curtains, trees, bushes, etc.
Take into account the walking direction when installing. It isless sensitive to movement across the detector and moresensitive to movement directly toward the sensor, which will reduce the detection coverage.

In the event that movement is directly toward to detectorthe detection coverage will be extended.
Mounting

To install the sensor, drill a hole in the roof of Ø65mmand keep the cable inside
Wire the device like Point 5 and insert the sensor into the hole previously made.
Then set the desired values of Lux and Time, according to Point 6.
RANGE

It is recommended to mount the detector at a height of 2.5m, obtaining in this way a maximum detection area of Ø7m.
WIRING DIAGRAMS
To do the wiring, use one of the following wiring diagrams:
- Simple installation with one detector:
![]()
- Installation with two detectors in parallel:

- Installation with one movement detector and a switch to connect or disconnect the turning with detection:
![]()
- Installation with one movement detector and permanent light function:
![]()
- Installation with one movement detector and a DINUY staircase time switch (MI EL3 003):

- Installation with one movement detector and a DINUY time switch in parallel (MI PLA 002):


SETTINGS AND TEST
SETTINGS
"Lux" and "Time" values can be adjusted via the control knobs of the detector or with an optional IR remote control (EM MAN DM0).
Brightness setting (LUX)
- Its function is to set the maximum brightness value, below which the detector will activate the load as soon as it detects movement.
- The user can set this value according to his requirements, between 5 and 1.200Lux. Values marked on the potentiometer are only as reference.
- If the knob is set to "
![]() " the detector will only work in the dark, at night (if there is not enough daylight).
" the detector will only work in the dark, at night (if there is not enough daylight). - If the knob is set to "
![]() " the light sensor is inactive, it will switch the load on regardless the daylight level.
" the light sensor is inactive, it will switch the load on regardless the daylight level.

 " the detector will only work in the dark, at night (if there is not enough daylight).
 " the light sensor is inactive, it will switch the load on regardless the daylight level.
Time delay setting (TIME)
- Sets the delay off time for lighting. This time can be adjusted between 5sec. and 10min.
- After the first detection, the time is reset, and the timing starts again, each time a new movement is detected.
![]()

Settings carried out using remote control
EM MAN DM0
- The Time and Lux settings can be adjusted via this remote control, without need to access to the potentiometers.
- Detector's LED behavior when using the remote control:
- The LED will blink twice (f=3Hz) as soon as it receives a telegram from the remote control.
- The LED will be on for 1s and off for 5s after receiving a 'Permanent ON/OFF' signal from the remote control.
WORKING TEST
Note
After connecting the supply. In order that the detector works normally we will have to wait about 2 minutes to begin to realize the tests.
The purpose of the test procedure is to check and adjust the coverage pattern of the movement sensor when it is connected for the fist time.
The red LED, which is within the lens, can be used as an indicator when performing the test procedure, without any load.
This LED lights whenever movement is detected and stays on until the time delay expires.
Turn the "LUX" control knob to "  " and "TIME" to "
  ".
".
Walk from outside across to the detection pattern until the LED and load turn on.
Once verified that the operation is successful, set the detector to the desired values.
MASKING CLIPS
In order to limit the detection range or areas are being covered that should not be detected, the coverage can be reduced by using the enclosed masking clips.
TROUBLE SHOOTING
When the detector stops working, check the possible failures and the solutions suggested in the following table that maybe will help you to solve the problem:
| Problem | Possible cause | Suggested solution |
Lamp does not light up |
|
|
Lamp stays ON continuously |
|
|
Lamp is switched on and off cyclically | The load (fluorescence, contactor,...) is continuously generating harmonics triggering the detector in each switching | Separate the detector from the load or connect a RC harmonic suppression filter between L' and N |
Nuisance triggering | Heat sources, highly reflective objects or any object which may be swayed by the wind is within the detection range | Avoid aiming the detector towards any heat source, any reflective surface or swaying objects |
DINUY S.A.
c/Auzolan Nº2
20303 Irún (Spain)
info@dinuy.com
www.dinuy.com
Documents / Resources
References
Download manual
Here you can download full pdf version of manual, it may contain additional safety instructions, warranty information, FCC rules, etc.
Download DINUY DM TEC 243 - Flush-Ceiling Mounted Movement Detector Manual
Advertisement


Need help?
Do you have a question about the DM TEC 243 and is the answer not in the manual?
Questions and answers