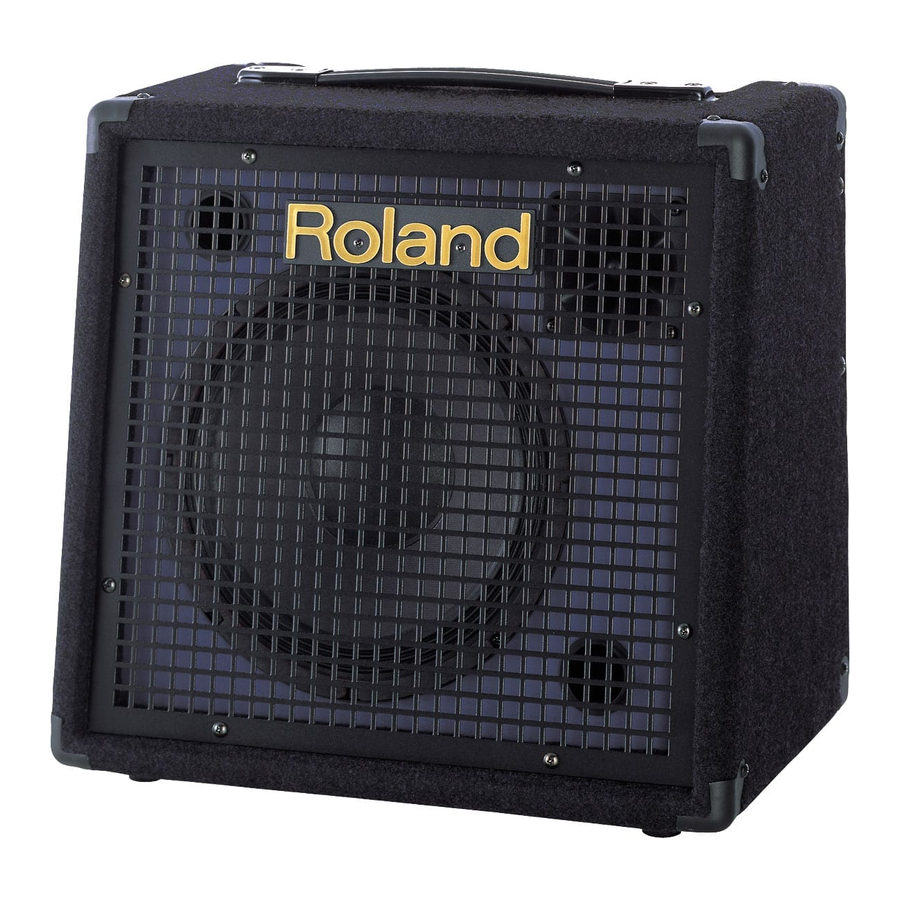
Roland KC-60 - Keyboard Amplifier Manual
- Owner's manual (13 pages) ,
- Specifications (2 pages)
Advertisement
INTRODUCTION
Thank you, and congratulations on your choice of the Roland Keyboard Amplifier KC-60.
These sections provide important information concerning the proper operation of the unit. Additionally, in order to feel assured that you have gained a good grasp of every feature provided by your new unit, Owner's manual should be read in its entirety. The manual should be saved and kept on hand as a convenient reference.
Before using this unit, carefully read the sections entitled
- IMPORTANT SAFETY INSTRUCTIONS
- USING THE UNIT SAFELY
- IMPORTANT NOTES
- Using a Speaker Stand
This unit is equipped with a protection circuit. The protection circuit helps ensure safety by operating when excessive input continues for a long time while the device is at a location with a high ambient temperature. Sound drop-out may occur when the protection circuit is actuated during use. Please read through the documentation carefully to ensure correct use.
Features
- This monitor-speaker amplifier is designed to provide high-quality sound for a variety of sources, including digital keyboards and sound modules.
- The two-way monitor features a 25-cm (10-inch) speaker and tweeter, and delivers a full 40 watts of high-power output.
- The input section features a three-channel mixer. Channel 1 is provided with an XLR connector in addition to supporting mic input.
- Features a SUBWOOFER OUT jack, allowing connection of a subwoofer for playback of even more impressive bass.
- Provided with an RCA phono type AUX IN jack, making it easy to connect devices such as CD and MD players.
- Master section includes a handy two-band equalizer for adjusting sound quality.
- Provided with a convenient headphones jack for use of the monitor at night.
Panel Descriptions
Control Panel

Jack Panel
 |
CHANNEL CONTROL
- CH 1 knob / CH 1 Input Jacks
In addition to a 1/4" phone jack, this channel is equipped with a balanced XLR connector, useful for connecting microphones.
This accepts input levels ranging from mic input (-50 dBu) to line level from sound modules and other equipment (-20 dBu). - CH 2 and CH 3 knobs / CH 2 and CH 3 Input Jacks
Use these for connecting keyboards, sound modules, and other devices.
They accept line level input (-20 dBu).
MASTER CONTROL
These adjust the tone and volume level for the built-in speakers or for headphones.
- LOW Knob
This adjusts the level of the bass range. - HIGH Knob
This adjusts the level of the treble range. - VOLUME Knob
This adjusts the total volume level of the unit's internal speaker. The SUBWOOFER OUT output is also changed. When connecting headphones, adjust the headphone volume level.
* The VOLUME knob do not affect the line outs. - PHONES Jack
This is for connecting headphones. The unit's speakers are deactivated when headphones are plugged in. Also, no signals are output from SUBWOOFER OUT.
* Always be sure to lower the VOLUME knob to 0 whenever connecting and disconnecting headphones.
* Although the PHONES jack accepts stereo plugs, the audio output is mono. - Power Indicator
This indicator illuminates when the power is on. - POWER Switch
This switches the power on and off.
* Always be sure to lower the volume on the KC-60 and any connected equipment to 0 whenever turning the power on or off.
* This unit is equipped with a protection circuit. A brief interval (a few seconds) after power up is required before the unit will operate normally.
Slight pop noise may come from the speakers when the power is switched on, but this does not indicate a problem.
* Refer to p. 9 for the order in which to turn the power to connected devices on and off.
* If you need to turn off the power completely, first turn off the POWER switch, then unplug the power cord from the power outlet. Refer to Power Supply. - AUX IN Jacks
These are RCA phono type input jacks.
You use these to connect equipment such as CD and MD players, and have them sound along with the equipment connected to channel 1 through channel 3.
They accept level input of -10 dBu.
* To adjust the volume level of equipment connected to the AUX IN jacks, use the controls on such equipment.
* Even though the input signal may be in stereo, the signal is mixed internally to a mono signal. - LINE OUT Jack
Connect mixers, recorders, and other such equipment here.
This output jack provides +4 dBu line level output.
* The MASTER CONTROL knobs (the LOW, HIGH, and VOLUME controls) do not affect the output from LINE OUT. - SUBWOOFER OUT Jack
This lets you play even more powerful bass by connecting a powered subwoofer.
Provides full-range output, at an output level +4 dBu.
You can use the MASTER CONTROL knobs (LOW, HIGH, and VOLUME) to adjust the tone and volume level of the signals output from SUBWOOFER OUT.
* No signals are output from SUBWOOFER OUT when headphones are connected.
Making the Connections
Refer to the figure shown below to connect the KC-60 and the other equipment.

Here is an example of a setup that makes full use of the KC60's mixer and monitor functions.
A microphone is input to CH 1, which accepts mic level input. Connect a keyboard, recorder, or other soundgenerating device to the CH 2 and CH 3 inputs.
* To prevent malfunction and/or damage to speakers or other devices, always turn down the volume, and turn off the power on all devices before making any connections. Set all of the KC60's channel volume knobs as well as the VOLUME knob to zero.
* This instrument is equipped with balanced (XLR) type connectors. Wiring diagrams for these jacks are shown below. Make connections after first checking the wiring diagrams of other equipment you intend to connect.

* Howling could be produced depending on the location of microphone relative to speakers. This can be remedied by:
- Changing the orientation of the microphone.
- Relocating microphone at a greater distance from the speaker.
- Lowering volume levels.
* When connection cables with resistors are used, the volume level of equipment connected to the inputs (CH 1 through CH 3 and AUX IN) may be low.
If this happens, use connection cables that do not contain resistors, such as those from the Roland PCS series.
Switching the Power On and Off
* Once the connections have been completed (p. 8), turn on power to your various devices in the order specified. By turning on devices in the wrong order, you risk causing malfunction and/or damage to speakers and other devices.
- Make sure that all volume controls on the KC-60 and connected devices are set to 0.
- Turn on all the devices connected to the KC-60's input jacks (CH 1 through CH 3 and AUX IN).
- Turn on the KC-60.
- Switch on any equipment connected to the KC-60's LINE OUT or SUBWOOFER OUT jacks.
- Adjust the volume levels for the devices.
- Before switching off the power, lower the volume on each of the devices in your system and then TURN OFF the devices in the reverse order to which they were switched on.
* This unit is equipped with a protection circuit. A brief interval (a few seconds) after power up is required before the unit will operate normally.
* Always make sure to have the volume level turned down before switching on power. Even with the volume all the way down, you may still hear some sound when the power is switched on, but this is normal, and does not indicate a malfunction.
* If you need to turn off the power completely, first turn off the POWER switch, then unplug the power cord from the power outlet. Refer to "Power Supply."
About the Volume-level Settings
In order to get optimum sound from the KC-60 when performing, set the volume as described below.
- Operate the CH 1 through CH 3 volume knobs to adjust the volume level for channels 1 through 3.
![]()
Adjust the volume balance for channels 1 through 3 at this time.
* To adjust the volume level of equipment connected to the AUX IN jacks, use the controls on such equipment. - Adjust the LOW and HIGH knobs to obtain the tone you want.
- Use the VOLUME knob to adjust the overall volume level.
![]()
* If the sound is distorted, lower the CH 1 through CH 3 volume knobs, VOLUME knob and/or the volume knobs for devices connected to the input jacks (CH 1 through CH 3 and AUX IN).


Using a Speaker Stand
By using a speaker stand, you can mount the KC-60 at the optimal height for use as a monitor speaker or simple PA device.

- The KC-60 is designed to be used only with speaker stands whose dimensions meet the specifications described below.
Do not use it with a speaker stand that does not meet the following specifications.
![]()
- When deciding on a stand to use with the KC-60, make sure to pick one that is capable of supporting its weight.
- Before use, adjust the speaker stand to a height of 165 cm (65") or less and a leg spread of 120 cm (47-1/4") or more, as shown in the figure below.
![]()
- Using a speaker stand that does not meet the specifications at left or that is adjusted to a height over 165 cm (65"), or a leg spread of less than 120 cm (47-1/4") may result in damage to equipment or injury due to the stand tipping over.
- When using KC-60 with a speaker stand, the speaker stand must be carefully placed so it is level and sure to remain stable.
- Cables connected to KC-60 should be given enough slack to prevent accidents that might result from someone tripping over them.
- To prevent accidents due to falls, do not place any object on the KC-60 when it's mounted on a speaker stand.
- Always have at least one other person assist you when mounting the KC-60 on a speaker stand, or when adjusting the height of the stand while the KC-60 remains mounted on it.


Block Diagram

Main Specifications
| Rated Power Output | 40 W |
| Nominal Input Level (1 kHz) | Input Channel 1 (MIC/LINE): -50 – -20 dBu AUX IN: -10 dBu |
| Nominal Output Level | LINE OUT: +4 dBu SUBWOOFER OUT: +4 dBu * 0 dBu = 0.775 Vrms |
| Speakers | 25 cm (10 inches) x 1 Tweeter x 1 |
| Controls | Channel 1 (MIC/LINE) Volume Knob Channel 2 (LINE) Volume Knob Channel 3 (LINE) Volume Knob Equalizer: LOW Knob, HIGH Knob VOLUME Knob POWER Switch |
| Indicator | POWER |
| Connectors | Channel 1 Input Jack (XLR type, 1/4" phone type) Channel 2 Input Jack (1/4" phone type) Channel 3 Input Jack (1/4" phone type) AUX IN Jack (RCA phono type) LINE OUT Jack (1/4" phone type) SUBWOOFER OUT Jack (1/4" phone type) PHONES Jack (1/4" TRS phone type, mono signal output) |
| Power Supply | AC 117 V, AC 230 V, AC 240 V |
| Power Consumption | 45 W |
| Dimensions | 420 (W) x 300 (D) x 410 (H) mm 16-9/16 (W) x 11-13/16 (D) x 16-3/16 (H) inches |
| Weight | 13.5 kg 29 lbs 13 oz |
| Accessory | Owner's Manual 962a |
* In the interest of product improvement, the specifications and/or appearance of this unit are subject to change without prior notice.

This product must be disposed of separately at your local waste recycling centre.
Do not dispose of in household waste bin.

Documents / ResourcesDownload manual
Here you can download full pdf version of manual, it may contain additional safety instructions, warranty information, FCC rules, etc.
Advertisement


Need help?
Do you have a question about the KC-60 and is the answer not in the manual?
Questions and answers