Table of Contents
Advertisement
Quick Links
Advertisement
Table of Contents
Troubleshooting

Related Manuals for Draper 09706


Summary of Contents for Draper 09706
- Page 1 Original Instructions Version 1 GRAVITY FEED SPRAY 09706, 09707...
-
Page 2: Copyright © Notice
All photographs and drawings within this manual are document is part of the product; retain it for the life supplied by Draper Tools to help illustrate correct of the product, passing it on to subsequent holders. operation of the product. -
Page 3: Table Of Contents
2. Contents 1. Preface 1.1 Product Reference 1.2 Revisions 1.3 Understanding the Safety Content of This Manual 1.4 Copyright © Notice 2. Contents 3. Warranty 4. Product Introduction 4.1 Scope 4.2 Specification 5. Health and Safety Information 5.1 General Health and Safety Precautions 5.2 Additional Safety Instructions for Air Tools 6. -
Page 4: Warranty
This warranty period covers parts and labour for six months from the date of Your Draper Tools guarantee is not effective until you can purchase. Where tools have been hired out, the warranty produce, upon request, a dated receipt or invoice to period covers 90 days from the date of purchase. -
Page 5: Product Introduction
Read this manual in full before attempting to assemble, operate or maintain the product, and retain it for later use. 4.2 Specification Stock No. 09706 09707 Part No. GSG5-600 GSG5-COMP-600 Nozzle size: 1.4mm... -
Page 6: Health And Safety Information
• NEVER carry the tool by the air line. Important: DO NOT use this product if it is damaged • Some parts of the spray gun may become hot in any way. Contact Draper Tools to discuss repair and during use. replacement options. - Page 7 5. Health and Safety Information WARNING! The use of solvents that contain halogenated hydrocarbons in pressurised systems with aluminium or galvanised parts may cause chemical reactions that result in an explosion. This product contains components that will be affected by the presence of halogenated hydrocarbons.
-
Page 8: Identification And Unpacking
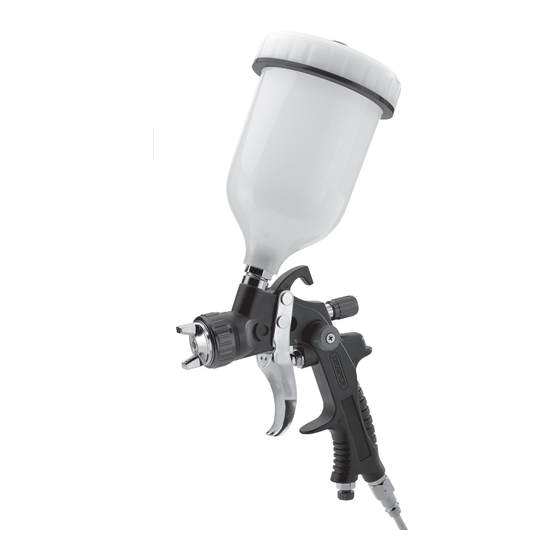
6. Identification and Unpacking 6.1 Product Overview (10) (11) (12) Air cap Nozzle Air control dial Paint cup Air line inlet Paint inlet Fluid control dial (10) Spray control dial Fluid needle (11) Spray direction control Hanging hook (12) Trigger – 8 –... -
Page 9: What's In The Box
If any part is occurred during shipment. damaged or missing, do not attempt to use the product. Please contact the Draper Helpline; contact details can be found at the back of this manual. (G2) -
Page 10: Preparation Instructions
When using an air tool with a hose over 25ft long, The compressed air system must be controlled by a Draper Tools recommends increasing the bore of the combination pressure regulator and moisture filter; hose to the next largest available size (i.e. increase 3/8”... - Page 11 7. Preparation Instructions 2. Attach the paint cup (8) to the spray gun inlet. 5. Screw the 1/4" air line coupling (D) onto the spray gun air inlet. Important: If using a whip hose, attach a parallel union nut (Stock No. 25823) instead of the air line coupling.
-
Page 12: Operating Instructions
8. Operating Instructions Important: Before using this product, read and The fluid control dial (4) adjusts the amount of paint that understand all the safety instructions listed in this is released into the air flow and the density of the spray manual. -
Page 13: The Trigger
2. Squeeze the trigger the rest of the way to draw the fluid pin back and release paint from the nozzle. Important: Draper Tools recommends that you test the spray output on an area of scrap material before working on the genuine surface. Adjust the control dials to produce an even flow in the desired pattern. -
Page 14: Maintenance And Troubleshooting
9. Maintenance and Troubleshooting Important: Read all the Health and Safety information in 3. Clean the air cap and nozzle head: this manual before attempting to maintain this product. a. Twist the air cap (1) anticlockwise to remove it. All maintenance should be carried out ONLY by authorised and suitably qualified personnel. -
Page 15: Storing The Product
The spray gun delivers The openings in the air cap or nozzle a curved or one-sided are clogged or damaged. replace the parts if necessary. Contact Draper spray pattern. Tools for repair and replacement options. The spray pattern is The fluid viscosity is too high. - Page 16 The openings in the air cap are clogged Clean the air cap (see 9.2) or replace the or damaged. part if necessary. Contact Draper Tools for repair and replacement options. The centre of the spray The fluid viscosity is not appropriate for...
-
Page 17: Spares, Returns And Disposal
Store these materials in suitable containers and dispose of them in accordance with local regulations. Draper Tools and its agents cannot be responsible for the disposal of these substances. At the end of its working life, dispose of the product responsibly and in line with local regulations. -
Page 18: Explanation Of Symbols
11. Explanation of Symbols Air inlet diameter Read the instruction manual Warning! Max. fluid capacity 600ml 600ml Machine weight Do not abandon in the environment Wear suitable eye protection and European conformity breathing apparatus Wear ear defenders UK Conformity Assessed Wear protective gloves Keep out of the reach of children Fluid delivery rate... - Page 19 Notes – 19 –...
- Page 20 Telephone Sales Desk: +44 (0) 23 8049 4333 General Enquiries: +44 (0) 23 8026 6355 General Fax: +44 (0) 23 8026 0784 Please contact the Draper Tools Product Helpline for repair and servicing enquiries. © Published by Draper Tools Limited © Published by Draper Tools Limited...
Need help?
Do you have a question about the 09706 and is the answer not in the manual?
Questions and answers