Advertisement
Quick Links
IMPORTANT - RETAIN FOR FUTURE REFERENCE - READ CAREFULLY
Tools Needed
Helpline
If you have any problems with this product or require
any replacement fittings plase contact Customer
Services Tel: 0844 844 8999
Regrettably self assembly items cannot be returned once assembly is part or fully completed unless the item is
found to be faulty. Should you need to return the unassembled product, please repack in the original packaging.
IMPORTANT
• We suggest you spend a short time reading through this leaflet and then follow the simple step-by-step instructions
• Carefully check that you have all parts before beginning assembly.
• Keep fittings out of children's reach and keep children well away from the construction area.
• We recommend that the packaging is used to protect the surfaces during assembly.
• A minimum of 2 persons is required to assemble this product.
PRODUCT INFORMATION
• Made from pine & plywood with a lacquer finish.
• Made in China.
• Natural features ensure that each piece is individual. Every effort is made to ensure colour continuity between
pieces, however this is a natural product, slight colour variations and natural grain markings may occur.
CARE INSTRUCTIONS
• For general cleaning, periodically dust with a soft cloth.
• Do not rub or scrub the surface when cleaning.
• Do not use furniture polish.
• Any spills should be removed immediately with a soft clean damp cloth and dried immediately.
• Ensure the product is protected with mats and coasters when items are placed on the surfaces, to prevent
scratching or damage.
• Do not put hot dishes directly on the surfaces of the item.
• Avoid keeping furniture in direct sunlight or close to any heat sources as this can cause cracking, discolouration
or warping.
• Never drag pieces of furniture across the floor as this will cause damage to the joints.
• All assembly fixings should always be tightened properly and periodically check all fixings and tighten if
necessary.
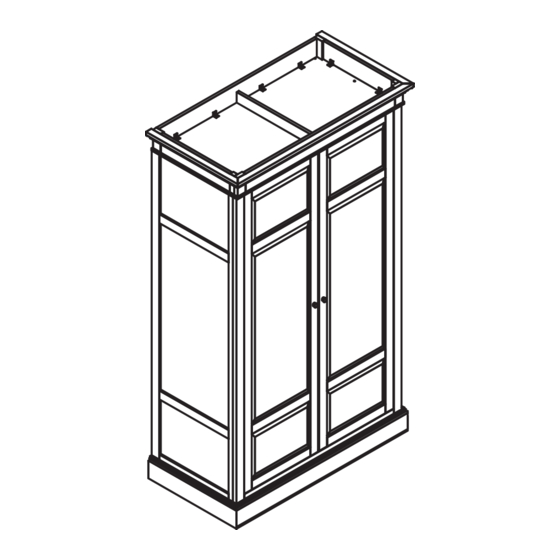
873166 ARGYLL WARDROBE
ASSEMBLY INSTRUCTIONS
Advertisement

Subscribe to Our Youtube Channel
Related Manuals for Next ARGYLL 873166


Summary of Contents for Next ARGYLL 873166
- Page 1 873166 ARGYLL WARDROBE ASSEMBLY INSTRUCTIONS IMPORTANT - RETAIN FOR FUTURE REFERENCE - READ CAREFULLY Tools Needed Helpline If you have any problems with this product or require any replacement fittings plase contact Customer Services Tel: 0844 844 8999 Regrettably self assembly items cannot be returned once assembly is part or fully completed unless the item is found to be faulty.
- Page 2 FITTINGS PARTS...
- Page 3 STEP 1 1.Attach 2 x magnetic door stoppers (M) to top 1 and using 4 x screws (F). STEP 2 1.Insert 3 x cambolts (A) and 2 x dowels (C) into side panel of the inner box 11. STEP 3 1.Insert 5 x cambolts (A) and 6 x dowels (C) into side panel 2.
- Page 4 STEP 4 1.Attach 11 x cambolts (A) and 10 X wood dowel (C) into side panel (3). 2.Attach 3 x hinges (L) to side panel 3 using 12 X screws (F). 3.Attach 1 x hang rail support (H) to side panel 3 using 1 x screw (T).
- Page 5 STEP 7 1.Attach 2 x metal plate (N) to door 6 using 4 x screws (F). 2.Attach 3 x hinges (K) to door 6 using 6 X screws (F). 3.Insert 4 x cambolts (E) and 2 x wood dowels (C) into door 6 . STEP 8 1.Attach 2 x metal plate (N) to door 7 using 4 x screws (F).
- Page 6 STEP 9 1.Attach side panel (2) to bottom panel 5 and insert 3 x camlocks (B) into bottom panel 5 with screwdriver. STEP 10 1.Insert 3 x confirmat screws (I) into bottom panel and tighten it with 1 x allen key (L).
- Page 7 STEP 11 1.Attach panel 13 and panel 12 to panel 11 and insert 6 x camlocks (B) into panel 11 and 12 and tighten it with screwdriver. STEP 12 1.Attach the assembled unit to bottom panel 5 and insert 3 x camlocks (B) into panel 11 with screwdriver.
- Page 8 STEP 14 1.Attach side panel 3 to assembled unit then insert 3 x camlocks (B) into bottom panel 5, 3 x camlocks (B) into panel (12),3 x camlocks (B) into panel (13) and 4 x camlocks (B) into 2 x back rail with screwdriver. 2.Insert 3 x confirmat screws (I) into bottom panel 5 and tightem it with allen key.
- Page 9 STEP 16 1.Insert 6 x confirmat screws (I) into assembled unit and tighten it with allen key. STEP 17 1.Attach the door 7 to side panel 3 and tighten screws on hinges with a scwerdriver. 1.Attach 1 x handle (O) to door (7) using a screw (P)
- Page 10 STEP 18 1.Attach the door 6 to side panel 2 and tighten screws on hinges with a scwerdriver. 1.Attach 1 x handle (O) to door (6) using a screw (P) STEP 19 1.Insert 2 x hang rail (Q) into small block (8) and (9).
- Page 11 STEP 20 1.Attach the assembled unit to door 6 and insert 4 x camclocks (B) into 8 and 9 and tighten it with screwdriver. STEP 21 1.Put 1 x hang rail (R) into hang rail support (H).
- Page 12 STEP 22 1.Attach 3 x back panel 14 to assembled unit and using 54 x scwers (G). STEP 23 1.Attach the wall tie (S) to the top using 1 X screw (G) and 1 x washer (T).
- Page 13 STEP 24 1. Secure the other end of the strap to the wall with an WALL appropriate screw and wall plug for your wall type.To hide the strap behind the unit, drill the holes lower than the top unit. STRAP Warning: Always ensure the area to be drilled is free from SCREW hidden electrical wires, water and gas pipes.
Need help?
Do you have a question about the ARGYLL 873166 and is the answer not in the manual?
Questions and answers