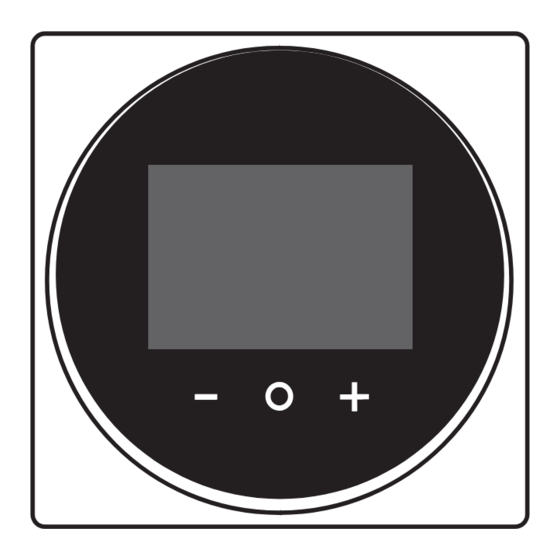
Daikin Madoka BRC1H82W Installation And Operation Manual
Wired remote controller
Hide thumbs
Also See for Madoka BRC1H82W:
- Installation and operation manual (12 pages) ,
- Installer and user manual (136 pages)
Summary of Contents for Daikin Madoka BRC1H82W
-
Page 1: Table Of Contents
Installation and operation manual Madoka wired remote controller BRC1H82W Installation and operation manual BRC1H82K English Madoka wired remote controller BRC1H82S... -
Page 2: Table Of Contents
Table of contents Table of contents General safety precautions Please read these general safety precautions carefully before installing air conditioning equipment, and be sure to install the 1 General safety precautions equipment correctly. For the user ................Failure to follow these instructions properly may result in property For the installer................ -
Page 3: For The Installer
INFORMATION: Declaration of conformity approved by Daikin. Hereby, Daikin Europe N.V. declares that the radio equipment type BRC1H is in compliance with the Directive WARNING 2014/53/EU. The original declaration of conformity is All field wiring and components MUST be installed by a available from the BRC1H product pages. -
Page 4: For The User
The Bluetooth® word mark and logos are registered trademarks owned by the Bluetooth SIG, Inc. and use of such marks by Daikin Europe N.V. is under license. Other trademarks and trade names are those of their respective owners. -
Page 5: Status Indicator
4 Operation Icon Description Status indicator Schedule/Timer. Indicates that the system operates according to a schedule, or that the OFF timer is enabled. Time not set. Indicates that controller's time is not set. Self-cleaning filter operation. Indicates that self- cleaning filter operation is active. Quick Start. -
Page 6: Main Menu
4 Operation 4.1.2 Main menu From the home screen, press to enter the main menu. Use to cycle through the menus. Press again to enter one of the menus. INFORMATION 3 Press to activate. ▪ Depending on the type of indoor unit you are operating, Result: The indoor unit changes its operation mode and the more or less menus may be available. -
Page 7: Airflow
4 Operation INFORMATION Ventilation Confirming the value in a field will automatically bring you INFORMATION to the next field. To finish making settings and leave the menu, navigate to and confirm the value in the last field. Ventilation settings can ONLY be made for heat reclaim ventilation units. -
Page 8: Advanced Usage
5 Maintenance and service Result: The heat reclaim ventilation unit changes its ventilation rate INFORMATION and the controller returns to the home screen. If the controller is set to be operable in "Supervisor" mode, then the controller adds the "supervised room address" of Advanced usage the faulty indoor unit to the error screen. -
Page 9: For The Installer
7 About the box For the installer About the box To unpack the controller 1 Open the box. 2 Separate the accessories. 1× 2× Installation and operation manual Wiring from the top Wood screws + wall plugs (Ø4.0×30) Wiring from the left Wiring from the bottom In case you are routing the wiring from the rear, you do not have to Preparation... -
Page 10: Connecting The Electrical Wiring
10 Starting up the system From the bottom NOTICE Be careful not to distort the rear casing by overtightening the mounting screws. Connecting the electrical wiring NOTICE The wiring for connection is NOT included. NOTICE P1P2 When wiring, run the wiring away from the power supply wiring in order to avoid receiving electric noise (external noise). -
Page 11: Maintenance
11 Maintenance Maintenance 11.1 Maintenance safety precautions WARNING Before carrying out any maintenance or repair activities, stop system operation with the controller, and turn off the power supply circuit breaker. Possible consequence: electrical shock or injury. NOTICE To clean the controller, do NOT use organic solvents, such as paint thinner. - Page 12 4P596265-1 D 00000006 TA-2017/3281 APPROVED И005 18 OMAN - TRA TRA-TA-R/5107/18 D100428 TRC/LPD/2018/60 4P596265-1D 2022.02 Verantwortung für Energie und Umwelt...


Need help?
Do you have a question about the Madoka BRC1H82W and is the answer not in the manual?
Questions and answers