Advertisement
Installing your Appliance
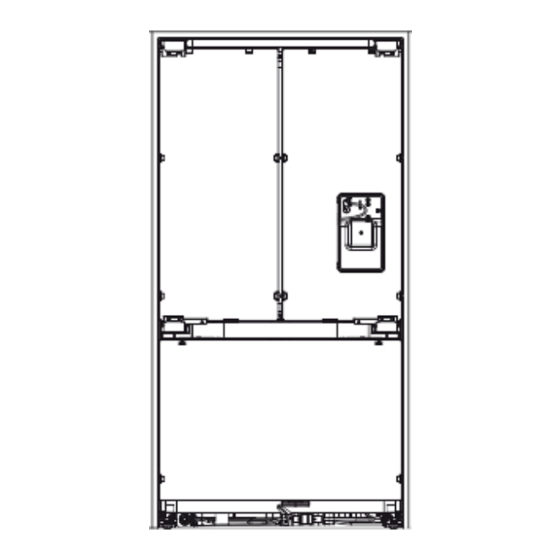
• Your product is fitted with front and rear rollers designed for moving the product in the forwards and backwards
direction.
• Avoid moving the product in a sideways direction as this may damage the rollers or the floor covering/surface.
1. Adhere power cord clip to the appliance rear. Connect the appliance to a power supply and turn on.
2. Ensure excess power cord length is secured onto the clip.
3. Gently push the appliance into the enclosure. Take care not to roll over or damage power cord and/or water tubing.
Ensure water tubing is routed away from any sharp objects, sharp corners (beware of
kinking the tube as this will stop water flow), and not in
a location where it can be kinked or squashed.
https://producthelp.fisherpaykel.com/au/Cool/Fridges/Bottom_Freezer/Without_Ice_and_Water/790mm/RF522ADW5/Installati...
Updated: Wed, 21 Jun 2023 04:33:31 GMT
Powered by
1
Advertisement
Table of Contents

Subscribe to Our Youtube Channel
Related Manuals for Fisher & Paykel RF522ADW5


Summary of Contents for Fisher & Paykel RF522ADW5
- Page 1 Ensure water tubing is routed away from any sharp objects, sharp corners (beware of kinking the tube as this will stop water flow), and not in a location where it can be kinked or squashed. https://producthelp.fisherpaykel.com/au/Cool/Fridges/Bottom_Freezer/Without_Ice_and_Water/790mm/RF522ADW5/Installati… Updated: Wed, 21 Jun 2023 04:33:31 GMT Powered by...
- Page 2 4. Ensure a firm contact is observed as the appliance engages the anti-tip bracket (60 mm min. overlap). 5. Centre the appliance within the alcove, using the adjacent walls as a guide. https://producthelp.fisherpaykel.com/au/Cool/Fridges/Bottom_Freezer/Without_Ice_and_Water/790mm/RF522ADW5/Installati… Updated: Wed, 21 Jun 2023 04:33:31 GMT Powered by...
Need help?
Do you have a question about the RF522ADW5 and is the answer not in the manual?
Questions and answers