Table of Contents
Advertisement
Quick Links
Item # 1002 656 437
Model # HD18129I
1002 560 574
HD18129L
1002 567 835
USE AND CARE GUIDE
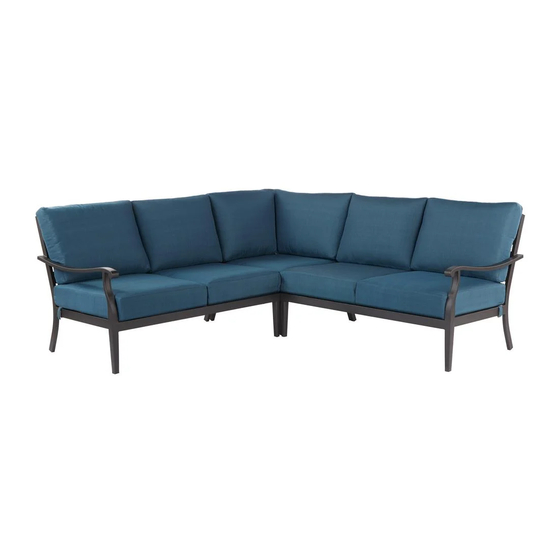
RILEY 3-PIECE SECTIONAL SET
Questions, problems, missing parts? Before returning to the store,
call Hampton Bay Customer Service
8:00 a.m. - 7:00 p.m., EST, Monday - Friday
9:00 a.m. - 6:00 p.m., EST, Saturday
1-855-HD-HAMPTON
HAMPTONBAY.COM
THANK YOU
We appreciate the trust and confidence you have placed in Hampton Bay through the purchase of this set. We strive
to continually create quality products designed to enhance your home. Visit us online to see our full line of products available
for your home improvement needs. Thank you for choosing Hampton Bay!
Advertisement
Table of Contents

Related Manuals for HAMPTON BAY HD18129L


Summary of Contents for HAMPTON BAY HD18129L
- Page 1 THANK YOU We appreciate the trust and confidence you have placed in Hampton Bay through the purchase of this set. We strive to continually create quality products designed to enhance your home. Visit us online to see our full line of products available...
- Page 2 Table of Contents Table of Contents................2 Pre-Assembly..............3-4 Planning Assembly............3 Safety Information.................2 Hardware Included............3 Warranty..................2 Package Contents............4 2 Year Frame Limited Warranty..........2 Assembly................5-7 2 Year Fabric Limited Warranty..........2 What Is Covered................2 What Is Not Covered..............2 Care Instructions................2 Safety Information DANGER: Keep children out of the assembly area before IMPORTANT: Check the tightness of all bolts at least once assembly.
- Page 3 Pre-assembly PLANNING ASSEMBLY Assemble this product on a blanket, towel or other soft, non-abrasive surface to avoid scratching the finish. HARDWARE INCLUDED NOTE: Hardware not shown to actual size. _____ CC _____ DD _____BB _____AA _____ FF _____ EE Part Description Quantity Bolt (M6 x 35 mm)
- Page 4 Pre-Assembly (continued) PACKAGE CONTENTS _______D _______A _______E _______B _______F _______C _______G Part Description Quantity Part Description Quantity Corner Chair Seat Cushion Left Armed Chair (When Sitting) Corner Chair Back Cushion (Right) Corner Chair Back Cushion (Left) Right Armed Chair (When Sitting) Back Cushion HAMPTONBAY.COM Please contact 1-855-HD-HAMPTON for further assistance.
- Page 5 Assembly Attaching the left armed chair to the corner chair Attach the left armed chair (B) and the corner chair (A) by using bolts (AA) with metal washers (BB) through the holes on the left side of the corner chair seat (A) and the right side of the left arm chair seat (B), in the order of bolt (AA) matel washer (BB) corner chair (A) left armed chair (B) matel washer (BB) and nut (CC).
- Page 6 Assembly (continued) Attaching the right armed chair to the corner chair Attach the right armed chair (C) and the corner chair (A) by using bolts (AA) with metal washers (BB) through the holes on the right side of the corner chair seat (A) and the left side of the right armed chair seat (C), in the order of bolt (AA) matel washer (BB) corner chair (A) right armed chair (B) matel washer (BB) and nut (CC).
- Page 7 Assembly (continued) Completing the assembly With help of another person, carefully move the assembled set into position, and then put cushions into place. Your furniture is now ready for use, so relax & enjoy! HAMPTONBAY.COM Please contact 1-855-HD-HAMPTON for further assistance.
- Page 8 Questions, problems, missing parts? Before returning to the store, call Hampton Bay Customer Service 8:00 a.m. - 7:00 p.m., EST, Monday-Friday 9:00 a.m. - 6:00 p.m., EST, Saturday 1-855-HD-HAMPTON HAMPTONBAY.COM Retain this manual for future use.
Need help?
Do you have a question about the HD18129L and is the answer not in the manual?
Questions and answers