Advertisement
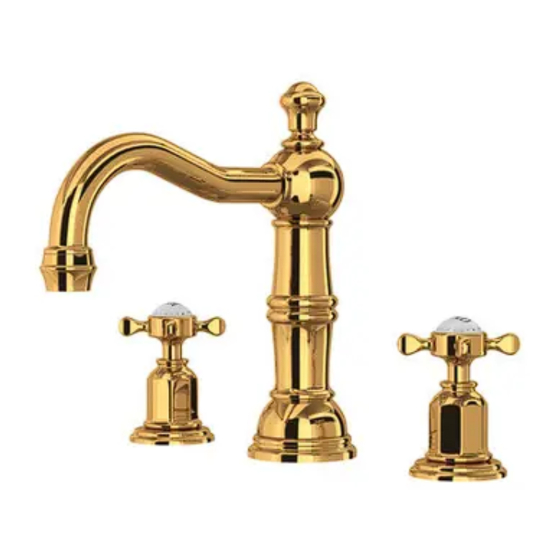
The Traditional Kitchen Collection
•
Installation & User Guide
Congratulations on the purchase of your Perrin and Rowe Bathroom Product. Correctly
installed and with sensible care, this product will give you many years of trouble free service.
• IMPORTANT INFORMATION •
Please read carefully to ensure correct installation.
Before you proceed... We recommend you engage the services of a registered
plumber to install this product.
For ease of possible future servicing, we also recommend the fitting of
conveniently placed isolating valves.
In addition to the guide below it is essential that the written information overleaf is
carefully read and understood.
• Preparation Check Box for Installer •
Flush the plumbing system before
installing the kitchen product..
SPOUT
• Assemble the spout by placing the hoses
through the Ø1. 3/8" hole in the work surface,
ensuring the base ring & rubber seal are in
place.
• Place clamp plate and securing nut onto the
clamp bolt, tighten with spanner provided to
underside of work surface.
HANDLE SET
• To assemble the side valve, ensure the brass
backnut and washer are in place on the valve
body, then from the underside of work surface,
push the valve body through the hole. Assemble
base ring as shown so the valve body threads
show at the top.
• Ensure the connection for the flexible hose
from the sidevalves is facing the spout.
• Assemble the hood & handle onto the valve body
ensuring that it's aligned correctly. If not,
remove and turn a few splines until correct
alignment is achieved.
• Lever handles and the HOT & COLD wording on
crossheads should sit in a line parallel with the
rear wall.
• Screw the base ring up to the underside of
cover, repeat this procedure for the other side
valve.
• Tighten the brass backnut and washer to the
underside of the work surface. Connect the
valve body to the spout using the flexible hoses.
• Should the handles move out of alignment when
the backnut is tightened to the underside of the
bench, unscrew the hood and lift the handle
from the valve body. Rotate the handle
alignment vernier to another position and re-fit
the handle. By trial & error.
•
Once unpacked, remove clamping plate and
nut ready for installation.
Base
ring
Rubber
seal
WORK
Base
Ring
Rubber
Ø
1 1/8"
Seal
Washer/
Back Nut
Spout
O
1 3/8"
hole
SURFACE
Clamp plate
Fixing Nuts
Flexible
hose
Spanner
6 " - 16"
• This tap is fitted with
disc valve units. Wate
on is achieved by rota
quarter-turn. Cerami
available opening in a
anti-clockwise direct
an installed faucet o
direction, this can be
ceramic disc valve to
OPTIONAL LEVER INSER
• Perrin & Rowe lever
supplied fitted with b
These can be replace
from porcelain if req
• To fit replacement le
metal rod running do
brass lever insert in
direction to unscrew
Remove the metal spa
from the rod and slid
the rod.
• When fitting a porcel
onto the rod, re-fit t
screw it back onto th
brass lever insert, sl
supplied with the inse
under the thick end o
original o-ring and sp
onto the faucet.
• BEFORE USE •
• Carefully check the
• If further building w
the finish.
• Please ensure that t
• CARE & MAINTENAN
Wipe down after use
Occasional cleaning
that is required to k
Do not use proprieta
any products with am
finish and void your g
Advertisement
Table of Contents

Related Manuals for Rohl Traditional Kitchen Edwardian U3706XEG2


Summary of Contents for Rohl Traditional Kitchen Edwardian U3706XEG2
- Page 1 The Traditional Kitchen Collection • • Installation & User Guide Congratulations on the purchase of your Perrin and Rowe Bathroom Product. Correctly installed and with sensible care, this product will give you many years of trouble free service. • IMPORTANT INFORMATION • OPERATION •...
- Page 2 uct. Correctly rouble free service. OPERATION • This tap is fitted with quarter-turn ceramic disc valve units. Water flow from off to fully gistered on is achieved by rotating the handles a quarter-turn. Ceramic disc valves are available opening in a clockwise or anti-clockwise direction.
Need help?
Do you have a question about the Traditional Kitchen Edwardian U3706XEG2 and is the answer not in the manual?
Questions and answers