
Subscribe to Our Youtube Channel
Related Manuals for Verkada CD32


Summary of Contents for Verkada CD32
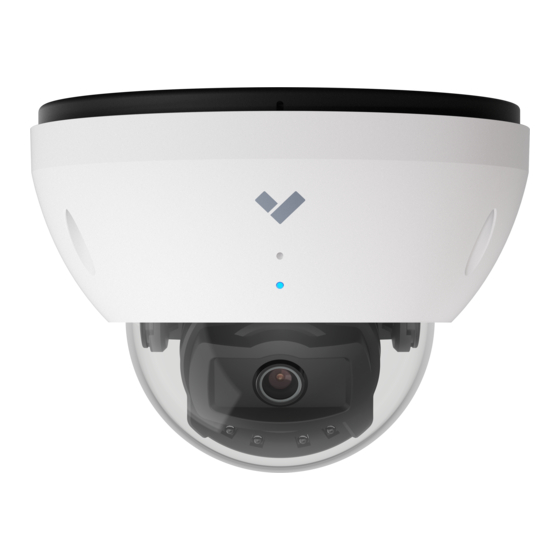
- Page 1 Install Guide CD32 CD42 CD52 Indoor Dome Camera Verkada Inc. 405 E 4th Ave, San Mateo, CA 94401 All specifications are subject to change without notice sales@verkada.com Copyright © Verkada Inc. All rights reserved.
-
Page 2: Document Details
Verkada Command command.verkada.com. Product Models This install guide pertains to models CD32-HW, CD42-HW, CD52-HW. Verkada Inc. 405 E 4th Ave, San Mateo, CA 94401 All specifications are subject to change without notice sales@verkada.com Copyright © Verkada Inc. All rights reserved. - Page 3 (5-6.5mm) If you prefer to manually register your product, please proceed to: verkada.com/start Verkada Inc. 405 E 4th Ave, San Mateo, CA 94401 All specifications are subject to change without notice sales@verkada.com Copyright © Verkada Inc. All rights reserved.
-
Page 4: Regular Operation
Verkada endpoints are not reachable Solid Blue after boot up. Camera is running, connected, and recording data. Verkada Inc. 405 E 4th Ave, San Mateo, CA 94401 All specifications are subject to change without notice sales@verkada.com Copyright © Verkada Inc. All rights reserved. - Page 5 Connect the camera to an 802.3af/at Power over Ethernet port on your network. Verkada Inc. 405 E 4th Ave, San Mateo, CA 94401 All specifications are subject to change without notice sales@verkada.com Copyright © Verkada Inc. All rights reserved.
- Page 6 Too much slack in the Ethernet cable may create top cover installation issues. Verkada Inc. 405 E 4th Ave, San Mateo, CA 94401 All specifications are subject to change without notice sales@verkada.com Copyright © Verkada Inc. All rights reserved.
- Page 7 To secure the camera, place it over the mount plate screws and twist counter-clockwise. Tighten the mount plate screws with a Phillips screwdriver. Verkada Inc. 405 E 4th Ave, San Mateo, CA 94401 All specifications are subject to change without notice sales@verkada.com...
- Page 8 Default image orientation is indicated by markings on the lens face. Video orientation is also adjustable from within the Verkada application. Verkada Inc. 405 E 4th Ave, San Mateo, CA 94401 All specifications are subject to change without notice sales@verkada.com...
- Page 9 Tighten the security screws using the provided T10 security torx screwdriver. Remove plastic film after top cover is secured. Verkada Inc. 405 E 4th Ave, San Mateo, CA 94401 All specifications are subject to change without notice sales@verkada.com...
- Page 10 Please contact certified dealers for power adapters. To reduce potential safety issues, only use the PoE adapter provided with the product, a replacement PoE adapter provided by Verkada, or a PoE adapter purchased as an accessory from Verkada. Adapter Verkada Inc. 405 E 4th Ave, San Mateo, CA 94401 All specifications are subject to change without notice sales@verkada.com...
- Page 11 Appendix Support Thank you for purchasing this Verkada product. If for any reason you're experiencing issues or need assistance, please contact our 24/7 Technical Support Team immediately. Sincerely, The Verkada Team verkada.com/support Verkada Inc. 405 E 4th Ave, San Mateo, CA 94401 All specifications are subject to change without notice sales@verkada.com...
Need help?
Do you have a question about the CD32 and is the answer not in the manual?
Questions and answers