Table of Contents
Advertisement
Repair
Magnum LTS 15, LTS 17, and ProLTS 19
Airless Sprayer
- For portable spray applications of architectural paints and coatings -
Models 16W120, 16W121, 16W122
IMPORTANT SAFETY INSTRUCTIONS
Read all warnings and instructions in this manual.
Save these instructions.
See page 3 for model series information including
dispense rate, recommended hose length, guns, and
maximum working pressure.
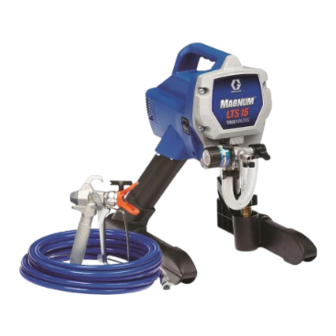
ti11304b
Magnum LTS 15
Model: 16W120
Series A
LTS 15 and LTS 17 ONLY: Use water-based or min-
eral spirit-type materials only. Do not use materials
having flash points lower than 100° F (38° C). This
includes, but is not limited to, acetone, xylene, toluene,
or naptha. For more information about your material,
request MSDS from distributor or retailer.
ti11305b
Magnum LTS 17
Model: 16W121
Series A
332695C
ti16976a
Magnum ProLTS 19
Model: 16W122
Series A
EN
Advertisement
Table of Contents
Troubleshooting


Need help?
Do you have a question about the Magnum LTS 15 and is the answer not in the manual?
Questions and answers