Table of Contents
Advertisement
Quick Links
Advertisement
Table of Contents

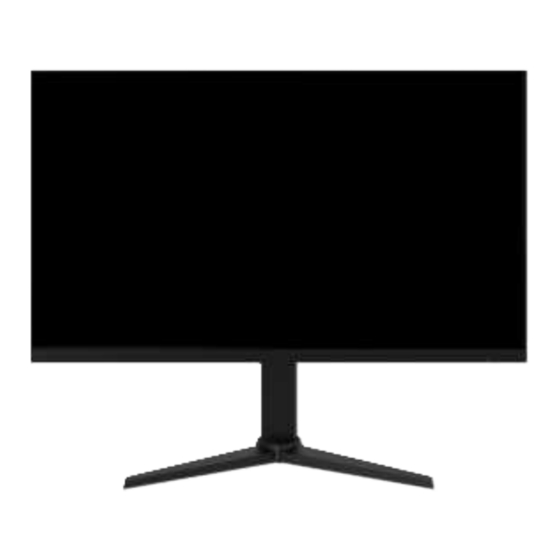
Related Manuals for Viotek GFT27CXB2


Summary of Contents for Viotek GFT27CXB2
- Page 1 GFT27CXB2 ED GAMING MONIT USER MANUAL In order to continue serving our customers and providing the best products, our product information including our user manuals may receive updates from time to time. Please check our website for the latest user manuals and product materials.
-
Page 3: Table Of Contents
Table of Contents Section 1: Safety Precautions..............4 Section 2: Box Contents .................5 Section 3: Product Overview ..............6 3.1 – Monitor Button/Rocker ...............6 3.2 – Monitor Ports ................7 Section 4: Stand Installation ..............7 Section 5: Mount Installation ..............9 Section 6: Operations ................10 6.1 –... -
Page 4: Section 1: Safety Precautions
VIOTEK shall not be held responsible for injury or damage of products or persons due to failure to adhere to the aforementioned precautions or any others noted hereafter. -
Page 5: Section 2: Box Contents
Section 2: Box Contents Monitor x 1 Stand Stem x 1 Stand Base x 1 Power Cable x 1 DP Cable x 1 Screwdriver x 1 (AC 100-240V, 50/60Hz) Screws x 4 User Manual x 1... -
Page 6: Section 3: Product Overview
Section 3: Product Overview 3.1 – Monitor Button/Rocker Rocker Button Initial State: Actions Description Rocker Up Signal source input shortcut key Rocker Down Volume adjustment shortcut key Rocker Left Game plus shortcut key Rocker Right Preset shortcut key Press Rocker Quick-press to turn on the display or enter the OSD menu. -
Page 7: Monitor Ports
3.2 – Monitor Ports Audio Output: Insert the audio cable for output of audio signals. DP Connectors: Insert one end of the DP cable into the computer’s DP output and connect the other end to the monitor’s DP port. HDMI Connector: Insert one end of the HDMI cable into the computer’s HDMI output and connect the other end to the monitor’s HDMI port. - Page 8 3. Take out the base and insert it into the stand bottom, then turn the base clockwise to lock it in place. Stand Stem Base 4. Use the released screw from Step 2 to fasten the base onto the stem. Screw 5.
-
Page 9: Section 5: Mount Installation
Section 5: Mount Installation Open the package and take out the product with foam still attached. Gently place it on a desktop or table. Remove the extra parts and the foam covering the monitor. If the monitor is already attached to the stand, remove the stand following the steps below: Remove the attached stand: Take out the four main screws of the stand and remove the entire stand from the monitor. -
Page 10: Section 6: Operations
Section 6: Operations 6.1 – Adjust Stand Height By default, the display comes pre-assembled with a stand. Open the package and remove the foam covering the surface. Carefully place monitor on the desire desktop. Now it is ready for use. Place the monitor on your desktop and carefully pull or push it up or down to adjust height. -
Page 11: Section 7: Indicator Light
Section 7: Indicator Light Solid blue light indicates power is on and the monitor is operating normally. Flashing red light indicates no video source has been detected, no horizontal or vertical signal has been detected or power is low. Please ensure your computer is on and all video cables are fully inserted and/or connected. -
Page 12: Osd Menu Functions
8.1 – OSD Menu Functions Main Menu Sub-Menu Options Description Display Brightness 0-100 Adjust display brightness Contrast 0-100 Adjust display contrast Black Equalizer 0-100 Adjust display black equalizer Preset Standard, User, Set visual mode according to activity Movie, Photo, RTS, FPS1, FPS2 Aspect Ratio Full, 16:9, 4:3... -
Page 13: Section 9: Enter Shortcut Menus
Section 9: Enter Shortcut Menus You can use the Rocker Button to quickly access the desired shortcut menu: • Push the Rocker button up to enter the Signal Input screen. Then push the Rocker button up or down to toggle input selections. Then press the Rocker button to the right to confirm setting. -
Page 14: Section 10: Troubleshooting
Section 10: Troubleshooting The screen is blank • Press the power button to turn the monitor on. • Confirm the brightness and contrast settings are set normally. • Check if the indicator light is flashing. If so, there is no signal from your video source. -
Page 15: Section 11: Cleaning
Light indicator is on or flashing, but there is no image displayed on screen • Check that the monitor power is on. • Check that the graphics card is installed properly. • Make sure the power cable is properly connected to the monitor and power source. -
Page 16: Section 12: Information
Section 12: Information 12.1 – Specifications Item Detail Model Number GFT27CXB2 Screen Size 27’’ Viewing Angle H170° / V160° Aspect Ratio 16:9 Resolution 1920 x 1080p Backlight E-LED Typical Brightness 400 cd/m Default Color Temperature 6500 99% sRGB; 72% NTSC... -
Page 17: Resolution Compatibility For Displayport
Warranty services are provided by Viotek Warranty Pro (“WP”). If a hardware defect arises and a valid claim is received within the Warranty Period, at its option and to the extent permitted by law, WP will: (1) repair the hardware defect by using new or refurbished parts that are equivalent to new in performance and reliability;... - Page 18 DISCLAIMER OF WARRANTY: THE REMEDIES DESCRIBED ABOVE ARE YOUR SOLE AND EXCLUSIVE REMEDIES AND OUR ENTIRE LIABILITY FOR ANY BREACH OF THIS LIMITED WARRANTY. OUR LIABILITY SHALL UNDER NO CIRCUMSTANCES EXCEED THE ACTUAL AMOUNT PAID BY YOU FOR THE DEFECTIVE PRODUCT, NOR SHALL WE UNDER ANY CIRCUMSTANCES BE LIABLE FOR ANY CONSEQUENTIAL, INCIDENTAL, SPECIAL OR PUNITIVE DAMAGES OR LOSSES, WHETHER DIRECT OR INDIRECT.
- Page 20 COPYRIGHT © 2022 VIOTEK. ALL RIGHTS RESERVED.
Need help?
Do you have a question about the GFT27CXB2 and is the answer not in the manual?
Questions and answers