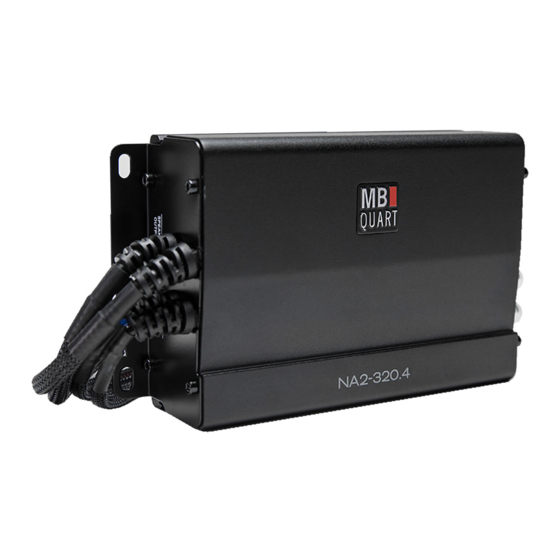
Summary of Contents for MB QUART NA2-400.2
- Page 1 Quick Start Installation Guide NA2-400.2 NA2-320.4 NA2-400.1 NA2-500.5 This “Quick Start Installation” guide is meant to help you “hook up” and play music. For more detailed information, http://mbquart.com/manuals.html...
-
Page 2: Installation
Power cable size Model Fuse Size Cable Size and fusing NA2-400.2 It is critical to use the proper power 1-30A atc and ground cable. Select the size NA2-320.4 1-30A atc 10ga Always use high quality copper NA2-400.1... -
Page 3: Chassis Ground
Chassis Ground The chassis ground connection is critical to the performance location that is close to the away the paint and use a nut and bolt if possible. DO NOT USE AN EXISTING Bare metal FACTORY BOLT! Power Attach the chassis ground, +12V and remote wire. It is important to make sure these connections are Connection very secure. - Page 4 Connections Follow the diagram below NA2-400.1 / NA2-500.5 Speaker Positive - Gray Speaker Negative - Gray / Black NA2-400.2 Left Positive - White Left Negative - White / Black Right Positive - Gray Right Negative - Gray / Black NA2-320.4 / NA2-500.5...
-
Page 5: Level Setting
SUBSONIC The gain control purpose is to match 9V 0.2V 50Hz 150Hz 15Hz 50Hz the output of your source signal to the detailed instructions. NA2-400.2 X-OVER Switch X-OVER HP OFF LP INPUT or low frequencies. The NA1-400.2 offers LEVEL 9V 0.2V... -
Page 6: Remote Level Control
Some models include a bass remote. Avoid adjusting the bass remote while operating vehicle. Remote Level Control The information contained within this document is intended to offer some basic guidelines for a few of the most common installations. More complex audio systems should be installed by a competent professional. - Page 7 120 Minutes (2 Hours) Assembly Time: Before you beign, read thought these instructions and check that all parts are present. Please note that MB Quart cannot assume any responsibility for damage resulting from incorrect installation. MBQJ-SUB-1 Parts List Component Name...
- Page 8 Disassembly ● Remove (4)10mm bolts securing the under seat storage compartment May need to remove rubber insert to gain access to bolts ● Remove jack Page 2 of 5...
-
Page 9: Subwoofer Installation
Subwoofer Installation ● Cut a small hole in the carpet (as pictured) to pass the subwoofer extension harness through going toward the outside of vehicle along door seal toward the passenger seat area. ● Install jack ● Connect subwoofer enclosure wiring to subwoofer extension harness. - Page 10 Subwoofer Installation ● Reusing the (4) 10 mm bolts holding the storage compartment, secure the subwoofer enclosure ● Connect the subwoofer speaker wires to the subwoofer and repeat the process for other subwoofer ● Secure the subwoofer to the enclosure with (8) High-Low screws using a T-20 Torx bit Page 4 of 5...
- Page 11 FCC Notification This equipment has been tested and found to comply with the limits for a Class B digital device, pursuant to part 15 of the FCC Rules. These limits are designed to provide reasonable protection against harmful interference in a mobile installation. This equipment generates uses and can radiate radio frequency energy.


Need help?
Do you have a question about the NA2-400.2 and is the answer not in the manual?
Questions and answers