Table of Contents
Advertisement
Quick Links
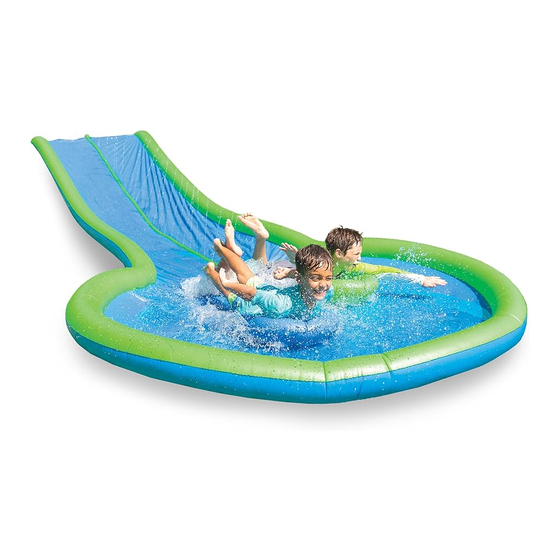
25-Foot Ultimate
Safety and Assembly Instructions
Includes:
1 Inflatable water slide
Prior to Assembly & Set-up:
Find the right spot. Use on flat lawn only, not on pavement
or other hard surfaces. Lawn should be free of rocks,
depressions, sticks, etc. Water slide should be at least 5'
away on all sides from trees, walls, and other objects.
Inflation:
Hand, electric, or foot pump recommended for
inflation, sold separately at HearthSong.com.
Please do not overinflate.
Do not inflate with an air compressor or any high-
pressure hose at a filling station.
Insert a standard garden hose into the hose valves
to fill weighted base and water channel.
Assembly:
1. Lay water slide flat with the warning label side up and with the slide bumpers on top.
2. Locate the two quick-release valves along the bumper. Use one to inflate the air channel.
Be sure the second valve is completely closed. Be careful not to overinflate.
3. Next, secure slide with four of the supplied ground stakes. Insert stake through the hole
on each tab. TIP: For harder ground, dampen the area and use a rubber mallet.
4. Before connecting a water hose, use a hose to wet the entire slide surface and fill the splash
pool area. Finally, attach the hose to the connector on your water slide and turn on the faucet
slowly. Gradually increase the flow of water until a tunnel of water arches and lands on the slide.
#733314 Conforms to ASTM F963. Made in China. ©HearthSong
Dual Water Slide
2 Inflatable speed boards
2021. Madison, VA 22727. 1-800-533-4397 HearthSong.com
®
Weight Limit: 110 lbs. per child | Height Limit: 5' tall
4 Ground stakes
Using Two-Stage Quick-Release
Air Valves:
This toy is equipped with two-stage quick-release
valves which allow fast inflation and deflation.
A
Valve Cap
B
One-Way
Valve
C
#733314 | Ages 5-12
Adult assembly and supervision required.
Takes 1 adult to assemble.
25'L x 4'W water slide | 8' diam. splash pool.
To Inflate:
1. Open
, making sure
A
still firmly inserted into
Insert pump nozzle into
inflate. DO NOT OVERINFLATE.
2. Firmly insert
into
A
close valve.
To Deflate:
1. Pull out
to quickly release
B
the air out of
, hands-free!
C
DO NOT JERK ON VALVE.
Quick-Release Valve
Step 3
is
B
.
C
to
B
to
B
Advertisement
Table of Contents

Subscribe to Our Youtube Channel
Related Manuals for HearthSong 733314


Summary of Contents for HearthSong 733314
- Page 1 Finally, attach the hose to the connector on your water slide and turn on the faucet slowly. Gradually increase the flow of water until a tunnel of water arches and lands on the slide. #733314 Conforms to ASTM F963. Made in China. ©HearthSong 2021. Madison, VA 22727. 1-800-533-4397 HearthSong.com...
- Page 2 One Year Quality Guarantee, please reach out: Email: CustomerResponse@HearthSong.com Phone: 1-800-533-4397 Direct message us on social We’ll work together to ensure your best experience! Complete policy at HearthSong.com/Service/Guarantee #733314 Conforms to ASTM F963. Made in China. ©HearthSong 2021. Madison, VA 22727. 1-800-533-4397 HearthSong.com ®...
- Page 3 The user assumes all risk of injury due to use. All merchandise is sold on this condition, which no representative of the company can waive or change. #733314 Conforms to ASTM F963. Made in China. ©HearthSong 2021. Madison, VA 22727. 1-800-533-4397 HearthSong.com...
Need help?
Do you have a question about the 733314 and is the answer not in the manual?
Questions and answers