Advertisement
Overview the unit
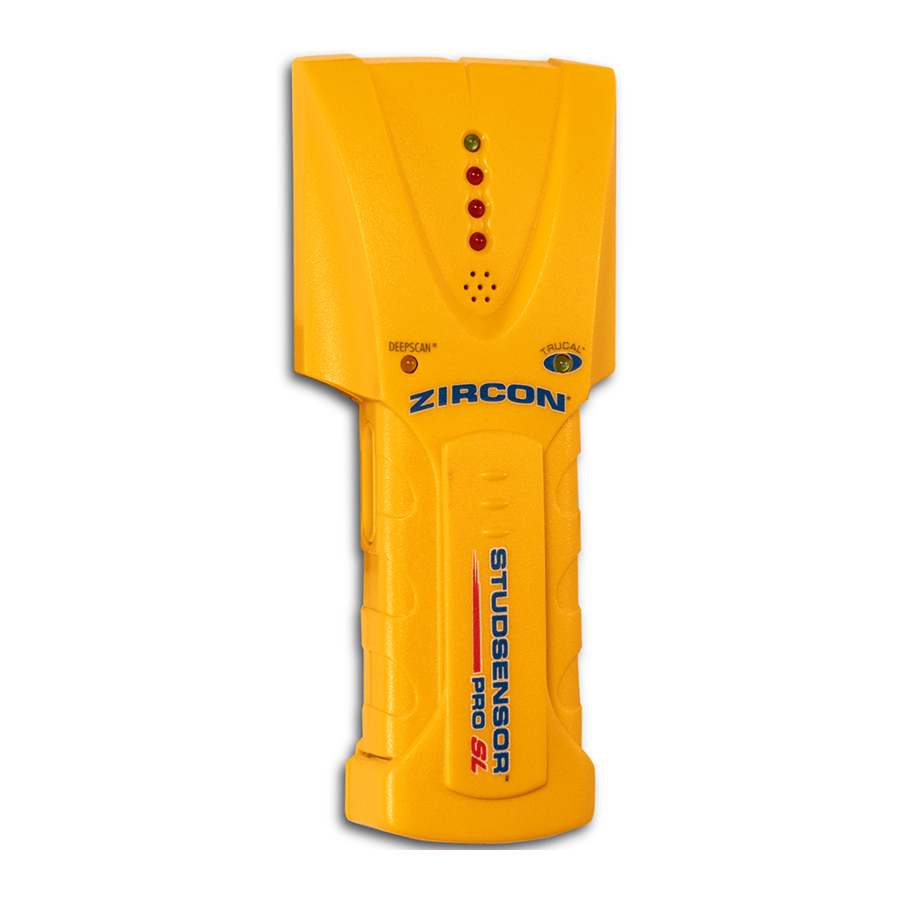
The Zircon StudSensor ™ SL and Pro SL find wood and metal studs up to 3 ⁄ 4 in. (19mm) deep in walls. The StudSensor Pro SL also finds studs up to 1 1 ⁄ 2 in. (38 mm) deep in floors and ceilings. They feature a sleek, high-impact case, a built-in clip, and the SpotLite ™ Pointing System.

MODE SELECTION
- Selecting Mode: For normal scan, press power button once. ForDeepScan™, click button twice (DeepScan™ LED will light, Pro SL only).
- When looking for studs, always start with the scanner in Stud Scanmode, which scans through surfaces up to 3⁄4 inch thick.
- DeepScan™ mode should only be selected if you know the surface is built-up and thicker than normal construction. You should always scan the area in Stud Scan mode first, to verify that DeepScan™ is needed. DeepScan™ is for depths between 3⁄4 inch and 11⁄2 inches (Pro SL only).
IMPORTANT OPERATING TIPS

PLEASE READ CAREFULLY
- Tool Position. For proper use, always place scanner flat against the surface before turning on power.
- Power. Depress and hold in the power button continuously while in use.
- Calibration. Place unit flat on wall. Press and hold the power button. Do not move the unit until calibration is complete (1-2 seconds). When calibration is complete, the TruCal™ LED will stay on.
- Operation. Move the unit slowly, while keeping it flat against the wall. Do not rock, tilt, or lift it.
- If you calibrate over a stud in DeepScan™ mode, you probably will not detect any studs. Move the unit a few inches right or left, release the power button, and start over (Pro SL only).
SCANNING IN STUD SCAN OR DEEPSCAN™ MODE (PRO SL ONLY)
After calibrating (see number 2), continue to hold the power button and slowly slide the unit across the surface. As you begin to approach a stud, the red LEDs will light successively, from bottom to top (see illustrations at top of next column).
Continue moving the scanner slowly. When the top green LED is lit, the beep sounds, and the SpotLite™ Pointing System beam shines, you have located the edge of the stud. Mark this spot.
Continue scanning beyond the marked spot until the LEDs go out. Slide unit in reverse direction to locate other edge of stud. Mark this second spot. Middle of the stud is centered between the two marks.
Scanning in Stud Scan or DeepScan™

Note:
DeepScan™ may report other things besides studs.
OPERATING CAUTIONS
Depending on the proximity of electrical wiring or pipes to the wall surface, the StudSensor™ may detect them in the same manner as studs, especially in DeepScan™ mode. Caution should always be used when nailing, sawing, or drilling into walls, floors, and ceilings that may contain these items. Because of its increased sensitivity, DeepScan™ mode may also detect other things in walls that are not studs (Pro SL only).
To avoid surprises, remember that studs or joists are normally spaced 16 in. (406mm) or 24 in. (610mm) apart and are 11⁄2 in. (38mm) in width. Anything closer together or a different width may not be a stud, joist, or firebreak. Always turn off the power when working near electrical wires.
Working With Different Materials
- Wallpaper: The StudSensor™ functions normally on walls covered with wallpaper or fabric, unless the materials are metallic foil, contain metallic fibers, or are still wet after application.
- Textured walls or acoustic ceilings: When scanning a ceiling or wall with an uneven surface, place thin cardboard on ceiling or wall and scan over the cardboard using DeepScan™ mode. Calibrate with cardboard in place (Pro SL only).
- Wood flooring, subflooring, or gypsum drywall over plywood sheathing: use DeepScan™ mode (Pro SL only).
- The StudSensor™ cannot scan for wood studs and joists through ceramic tile or carpeting and pad. It is not recommended for use on lath and plaster walls due to irregularities in plaster thickness.
Note:
Sensing depth and accuracy can vary due to moisture, content of materials, wall texture, and paint.
CHANGING THE BATTERY
Note:
Do not loosen or remove screw on back of the unit.
Squeeze sides of unit to help release clip end.
Slide 9-V battery into compartment, terminal side first, matching (+) and (-) terminals from battery to case.
Replace the clip. Battery life is approximately 2 years under normal conditions.

HELPFUL HINTS
(See Important Operating Tips)
| Situation | Probable Causes | Solutions |
| No indications. |
|
|
| Lights start blinking and unit beeps repeatedly. |
|
|
| Detects other objects besides studs in Stud Scan and DeepScan™ modes. Finds more targets than there should be. |
|
|
Visit www.zircon.com/support for the most current instructions.
LIMITED 2 YEAR WARRANTY
Zircon Corporation, ("Zircon") warrants this product to be free from defects in materials and workmanship for 2 years from the date of purchase. Any in-warranty defective product returned to Zircon*, freight prepaid with proof of purchase date and $5.00 to cover postage and handling, will be repaired or replaced at Zircon's option. This warranty is limited to the electronic circuitry and original case of the product and specifically excludes damage caused by abuse, unreasonable use or neglect. This warranty is in lieu of all other warranties, express or implied, and no other representations or claims of any nature shall bind or obligate Zircon. Any implied warranties applicable to this product are limited to the one year period following its purchase. IN NO EVENT WILL ZIRCON BE LIABLE FOR ANY SPECIAL, INCIDENTAL OR CONSEQUENTIAL DAMAGES RESULTING FROM POSSESSION, USE OR MALFUNCTION OF THIS PRODUCT.
In accordance with government regulations, you are advised that:(i) some states do not allow limitations on how long an implied warranty lasts and/or the exclusion or limitation of incidental or consequential damages, so the above limitations and/or exclusions may not apply to you, and further. (ii) this warranty gives you specific legal rights and you may also have other rights which vary from state to state. Return product freight prepaid with proof of purchase date (dated sales receipt) and $5.00 to cover postage and handling, to:
UPS SCS C/O ZIRCON RETURNS
Lohstrabe 30a
85445 Schwaig
Munich, Germany
Be sure to include your name and return address. Out of warranty service and repair, where proof of purchase is not provided, shall be returned with repairs charged C.O.D.Allow 4 to 6 weeks for delivery.
Customer Service: 1-800-245-9265 or 1-408-963-4550
Monday–Friday, 8:00 a.m. to 5:00 p.m. PST
E-mail: info@zircon.com
U.S. Patents 4099118, 4464622, 5352974, 5619128, 6023159, 6249241, 6291970, D455430, and D455750
Canada Patents 1106932, 2141553, 2341385, and 2353156
E.U. Patents EP0657032, EP1429148, and Patent Pending
U.K. Patents GB2159630 and GB2117909 Japan Patent 3581851
©2007 Zircon Corporation • P/N 62129 Rev A 05/07
DeepScan, SpotLite, StudSensor, TruCal, and Zircon are registered trademarks or trademarks of Zircon Corporation.

Documents / ResourcesDownload manual
Here you can download full pdf version of manual, it may contain additional safety instructions, warranty information, FCC rules, etc.
Download Zircon StudSensor SL, StudSensor Pro SL - Stud And Joist Finder Manual
Advertisement


Need help?
Do you have a question about the StudSensor SL and is the answer not in the manual?
Questions and answers