Zircon StudSensor EDGE - Stud Finder Manual
- Quick start manual (3 pages)
Advertisement
Overview
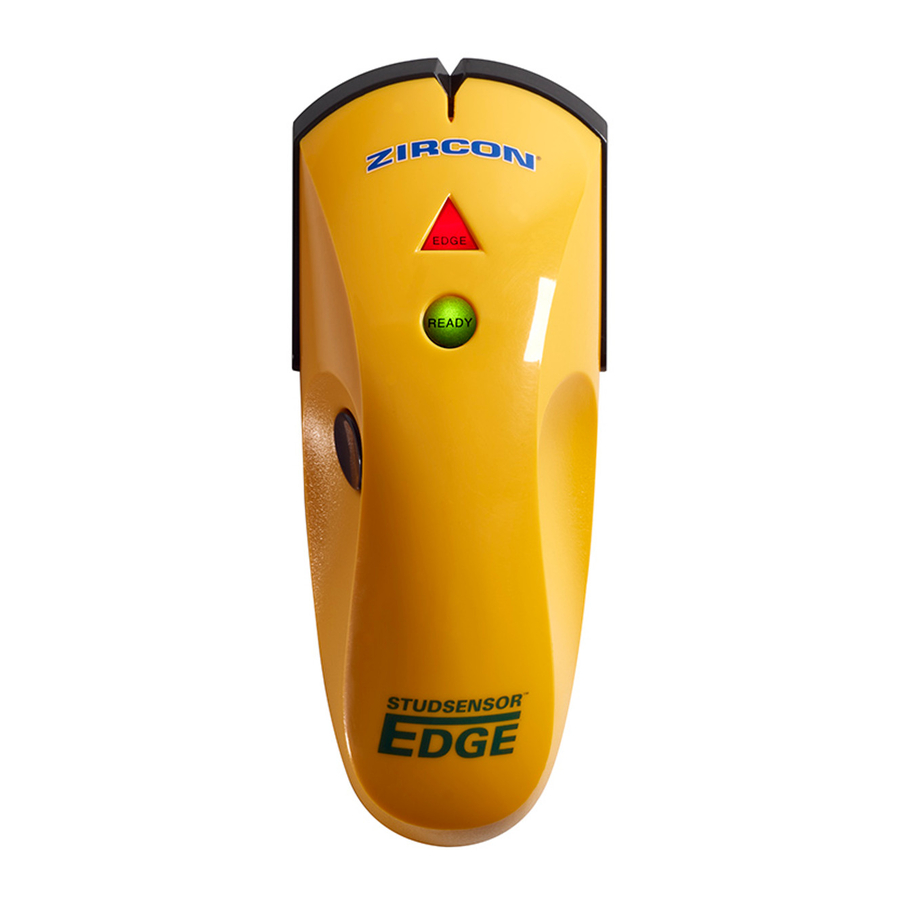
The Zircon StudSensor ™ EDGE stud finder finds the edges of wood and metal studs up to 19 mm deep in walls. It features a sleek, high-impact case, with a patent-pending pinch grip design, and a new SpotLite ® Pointer.

INSTALLING THE BATTERY
Do not attempt to unscrew the back of the tool.
Push in the battery door tab at the bottom of the tool and open the door. Insert a new 9-Volt battery, matching the positive (+) and negative (-) terminals to the icons printed on the back. Snap the battery into place and replace the door.

IMPORTANT OPERATING TIPS
PLEASE READ CAREFULLY
- Tool Position:For proper use, always place scanner flat against the surface before turning on power.
- Power: Press and hold in the Power button continuously while in use.
- Operation: Move the unit slowly, while keeping it flat against the wall. Do not rock, tilt, or lift it.
TURNING ON/CALIBRATING THE TOOL AND FINDING A STUD
- Place unit flat on wall. Press and hold the Power button. During calibration, SpotLite arrow and red EDGE light will flash, unit will beep, and green READY light will stay illuminated. Do not move the unit until calibration is complete.
- If you calibrate over a stud, the unit will beep repeatedly. Move the unit a few inches right or left, release the Power button, and start over.
- After calibration is complete, continue to hold the Power button and slowly slide the unit across the surface.

- When the top red EDGE light is lit, the beep sounds, and the SpotLite Pointer arrow shines, you have located the edge of the stud. Mark this spot.

- Continue scanning beyond the marked spot until the red EDGE light turns off. Slide unit in reverse direction to locate other edge of stud.
Mark this second spot. The middle of the stud is centered between the two marks.


OPERATING CAUTIONS
Depending on the proximity of electrical wiring or pipes to the wall surface, the StudSensor EDGE may detect them in the same manner as studs. Caution should always be used when nailing, sawing, or drilling into walls, floors, and ceilings that may contain these items.
To avoid surprises, remember that studs or joists are normally spaced 16 in. (406 mm) or 24 in. (610 mm) apart and are 1 (35 mm) to in width. Anything closer together or a different width may not be a stud, joist, or firebreak.
Always turn off the power when working near electrical wires.
SCANNING DIFFERENT SURFACES
Freshly painted walls: May take one week or longer to dry after application.
Wallpaper: The StudSensor™ EDGE functions normally on walls covered with wallpaper or fabric, unless the materials are metallic foil, contain metallic fibers, or are still wet after application.
Lath & plaster: Due to irregularities in plaster thickness, this tool is not recommended for use on lath & plaster.
The StudSensor™ EDGE cannot scan for wood studs and joists through ceramic tile or carpeting and pad.
Note: Sensing depth and accuracy can vary due to moisture, content of materials, wall texture, and paint.
HELPFUL HINTS
See also IMPORTANT OPERATING TIPS
| Situation | Probable Causes | Solutions |
| No indications. |
|
|
| Unit beeps repeatedly. |
|
|
| Detects other objects besides studs. Finds more targets than there should be. |
|
|

VideosHow to Use a Zircon StudSensor EDGE Stud Finder to Find Wall Studs Video
Documents / ResourcesDownload manual
Here you can download full pdf version of manual, it may contain additional safety instructions, warranty information, FCC rules, etc.
Advertisement


Need help?
Do you have a question about the StudSensor EDGE and is the answer not in the manual?
Questions and answers