Advertisement
BeBa_26296, BeBa_26297, BeBa_26299,BeBa_26300,
BeBa_26301, BeBa_26310, BeBa_26311, BeBa_26314,
BeBa_26315, BeBa_26317, BeBa_27932, BeBa_27933,
BeBa_27934, BeBa_27935, BeBa_27936, BeBa_27959,
BeBa_27960, BeBa_27961,TUNMB1000
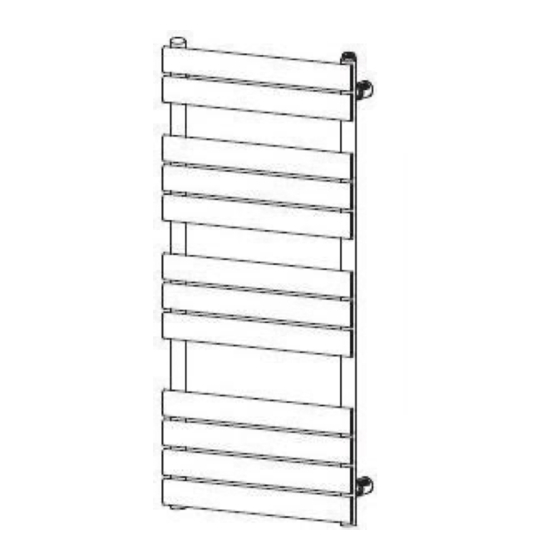
Tundra Towel Radiator
Please note: Image is for illustrative purposes only and may differ slightly to the
actual product
Multi-person assembly
Tools required
We always recommend using professional
tradespeople to install your product
V2_16.11.22
Advertisement
Table of Contents

Related Manuals for Better Bathrooms Tundra BeBa-26296


Summary of Contents for Better Bathrooms Tundra BeBa-26296
- Page 1 BeBa_26296, BeBa_26297, BeBa_26299,BeBa_26300, BeBa_26301, BeBa_26310, BeBa_26311, BeBa_26314, BeBa_26315, BeBa_26317, BeBa_27932, BeBa_27933, BeBa_27934, BeBa_27935, BeBa_27936, BeBa_27959, BeBa_27960, BeBa_27961,TUNMB1000 Tundra Towel Radiator Please note: Image is for illustrative purposes only and may differ slightly to the actual product Multi-person assembly Tools required ...
-
Page 2: Congratulations On Your Purchase
Congratulations on your purchase And welcome to our growing gang of savvy shoppers We're on a mission to bring you extraordinary bathroom products, for less. From modern to traditional style ceramics, plus the gorgeous fixtures, fittings and furniture to match. So, you can fall in love with your space every single day. -
Page 3: Tools Required
Parts A. 1 x Radiator B. 1 x Air Vent (Bleed Valve) C. 1 x Blanking Cap D. 4 x Wall plug E. 4 x Wall Bracket F. 4 x Washer G. 4 x Wall screw H. 4 x Rail Bracket I. -
Page 4: Installation
Installation Please note: Before starting any installation, turn off the water supply. Please note: Before commencing any installation, the desired location should be checked before drilling, that no pipes or wires can be damaged. First, prepare the water supply pipes to match up with the towel radiator and valve dimensions being used. - Page 5 3. Using the drill and 8mm drill bit, drill into the marked positions then insert the wall plugs and tap flush to the finished wall surface. Please note: If drilling into a tile, it is recommended to tape the wall to prevent the drill from slipping.
- Page 6 6. Align and push the rail brackets on the radiator onto the wall brackets secured to the wall. Secure the two together with the connecting screws provided (insert through the slot in the bracket) and tighten using the Philips screwdriver, be sure not to overtighten.
-
Page 7: After Installation
After installation After the above installation, turn on the water supply and using the flathead screwdriver, open the air vent via the central screw, open the inlet valve and let the water rush into the radiator. Check all connections for leaks. ...
Need help?
Do you have a question about the Tundra BeBa-26296 and is the answer not in the manual?
Questions and answers