Kärcher WD 3 P Operating Instructions Manual
Hide thumbs
Also See for WD 3 P:
- User manual ,
- Manual (167 pages) ,
- Original operating instructions (86 pages)

Related Manuals for Kärcher WD 3 P


Summary of Contents for Kärcher WD 3 P
- Page 1 WD 3 English WD 3 Premium WD 3 P WD 3 P Premium Operating Instructions Before first use of the unit read these operating instructions and act in accordance with them. 59689750 (05/19)
- Page 2 WD 3 WD 3 Premium WD 3 P WD 3 P Premium...
- Page 4 WD 3 P WD 3 Premium WD 3 P WD 3 Premium 1800 W 13 A 5,9 kg 5,6 kg 5,8 kg 6,1 kg...
-
Page 5: Table Of Contents
Contents Environmental protection The packaging material can be General notes....EN . . .5 recycled. Please do not place the Safety instructions ..EN . . .6 packaging into the ordinary re- Description of the Appliance. -
Page 6: Safety Instructions
Cleaning and user mainte- – Customer Service nance must not be performed Our KÄRCHER branch will be pleased by children without supervi- to help you further in the case of ques- sion. tions or faults. Keep packaging film away – Ordering spare parts and from children - risk of suffoca- special attachments... -
Page 7: Description Of The Appliance
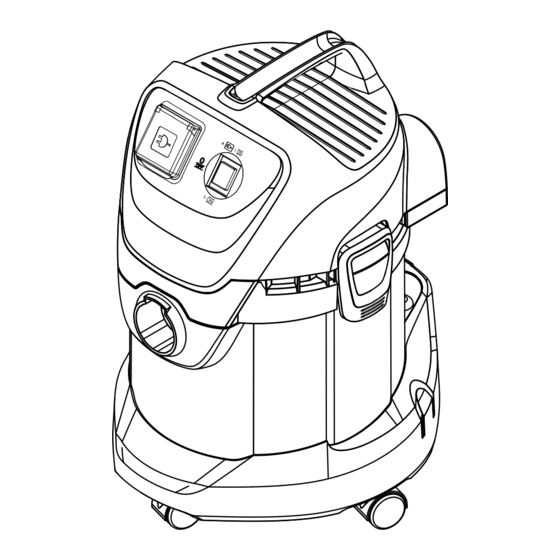
(max. 30 mA nominal tripping Description of the current). Appliance WARNING Illustrations on fold-out Certain materials may produce page! explosive vapours or mixtures These operating instructions de- when agitated by the suction air! scribe the multi-purpose vacuum Never vacuum up the following cleaners listed on the front cover. - Page 8 Illustration Illustration To connect an electric tool. Recommendation: To vacuum fine dust, use the filter bag. Carrying handle Cartridge filter To carry the appliance or to remove the appliance head after unlocking. Illustration The cartridge filter must always be ...
-
Page 9: Operation
Note: Due to removing the handle, ac- Operation cessories can be directly attached to CAUTION the suction hose. Always work with an inserted Recommendation: In order to vacu- um the floor, attach the handle to the cartridge filter during wet as well suction hose. - Page 10 Wet vacuum cleaning Blowing function For vacuuming up moisture or liq- Cleaning hard to reach locations or, uids pay attention to the correct where vacuuming is not possible, like floor nozzle insert and connect the leaves from a gravel bed. corresponding accessories.
-
Page 11: Care And Maintenance
Care and maintenance Helpline DANGER Karcher (UK) Limited operate a hel- pline allowing customers to discuss Turn off the appliance and re- any problems experienced with our move the mains plug prior to any products. care and maintenance work. The helpline operates during normal Repair works may only be per- business hours, if you have difficulty formed by the authorised cus-... -
Page 12: Technical Specifications
Technical specifications The Specifications are listed on page IV. The following is an explanation of the symbols. Voltage Output P Max. connection output of appliance socket Mains fuse (slow-blow) Container capacity Water intake with handle Water intake with floor nozzle Power cord Sound pressure level (EN 60704-2-1) - Page 13 البيانات الفنية المساعدة عند حدوث أعطال توجد البيانات الفنية بالصفحة الرابعة، ويليها .توضيح الرموز المستخدمة هناك ية أنبوبة الشفط المتدل الجهد ال تخفض أنبوبة الشفط الخاصة بالجهاز، وتأكد .من فضلك من النقاط التالية القدرة االسمية أال تكون الملحقات، أو خرطوم أو ماسورة ...
- Page 14 إنهاء التشغيل التشغيل باستخدام أدوات كهربائية .أوقف الجهاز واسحب قابس الشبكة صورة تفريغ الخزان قم بتهيئة المهايئ عند الحاجة وفقًا لقطر .وصلة األداة الكهربائية باستخدام مقياس صورة أدخل المهايئ في المقبض اليدوي .انزع رأس الجهاز وقم بتفريغ الخزان ...
- Page 15 ،أجل شفط الماء من على األرضية من صورة قم بتشبيك العنصر الخاص الحواف : لشفط الغبار الناعم، يجب إرشادات .المطاطية الثنائية في فوهة األرضية .استخدام كيس فلتر مهايئ مالحظات حول كيس الفلتر صورة .لتوصيل خرطوم الشفط بأية أداة كهربائية ...
- Page 16 انظر الموضع فتحات الملحقات قم بتركيب المقبض اليدوي على :توصية صورة .خرطوم الشفط من أجل تنظيف األرضية تسمح بتخزين أنابيب فتحة الملحقات مقبض يدوي قابل للخلع .الشفط وفوهات الشفط بالجهاز صورة بكرة توجيه المقبض اليدوي بخرطوم قم بتوصيل صورة...
- Page 17 صورة الرموز الواردة في دليل التشغيل : الشفط أو النفخ الوضع : الجهاز متوقف عن العمل الوضع صفر خطر للمخاطر التي تهدد الحياة بصورة مباشرة )مفتاح الجهاز (تشغيل/إيقاف لى إصابات جسدية بالغة أو تتسبب وتؤدي إ )(بمقبس مركب .في الوفاة صورة...
- Page 18 الوصلة الكهربائية طلب قطع غيار وملحقات إضافية قم بتوصيل الجهاز بتيار كهربائي متردد. يجب ستجد في نهاية دليل التشغيل نماذج لقطع أن يتوافق الجهد الكهربائي مع الجهد المذكور .الغيار األكثر استخداما .على الملصق الموجود على الجهاز يمكنك الحصول على قطع الغيار والملحقات خطر...
- Page 19 عزيزي العميل حماية البيئة يرجى قراءة دليل التشغيل األصلي مواد التغليف قابلة للتدوير وإعادة ،هذا قبل أول استخدام لجهازكم االستخدام. يرجى عدم التخلص من ثم التعامل مع الجهاز وفقًا للتعليمات الواردة العبوة في سلة القمامة المنزلية ولكن عليك بهذا الدليل. كما يرجى االحتفاظ بدليل بتقديمها...
- Page 21 WD 3 WD 3 Premium WD 3 P WD 3 P Premium WD 3...
- Page 22 www.kaercher.com/dealersearch Alfred Kärcher & Co. KG Alfred-Kärcher-Str. 28-40 71364 Winnenden (Germany) Tel.: +49 7195 14-0 Fax: +49 7195 14-2212...
Need help?
Do you have a question about the WD 3 P and is the answer not in the manual?
Questions and answers