Advertisement
Introduction
Thank you for buying SteriPEN®, and congratulations on your purchase. Years of careful research, development and testing have gone into the creation of this innovative product.
How Does SteriPEN® Work?
SteriPEN® uses shortwave germicidal UV light to disinfect water. This range of UV light disrupts the DNA of microbes in seconds. Without intact DNA, microbes cannot reproduce to make you sick.
Risks with Bottled Water
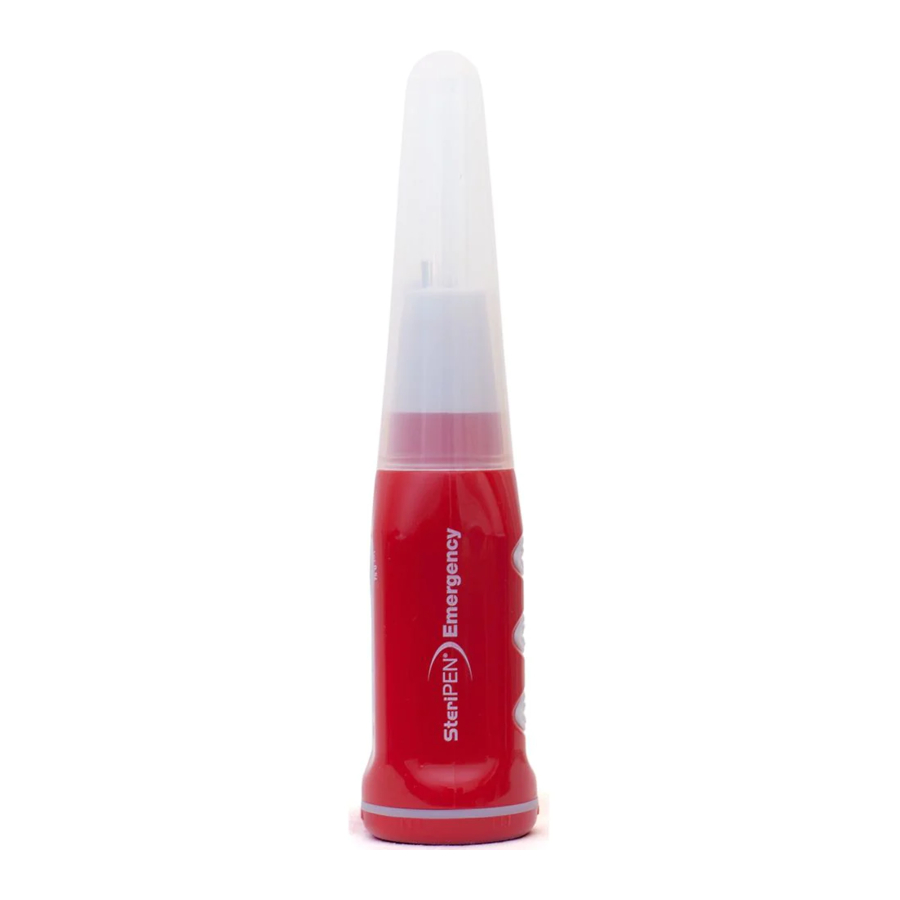
Bottled water in many countries comes from unknown and unregulated sources. SteriPEN® Emergency's tapered end fits inside water bottles for added safety.
Use on any source of fresh water in any country.
Guide to SteriPEN® Parts

- UV Lamp Cover
- UV Lamp Assembly
- Water Sensing Pins (2)
- Rubberized neck
- Activation Button
- Thumb Grip (finger grips on opposite side of device)
- Indicator LED (Light Emitting Diode): shows activation status
- Battery Compartment End Cap

- Warning label

Before Use
Important Battery Information
Lithium or Nickel Metal Hydride (NiMH) batteries are strongly recommended and will yield up to 200 one-half liter (16 oz.) treatments. Battery quality varies greatly by brand. Use only well-known brand name batteries.
Alkaline batteries of any kind ARE NOT RECOMMENDED. For more information, visit www.steripen.com.
- Insert 4 AA Lithium or NiMH batteries correctly.
- Remove lamp cover. Note: water sensor pins at base of lamp must be dry.
- Use SteriPEN® only with clear water. Discolored or dirty water should be pre-filtered until clear prior to SteriPEN® treatment. Use available SteriPEN®
Pre-Filter or FitsAll Filter to help clarify water. Coffee filters or a shirt can also be used in an emergency.
SteriPEN® treats two ranges of water volume:
- Push activation button twice for up to one-half liter (16 fl. oz.)
- Push activation button once for volumes between one-half and 1 liter (16 – 32 fl. oz.)
3 Easy Steps
- Push activation button once or twice to select volume of water and activate lamp – green Indicator LED will flash for up to 15 seconds indicating SteriPEN® is ready to use. Note: SteriPEN® will not function unless this step is completed before immersing lamp in water.
- While green Indicator LED is flashing, dip the UV lamp into the water so that lamp and water sensing pins are completely immersed. Lamp will turn on automatically Note: If visible light is not evident, the lamp is not on, and water should not be consumed.
- Agitate the water by stirring thoroughly until the lamp automatically turns off and indicator light turns green, indicating treatment is complete. Agitation throughout treatment is essential to provide uniform exposure of all water to the UV light. Note: If red LED turns on after lamp shuts off, the dose was not complete.
After Use
Remove SteriPEN® from water. Dry off lamp and water sensors with clean cloth and place cover on lamp.
SAFETY AND OPERATING TIPS
Water Containers
SteriPEN® may be used in glass, plastic, ceramic or metal containers. SteriPEN® should not be used in quartz containers.
Water Sense Circuitry
The SteriPEN® water sense circuitry is intended to prevent the UV lamp from illuminating unless it is completely immersed in water. If SteriPEN® is not immersed in water within 15 seconds of being activated, it will deactivate.
Cold Weather Considerations
Bring SteriPEN® up to a temperature above 32°F/0°C before using. Battery performance may be adversely affected by cold weather. NiMH rechargeable batteries are the best choice for cold weather. Store your batteries in your pocket or warm place when in cold weather conditions.
SteriPEN® LED (Light Emitting Diode) Signals
| LED Color and Pattern Display | Indication |
| Operating Signals | |
| Green, fast flashing (after button push) | Unit is armed and ready to treat water |
| Green, slow flashing: 1 second on, 1 second off (after dose completion) | 1 L (32 fl. oz.) dose completed |
| Green, steady (after dose completion) | 0.5 L (16 fl. oz.) dose completed |
| Green blinks for 15 seconds followed by a quick Red flash | Time expired, try again. The user has 15 seconds to put the SteriPEN® purifier in water after activation. |
| Green flash followed by Red flash | Sensor pins are wet. Sensor pins must be dry when pressing Activation Button.
|
| Red, steady | Dose incomplete. Repeat treatment. |
| Battery Warnings | |
| Red, fast flashing | Low battery warning; replace or recharge batteries |
| Green slow blinking with Red flashes | 1 L (32 fl. oz.) dose completed; low battery |
| Green, steady with Red flashes | 0.5 L (16 fl. oz.) dose completed; low battery |
| LED will not come on |
|
| Lamp Warnings | |
| Red 2 flashes, Green 2 flashes (repeating) | Over 2,900 treatments completed; lamp replacement needed in under 100 doses |
| Red 3 flashes, Green 1 flash (repeating) | Lamp failure; replace lamp |
| Normal indicator LED function, yet UV lamp emits no visible light | Lamp failure. Do not consume water. Follow warranty procedure. |
Battery Installation
See disposable battery recommendations above. When using rechargeable batteries, use Nickel Metal Hydride (NiMH) with 2500 mAh capacity or greater for best results. For more battery information, visit www.steripen.com.
To replace batteries, remove the battery end cap. Install new batteries in the end cap with polarities as shown. Re-install end cap.
PROPER BATTERY AND BATTERY CAP ORIENTATION

- step 1 starting position
- step 2 locked position
Care and Cleaning
When not in use, SteriPEN® should be kept in a clean, dry, non-abrasive area or container. SteriPEN® should not be exposed to ambient temperatures above 140°F/60°C or below -4°F/-20°C. When storing SteriPEN® for long periods, remove batteries.
To clean SteriPEN®, wash with a soft cloth and a mild soap solution. Rinse soap from device and dry with a clean, soft cloth. Note that while the battery compartment of SteriPEN® is designed to be water resistant, it is not guaranteed to be impermeable and should therefore never be submerged.
Troubleshooting
If flashing green Indicator LED shows that SteriPEN® is armed, but the lamp does not light when immersed in water, check to be sure lamp is completely immersed and that water is contacting both water sensing pins.
If immediately after completing a treatment another treatment is attempted, but fast flashing green LED will not activate, check to see that the water sensing pins are not immersed in water or wet. Remove SteriPEN® from water and dry sensing pins off and press activation button again.
If fresh batteries have been installed, but SteriPEN® will not complete a dose, low battery temperature may be the cause. Store your batteries in your pocket or warm place when in cold weather conditions. NiMH rechargeable batteries are a better choice for cold weather applications.
Technical Support
For support, please email support@steripen.com or call 1-888-SteriPEN
Repair Information
Any repairs to your SteriPEN® should be done by an authorized technician. Please contact us at above phone number or at support@steripen.com for repair guidance.
Did you know?

SteriPEN® can also be used in pre-filled water bottles up to 1 liter in size. Invert bottle as shown.
Hydro-Photon, Inc. Tel: (207) 374-5800 info@steripen.com www.steripen.com
MANEM1002

Documents / Resources
References

Download manual
Here you can download full pdf version of manual, it may contain additional safety instructions, warranty information, FCC rules, etc.
Advertisement


Need help?
Do you have a question about the Emergency and is the answer not in the manual?
Questions and answers