Table of Contents
Advertisement
CONTENTS
Unpacking Instructions ............. 2
Package Contents .................... 2
Product Registration ................. 2
Features & Benefits: Display...... 3
Setup ...................................... 5
Install or Replace Batteries........ 5
Set Time, Date & Units.............. 6
Placement Guidelines ............... 6
Questions?
(877) 221-1252 or visit www.AcuRite.com
SAVE THIS MANUAL FOR FUTURE REFERENCE.
Rain Collector Installation ......... 7
Using the Rain Gauge .............. 8
Troubleshooting ..................... 10
Calibration .............................11
Care & Maintenance.............. 12
Specifications......................... 12
FCC Information .................... 12
Customer Support .................. 13
Warranty............................... 13
Contact Customer Support at
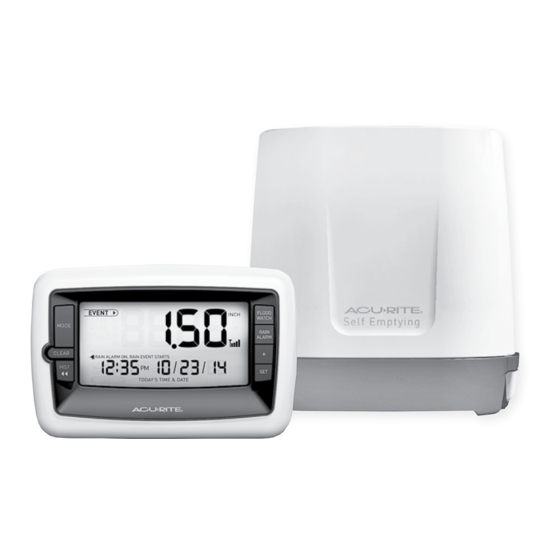
Instruction Manual
Rain Gauge
model 00899
Advertisement
Table of Contents

Related Manuals for ACU-RITE Rain Gauge


Summary of Contents for ACU-RITE Rain Gauge
-
Page 1: Table Of Contents
00899 CONTENTS Unpacking Instructions ..... 2 Rain Collector Installation ..7 Package Contents ....2 Using the Rain Gauge ....8 Product Registration ....2 Troubleshooting ..... 10 Features & Benefits: Display..3 Calibration ......11 Features & Benefits: Collector ... 4 Care &... -
Page 2: Unpacking Instructions
Congratulations on your new AcuRite product. To ensure the best possible product performance, please read this manual in its entirety and retain it for future reference. Unpacking Instructions Remove the protective film that is applied to the LCD screen prior to using this product. -
Page 3: Features & Benefits: Display
Features & Benefits 4 5 6 7 DISPLAY UNIT 1. MODE Button 8. Time Toggle between rainfall readings 9. Date for EVENT, 1 DAY, WEEK, TOTAL 10. SET Button A or TOTAL B. For setup preferences. 2 . CLEAR Button 11. -
Page 4: Features & Benefits: Collector
Features & Benefits SQUEEZE TABS RAIN COLLECTOR 3. Battery & Electronics Box 1. Rain Collector Cover 4. Rain Collector Base 2. Rain Collector Tipping Cups Collects and empties rain for continuous rain measurement. -
Page 5: Setup
2. Remove battery box by squeezing the two tabs on each end together. 3. Remove and discard cardboard rain gauge stabilizer. 4. Insert 2 x AA batteries into the battery compartment as shown. Follow the polarity (+/-) diagram in the battery compartment. -
Page 6: Set Time, Date & Units
Set the Time, Date & Units This rain gauge is equipped with historical data and alarms that require accurate time and date settings to function properly. It is important to set the time, date and units before using the rain gauge. -
Page 7: Rain Collector Installation
LEAST APART Rain Collector Installation • To ensure accurate rain measurement, the rain collector MUST be placed on a flat, level surface. • Ensure the rain collector is not placed in a low spot that could become flooded or in an area where there are obstructions above it. 1. -
Page 8: Using The Rain Gauge
TOTAL A and TOTAL B modes. TOTAL A/B Mode TOTAL A and TOTAL B are total rainfall measured since the rain gauge was powered on or since the last time the mode was cleared. To display the start... - Page 9 8 hours. NOTE: The rain gauge measures rainfall even while the flood alarm is off. Rain Alarm Press the RAIN ALARM button to activate or deactivate the RAIN ALARM.
-
Page 10: Troubleshooting
Troubleshooting Dashes indicate that the display unit and rainfall collector are not synchronized. • Relocate the display unit and/or the rainfall collector. The units must be within 100 ft (30 m) of each other. Make sure both units are placed at least 3 feet (0.9 m) away from electronics that may interfere with the wireless communication (such as TVs, microwaves, computers, etc). -
Page 11: Calibration
• If you don’t hear the cups tipping and see water dripping alternately out of each drain, there may be an issue with the rain gauge or it’s adjustment. Adjustment If the rain gauge doesn’t register close to 1.68”... -
Page 12: Care & Maintenance
Care & Maintenance Display Unit Care Clean with a soft, damp cloth. Do not use caustic cleaners or abrasives. Keep away from dust, dirt and moisture. Clean ventilation ports regularly with a gentle puff of air. Rain Collector Care Clean with a soft damp cloth. Do not use caustic cleaners or abrasives that could mar the polished surface of the rain collector or tipping cups. -
Page 13: Customer Support
Customer Support AcuRite customer support is committed to providing you with best-in- class service. For assistance, please have the model number of this product available and contact us in any of the following ways: (877) 221-1252 info@chaney-inst.com AcuRite 24/7 support at www. .com Installation Videos Register your Product... - Page 16 Clocks Weather Temperature Weather Kitchen Stations & Humidity Alert Radio Thermometers & Timers It’s more than accurate, it’s AcuRite offers an extensive assortment of precision instruments, designed to provide you with information you can depend on to Plan your day with confidence ™...
Need help?
Do you have a question about the Rain Gauge and is the answer not in the manual?
Questions and answers