Sign In
Upload
Download
Table of Contents
Contents
Add to my manuals
Delete from my manuals
Share
URL of this page:
HTML Link:
Bookmark this page
Add
Manual will be automatically added to "My Manuals"
Print this page
×
Bookmark added
×
Added to my manuals
Manuals
Brands
Kodak Manuals
Scanner
S3120 Max
User manual
Kodak S3120 Max User Manual
Hide thumbs
1
2
Table Of Contents
3
4
5
6
7
8
9
10
11
12
13
14
15
16
17
18
19
20
21
22
23
24
25
26
27
28
29
30
31
32
33
34
35
36
37
38
39
40
41
42
43
44
45
46
47
48
49
50
51
52
53
54
55
56
57
58
59
60
61
62
63
64
65
66
67
68
69
70
71
72
73
74
75
76
77
78
79
80
81
82
page
of
82
Go
/
82
Contents
Table of Contents
Troubleshooting
Bookmarks
Table of Contents
Table of Contents
Safety
User Precautions
Warning Labels
Acoustic Emission
Overview
Illustrations in this Guide
Supporting Documentation
Accessories
What's in the Box
Scanner Components
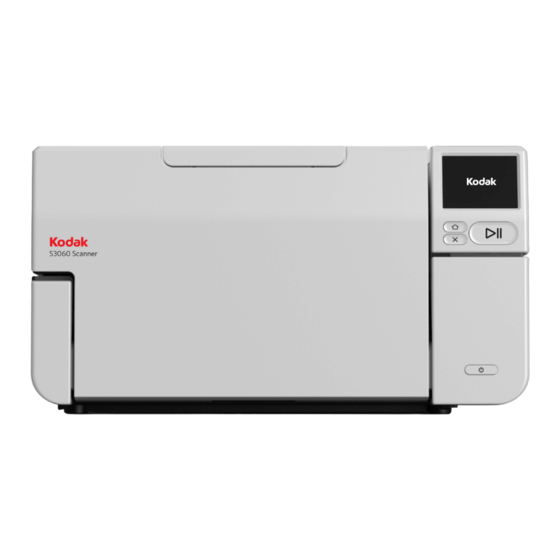
Front View
Inside View
Rear View
Optional Printer Accessory: Printer Access View
Installation/First Scan
Installation
Unboxing the Scanner
Setting up Your Scanner
Configure Network Settings
Install Ferrite Core
Install Driver Software
Verify Scanner's Firmware
Update Scanner's Firmware
Computer with Driver Software Installed
Web Browser
Available KODAK Alaris Scanning Software
Smart Touch
KODAK Capture Pro le
Power Saver Mode and Turning the Scanner off
Scanner Adjustments
Adjusting the Input Tray
Adjusting the Output Tray
Attaching the Exit Deflectors
Flatbed Scanning (S2085F, S3060F, S3100F Scanners Only)
Using the Rear Document Exit
Using the Scanner Touch Screen
Status Area
Touch Screen Buttons
Settings Screen
Information
Maintenance
Network
Diagnostics
Easy Setup
Power
Language
Elevator
Feed Adjustment
Speed
Sharing
Admin Access
Reset
Ready States
Ready with Users
Ready with Profiles
Scanning in Progress
Misfeed Detection Control
Scanning Paused
Document Handling
Elevator and Paper Path Controls
Document Printing
Using the KODAK Printer Accessory
Printer Specifications
Installing/Replacing the Ink Cartridge
Changing Print Positions
Problem Solving
Maintenance
Chapter Overview
Cleaning Tools and Materials
Opening the Scanner Cover
Cleaning Procedures
Vacuuming the Output Tray, Input Elevator and Transport Area
Cleaning the Rollers
Cleaning the Separation Roller Tires
Cleaning the Feed Module Tires
Cleaning the Background Strip(S)
Cleaning the CIS Imager
Cleaning the Flatbed Glass (S2085F/S3060F/S3100F Scanners Only)
Running a Transport Cleaning Sheet
Final Cleaning Steps
Replacement Procedures
Replacing the Feed Module or Feed Module Tires
Replacing the Separation Roller
Replacing the Separation Roller Tires
Replacing the Pre-Separation Pad
Replacing the Flatbed Background
(S2085F/S3060F/S3100F Scanners Only)
Supplies and Consumables
Troubleshooting
Self-Help for Problems
Upgrading Software
Contacting Service
Appendix A Regulatory Information
Environmental Information
European Union
Advertisement
Quick Links
1
Table of Contents
Download this manual
Kodak
KODAK S2085f Scanner
KODAK S3060 Scanner
KODAK S3060f Scanner
User's Guide
A-61981
S2000f/S3000 Series Scanners
KODAK S3100 Scanner
KODAK S3100f Scanner
KODAK S3120 Scanner
KODAK S3120 Max Scanner
KODAK S3140 Max Scanner
Table of
Contents
Previous
Page
Next
Page
1
2
3
4
5
Advertisement
Table of Contents
Need help?
Do you have a question about the S3120 Max and is the answer not in the manual?
Ask a question
Questions and answers
Related Manuals for Kodak S3120 Max
Scanner Kodak S2000f Series User Manual
(84 pages)
Scanner Kodak S3140 Max User Manual
(82 pages)
Scanner Kodak Scan Station 710 Administrator's Manual
Scan station 700 series (146 pages)
Scanner Kodak S1220 - Photo Scanning System User Manual
Photo scanning system (81 pages)
Scanner Kodak i4000 Series Manual
Supplies & consumables (52 pages)
Scanner Kodak ScanMate i940 User Manual
Desktop duplex color scanner (54 pages)
Scanner Kodak 1500 User Manual
Kodak scanner 1500 scanner 2500 user's guide a-63055 (74 pages)
Scanner Kodak 5500 User Manual
Kodak scanner user's guide 5500, 7500 (126 pages)
Scanner Kodak 5500 Maintenance Procedures
Maintenance and feeder adjustment procedures (10 pages)
Scanner Kodak SCANZA User Manual
Digital film scanner. 4.7 inch w, 4.7 inch h, 5 inch d (120 x 120 x 127mm) (33 pages)
Scanner Kodak SCANZA User Manual
Digital film scanner 4.7 w | 4.7 h | 5 d (120 x 120 x 127mm) (121 pages)
Scanner Kodak 4C8894 Installation Instructions Manual
(171 pages)
Scanner Kodak SLIDE N SCAN User Manual
Digital film scanner (59 pages)
Scanner Kodak S2000 Series User Manual
(78 pages)
Scanner Kodak alaris 2000w Series User Manual
(78 pages)
Scanner Kodak alaris S2060w Troubleshooting Manual
(19 pages)
This manual is also suitable for:
S3000 series
S2000f series
S3140 max
S2085f
S3060
S3060f
...
Show all
S3100
S3100f
S3120
Table of Contents
Save PDF
Print
Rename the bookmark
Delete bookmark?
Delete from my manuals?
Login
Sign In
OR
Sign in with Facebook
Sign in with Google
Upload manual
Upload from disk
Upload from URL


Need help?
Do you have a question about the S3120 Max and is the answer not in the manual?
Questions and answers