Advertisement
Installation Manual
●
Be sure to read this manual thoroughly and to do the installation work safely.Keep
this manual available for future reference.
●
Sufficient expertise is required for installing this projector wall mount.
●
Do not use the projector wall mount for purposes other than for which it is designed.
Advertisement
Table of Contents

Related Manuals for BenQ WM04G4


Summary of Contents for BenQ WM04G4
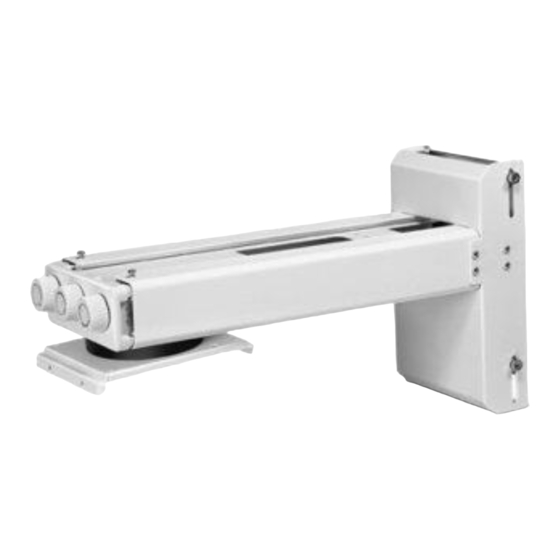
- Page 1 Installation Manual ● Be sure to read this manual thoroughly and to do the installation work safely.Keep this manual available for future reference. ● Sufficient expertise is required for installing this projector wall mount. ● Do not use the projector wall mount for purposes other than for which it is designed.
-
Page 2: Important Safety
Important Safety Be sure to read this manual thoroughly to do the installation work. Only qualified service personnel (two or more) should carry out installation or dismounting of the projector from the projector wall mount. Use with products heavier than the maximum weights(Weight Capacity:<15kg) indicated may result in instability causing possible injury. - Page 3 Checking The Installation Position Regulating range 0~40mm ±5° ±5° ±5° ● According to the scale to determine the screen size .Scale parameters are for reference only. inch 360mm 380mm 410mm 440mm 470mm 500mm 530mm 560mm...
- Page 4 To Set The Projector Wall Mount On The Wall ● According to the scale to determine the installation height of the wall plate . Scale parameters are for reference only You can find this form in the projector packaging. Please refer the installation chart in projector UM and QSG for proper installation evaluation.
- Page 5 To Set The Projector Wall Mount On The Wall ● The bracket is suitable for concrete wall mounting or wooden stud wall. ● Concrete wall mounting thickness must be a minimum 100mm. Anchor bolt and screw (M6 × 55) are needed to be used for installation. ●...
- Page 6 To Set The Projector Wall Mount On The Wall ● Move the raised Wall plate and adjust the upward/downward slide. Adjust the upward/downward slide:40mm 40mm Adjustment direction Wall cover To Install The Projector On The Projector Wall Mount ● Move the mouting plate and adjust the leftward/rightward slide. Adjust the leftward/rightward slide:30mm Adjustment direction...
- Page 7 To Install The Projector On The Projector Wall Mount ● ● Locking the screw e. Please put the power cable and other cables through the setting plate at the top of the hole. The power cable and other cables through Connect the Setting plate.
-
Page 8: Product Information
To Adjust The Horizontal Rotation Adjustment buttons Adjustment direction To Adjust The Forward/Backward Slide Adjustment direction To Put On The Decorative Cover Product Information: Net weight: 3.5kg Rated capacity: 15kg Adjustable angle: Longitudinal inclination 、Level angle、Yaw angle±5°(3 directions) Adjustable range: From the installation plate center horizontal distance 360mm 665mm Adjustable range for upward/downward slide : 40mm Adjustable range for leftward/rightward slid: 30mm...
Need help?
Do you have a question about the WM04G4 and is the answer not in the manual?
Questions and answers