Advertisement
Connection
Easily connect your smartphones, tablets, PCs and telephone to your Nokia G-240W-C

- Telephone 1 and 2 voice ports
- Label with name and password for the WiFi networks. It includes access data for router setup.
- 4 LAN Gigabit ports
- Fiber connector
- USB Port
- WPS button
- Reset *
- (ON/OFF) Switch
- Connection to power supply
* To reset the router to the default factory settings press and hold in the reset button for 10 seconds.
Interim (LTE) Access setup
 Access setup")
- Insert the SIM card into the USB dongle (ensure SIM is inserted correctly).
![warning]() Note: Do not insert the SIM card into a handset as the SIM is configured to only connect using the USB dongle.
Note: Do not insert the SIM card into a handset as the SIM is configured to only connect using the USB dongle. - Insert the USB dongle into the USB port of the router.
- Connect the power to the router.
- Switch on the router pressing the power button at the back of the router.
- Allow 3 to 5 minutes for the configurations settings to be downloaded to the router.
 Note: Do not insert the SIM card into a handset as the SIM is configured to only connect using the USB dongle.
 Fibre connection setup

- Plug in the power supply and connect the power cable to the router.
- Plug one end of the fiber lead to the fiber port.
- Switch on the power supply at the electrical circuit.
- Switch on the router by pressing the power button.
- Wait 3 to 5 minutes for the router configurations to be downloaded (the router may restart automatically after the configurations has been downloaded).
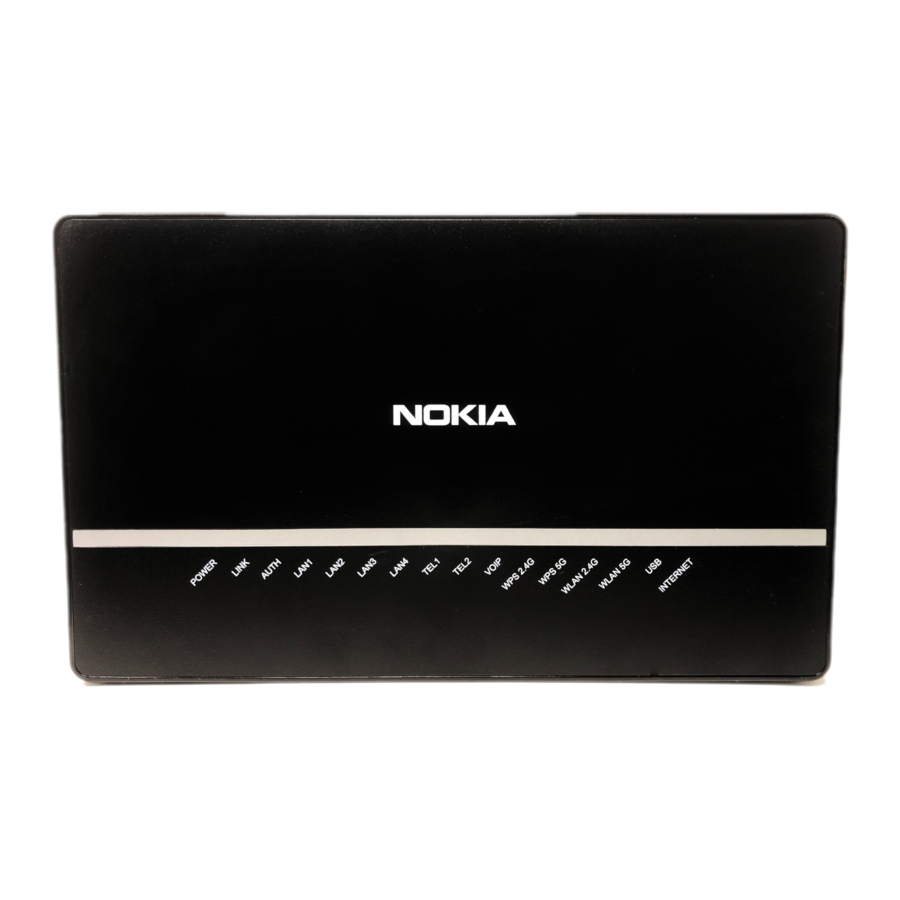
What do the LEDs mean?

- POWER
![]() (Green solid) Power on
(Green solid) Power on
![]() (Red solid) Light failed on startup
(Red solid) Light failed on startup
(Off) Power off - LINK
![]() (Green solid) GPON link between ONT and
(Green solid) GPON link between ONT and
OLT is operating normally
(Off) GPON link is down or no link connected - AUTH
(Off) ONT is not authorized
![]() (Green Solid) ONT is authorized
(Green Solid) ONT is authorized
![]() (Green Flashing) ONT is in the process of ranging or synchronizing over OMCI
(Green Flashing) ONT is in the process of ranging or synchronizing over OMCI - LAN
![]() (Green Solid) Ethernet is linked
(Green Solid) Ethernet is linked
![]() (Green Flashing) LAN activity is present
(Green Flashing) LAN activity is present - WLAN
(Off) WLAN link is disabled
![]() (Green Solid) WLAN link is enabled
(Green Solid) WLAN link is enabled
![]() (Green Flashing) Traffic is passing via WLAN link
(Green Flashing) Traffic is passing via WLAN link - TELEPHONE
![]() (Green solid) Phone is off hook
(Green solid) Phone is off hook
![]() (Green Flashing) In 'call in' or 'talking' condition
(Green Flashing) In 'call in' or 'talking' condition
(Off) All phones are on hook - VOIP
![]() (Green solid) VOIP service is up
(Green solid) VOIP service is up
(Off) VOIP service is down - WPS (WiFi Protected Setup)
![]() (Green Solid) WPS link is up
(Green Solid) WPS link is up
![]() (Green Flashing) WPS link activity
(Green Flashing) WPS link activity
![]() (Red Solid) WPS exception
(Red Solid) WPS exception
(Off) WPS link down or no link connected - USB
![]() (Green Solid) USB device is connected
(Green Solid) USB device is connected
![]() (Green Flashing) There is traffic activity
(Green Flashing) There is traffic activity
(Off) No USB device is connected - INTERNET
![]() (Green Solid) HSI WAN is connected
(Green Solid) HSI WAN is connected
![]() (Green Flashing) PPPoE connection in progress
(Green Flashing) PPPoE connection in progress
(Off) HSI WAN is not connected
 (Green solid) Power on
 (Red solid) Light failed on startup
 (Green Flashing) ONT is in the process of ranging or synchronizing over OMCI
 (Red Solid) WPS exception
Connect your devices to the Nokia G-240W-C

- Connect your devices via WiFi (Example: smartphone, tablet):
Connect your mobile devices to the Nokia G-240W-C wireless network. You will find the network name (SSID) and password on the product label or on the backpanel of the Nokia G-240W-C. If yo ur WIFI device is 5GHz compatible, you can connect to the ALHN-XXXX-5 network if you prefer.
- Connect your devices via cable (Example: PC):
Connect your computer to the Nokia G-240W-C yellow port
All access data at a glance

- Username/Password:
Enter this username/password to access the Setup Web. - WiFi Network Name:
This is what your Nokia G-240W-C WiFi is called. - WiFi Network Password:
Enter this password when connecting to your Nokia G-240W-C WiFi network.
Change the router settings

To easily set up your Nokia G-240W-C with the devices connected through the Internet browser:
- Make sure your device is connected to the Nokia G-240W-C (either through cable or WiFi).
- Open the browser and enter https://192.168.1.254 in the URL bar.
- Enter the username and password specified on the sticker at the bottom of your Nokia G-240W-C.
Frequently Asked Questions
What should I do if I cannot browse the Internet and/or use the telephone?
If you've previously been able to browse the Internet or make phone calls, check if the router cables are connected and restart the router by switching the power button off and on again.
Can I turn the router off when I'm not using it?
If you're using VoiP the router must always be on and connected to the telephone port in order to make and receive calls.
Do I have to use the materials provided in the box?
We recommend that you use the parts included in the box. All the parts have passed thorough quality control checks and are intended to be used exclusively with this router.
Where should I place the router?
In order to avoid loss of service quality, we recommend placing the router somewhere well vented and far away from heat sources. If you consider it necessary to improve the WiFi signal, we recommend that you place it vertically, away from any obstacles and in a high position. Changing the direction it faces may also help, provided that it's always placed vertically.
Where can I find more help?
- Visit our technical questions solution assistant at https://help.vodacom.co.za/personal/topics/61/Vodacom-Fibre-
- Call Vodacom Fibre Customer Care on 082 1904.

Documents / Resources
References

Download manual
Here you can download full pdf version of manual, it may contain additional safety instructions, warranty information, FCC rules, etc.
Advertisement


Need help?
Do you have a question about the G-240W-C and is the answer not in the manual?
Questions and answers