Table of Contents
Advertisement
Quick Links
Advertisement
Table of Contents

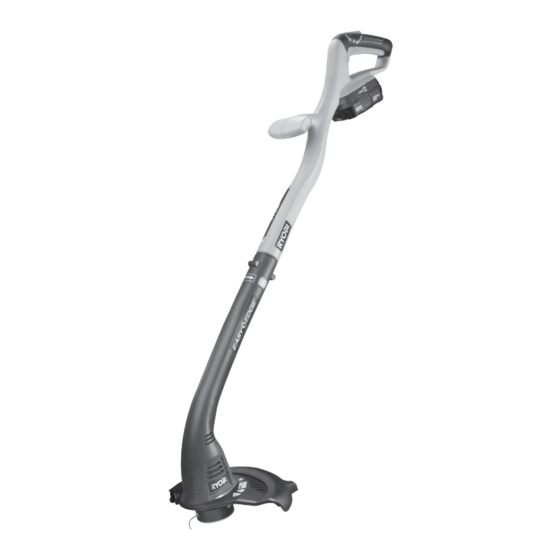
Summary of Contents for Ryobi RLT1825Li13
- Page 1 ORIGINAL INSTRUCTIONS Cordless Line Trimmer/Edge Trimmer RLT1825Li13 OLT1825...
- Page 2 Important! It is essential that you read the instructions in this manual before assembling, operating, and maintaining the product. Subject to technical modification.
-
Page 3: Intended Use
Safety, performance, and dependability have been given for accidents or hazards occurring to other people or top priority in the design of your cordless line trimmer/edge their property. trimmer. PREPARATION INTENDED USE ■ Wear full eye and hearing protection while operating the The cordless line trimmer/edge trimmer is intended to product. -
Page 4: Transportation And Storage
■ Keep the head attachment below waist level. WARNING ■ Never use the product with damaged guards or without Ensure that the line cut-off blade in guard is properly guards in place. positioned and secured before each use. ■ Do not fit a metal replacement line. ■... -
Page 5: Residual Risks
■ Battery (for RLT1825Li13 only) manual. ■ Battery charger (for RLT1825Li13 only) ■ After extending new cutter line, always return the ■ Philips screw product to its normal operating position before starting. -
Page 6: Symbols In This Manual
Indicates a potentially hazardous situation, which, if not avoided, may CAUTION result in minor or moderate injury. (Without Safety Alert Symbol) CAUTION Indicates a situation that may result in property damage. SYMBOLS IN THIS MANUAL Parts or accessories sold separately Note Warning... - Page 7 WHAT’S IN THE BOX RLT1825Li13...
-
Page 8: Know Your Product
KNOW YOUR PRODUCT 1. Lock-out trigger 7. Spool cover 13. Lower shaft 2. Switch trigger 8. Spool 14. Upper shaft 3. Front handle 9. Eyelet 4. Charger 10. Line 5. Battery latch button 11. Line cut-off blade 6. Battery pack 12. -
Page 9: Getting Started
GETTING STARTED Insert the upper shaft into the lower shaft. Make sure the latches Install the trimmer guard onto the trimmer head. snap into place to secure. Insert the battery pack until it clicks into place. Push the lock-out trigger and switch trigger to start operating the product. - Page 10 OVERVIEW Trimming Mode Edging Mode p.11 Replacing the spool Maintenance Storage p.12 p.13 p.14...
-
Page 11: Operation
OPERATION OPERATING THE TRIMMER (TRIMMER MODE) WARNING: Hold the product with one hand on the trigger handle and the other hand on the front handle. WARNING: Do not cut in a dangerous cutting area. Avoid trees and shrubs. Tree bark, wood mouldings, cladding, and fence posts can easily be damaged by the line. - Page 12 OPERATION 2. To advance the line, a quarter inch (6.35 mm) of line automatically releases when the trigger is pressed and released. NOTE: The small blade fitted to the trimmer guard is designed to trim the new extended line to the correct length for safe and optimum performance.
- Page 13 OPERATION OPERATING THE EDGING FUNCTION (EDGING MODE) 1. Remove the battery pack from the product. Push the button on the lower shaft and then turn the upper shaft counterclockwise to turn to edger position. 2. Insert the battery pack (1). Hold the lock out button (2) and then squeeze the throttle trigger (3) to start operating the product.
- Page 14 MAINTENANCE REPLACING THE SPOOL 1. Remove the battery pack and then push the tabs on the side of the spool retainer to remove the trimmer cover. 2. Remove the old spool. 3. To install the new spool, make sure the line is captured in the slot on the new spool (1).
- Page 15 MAINTENANCE CLEANING THE PRODUCT 1. Remove the battery pack. 2. Clean all foreign material from the product with a soft brush. WARNING: Keep away from corrosive agents such as garden chemicals and deicing salts. WARNING: The small blade fitted to the cutting attachment guard is designed to trim the new extended line to the correct length for safe and optimum performance.
- Page 16 STORAGE STORING THE PRODUCT NOTE: Make sure to clean the product before storing. 1. Remove the battery pack. 2. Store the product.
-
Page 19: Product Specifications
PRODUCT SPECIFICATIONS VIBRATION LEVEL Cordless line trimmer/edge trimmer WARNING Model RLT1825Li13/OLT1825 The declared vibration value has been measured with a standard test method and may be used to compare one Voltage 18 volts tool with another. No-load speed 9,500 /min... - Page 20 Imported by: Techtronic Industries (Australia) Pty. Ltd. 31 Gilby Road, Mount Waverley, VIC 3149 Melbourne, Australia Techtronic Industries New Zealand Ltd. 2 Landing Drive, Mangere Auckland, 2022, New Zealand 961479014-01...


Need help?
Do you have a question about the RLT1825Li13 and is the answer not in the manual?
Questions and answers