Sign In
Upload
Download
Table of Contents
Contents
Add to my manuals
Delete from my manuals
Share
URL of this page:
HTML Link:
Bookmark this page
Add
Manual will be automatically added to "My Manuals"
Print this page
×
Bookmark added
×
Added to my manuals
Manuals
Brands
Ryobi Manuals
Trimmer
RLT1833BL4
Original instructions manual
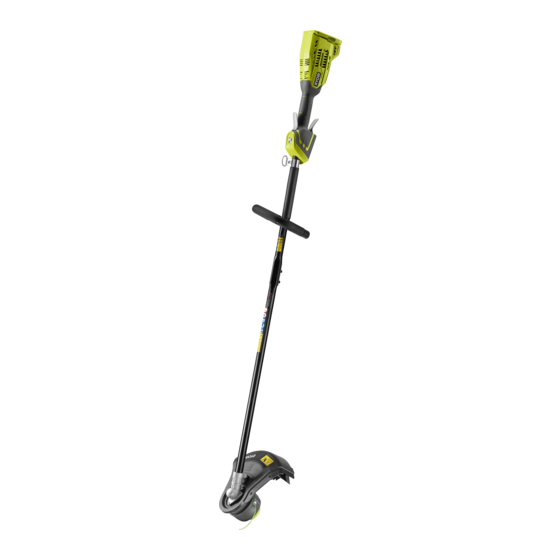
Ryobi RLT1833BL4 Original Instructions Manual
Cordless line trimmer
Hide thumbs
1
2
3
4
5
6
7
8
9
10
11
12
13
14
15
16
17
18
19
20
21
22
23
24
Table Of Contents
25
page
of
25
Go
/
25
Contents
Table of Contents
Bookmarks
Table of Contents
Intended Use
General Safety Warnings
Line Trimmer Safety Warnings
Transportation and Storage
Transporting Lithium Batteries
Maintenance
What's in the Box
Residual Risks
Risk Reduction
Symbols on the Product
Symbols in this Manual
Know Your Product
Getting Started
Operation
Operating the Product
Adjusting the Cutting Line
Replacing the Line
Cleaning the Product
Storing the Product
Product Specifications
Vibration Level
Battery and Charger
Replacement Parts
Advertisement
Quick Links
1
Maintenance
2
Adjusting the Cutting Line
3
Replacing the Line
4
Replacement Parts
5
Product Specifications
Download this manual
ORIGINAL INSTRUCTIONS
Cordless Line
Trimmer
RLT1833BL4
OLT1833BL
Table of
Contents
Previous
Page
Next
Page
1
2
3
4
5
Advertisement
Table of Contents
Need help?
Do you have a question about the RLT1833BL4 and is the answer not in the manual?
Ask a question
Questions and answers
Subscribe to Our Youtube Channel
Related Manuals for Ryobi RLT1833BL4
Trimmer Ryobi RLT1830LiX4 Original Instructions Manual
18v one+ line trimmer (17 pages)
Trimmer Ryobi OLT1825 Original Instructions
(5 pages)
Trimmer Ryobi OLT1825 Original Instructions Manual
(105 pages)
Trimmer Ryobi OLT1831S Original Instructions Manual
(96 pages)
Trimmer Ryobi RLT1830H15 Original Instructions Manual
Hybrid cordless line trimmer/edge trimmer (25 pages)
Trimmer Ryobi RLT1830H13 Original Instructions Manual
18v hybrid line trimmer (224 pages)
Trimmer Ryobi OLT1831 User Manual
Cordless line trimmer (240 pages)
Trimmer Ryobi RLT183213 Original Instruction Manual
Cordless lawn trimmer/edge trimmer (148 pages)
Trimmer Ryobi RLT1831H25 Original Instructions Manual
(158 pages)
Trimmer Ryobi RLT1831H20 Original Instructions Manual
(157 pages)
Trimmer Ryobi OLT1830 Original Instructions Manual
Cordless line trimmer/edge trimmer (28 pages)
Trimmer Ryobi RLT1832X5 Original Instructions Manual
Cordless line trimmer / edge trimmer (25 pages)
Trimmer Ryobi RLT18X20M Original Instructions Manual
Cordless lawn trimmer / edge trimmer (25 pages)
Trimmer Ryobi RLT1825M13 Original Instructions Manual
(148 pages)
Trimmer Ryobi RLT1825M20S Original Instructions Manual
(144 pages)
Trimmer Ryobi RY18LT23 Original Instructions Manual
(148 pages)
This manual is also suitable for:
Olt1833bl
Table of Contents
Print
Rename the bookmark
Delete bookmark?
Delete from my manuals?
Login
Sign In
OR
Sign in with Facebook
Sign in with Google
Upload manual
Upload from disk
Upload from URL


Need help?
Do you have a question about the RLT1833BL4 and is the answer not in the manual?
Questions and answers